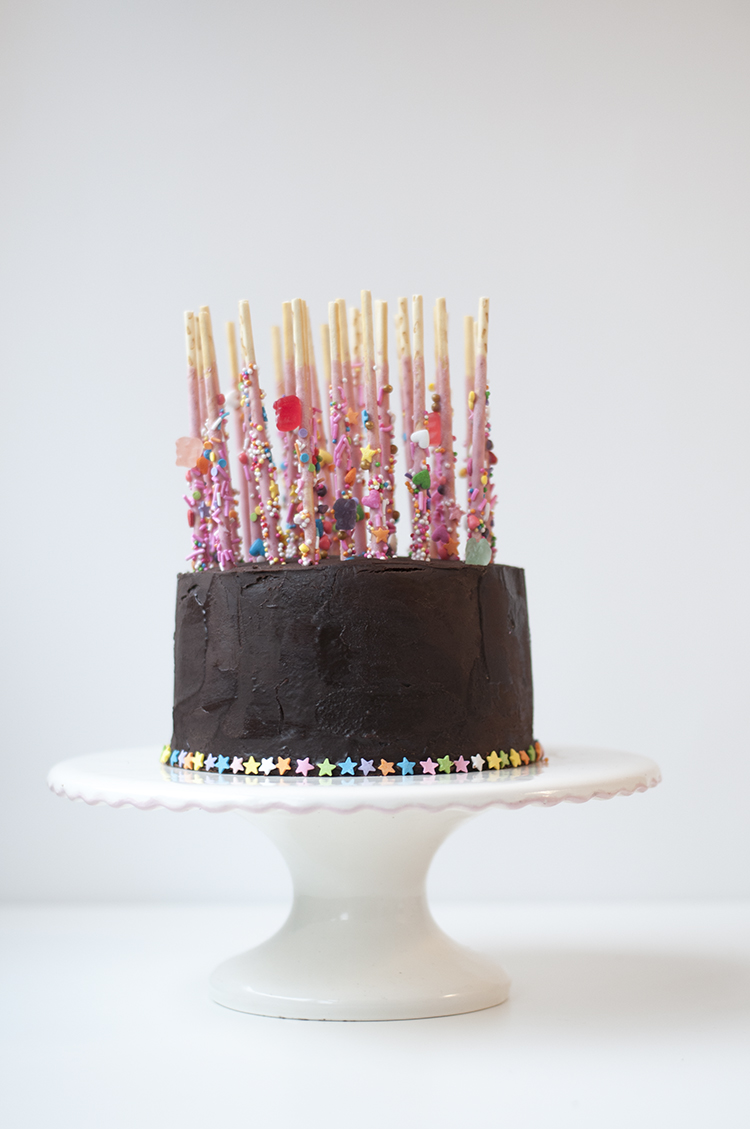
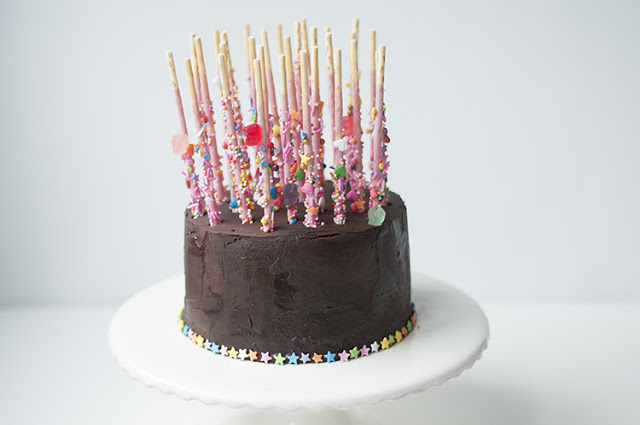
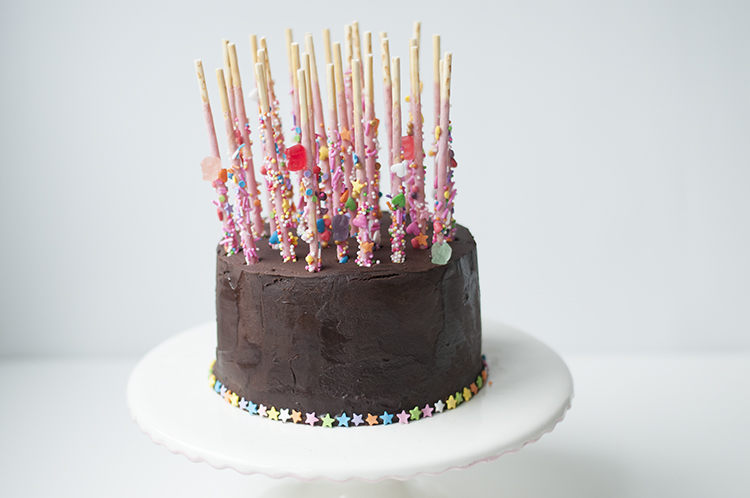
Day 4: Double Chocolate Pocky Cake
wonderful too. So I’ve come up with 3 options based on how much
time/patience/ambition/ you have for your Pocky cake. I’ve done all 3 of
these and I promise no matter what you choose you wont be disappointed.
1. Box Cake
If you want a moist and delicious chocolate cake that takes 5 minutes to mix grab a box of Duncan Hines Devils Food Cake. This is what I used for the tutorial, and it turned out delicious with my homemade frosting and filling. Definitely the most cost effective option!
2. Homemade Cake
There are sooo many recipes online, it’s hard to know where to begin looking. I
tried a bunch of them, and back in the day Nat and I made up our own.
Honestly though, the most delicious cakes I’ve made are from one of my
favorite bloggers, Miss Rosie at Sweetapolita. Her Double Chocolate Party Cake recipe is decadent and delicious.
3. Buy a Cake
If
you really don’t want to bake and just want to decorate, go to a local
bakery and grab a chocolate cake! If you’re in Toronto I recommend Desmond and Beatrice. Remember to buy locally, because supporting local business is awesome.
Now that you’ve decided what your cake base will be, let’s do this.
What you need:
-1 box Duncan Hines Devils Food Cake OR 2 cups of chocolate cake batter
-6″ round cake pan
-1/2 tablespoon soft butter
-parchment paper
-basting brush
-2 cups semi-sweet chocolate bakers squares
-1 cup heavy cream
-2 teaspoons of vanilla or almond extract (optional)
-decorator bag
-scissors
-cutting board
-offset spatula
-serrated knife
-30 fancy pocky
What to do:
-Prep your pan with parchment paper.
{I always get Nat to do this part
for me because I hate it she’s better at it. It’s very important in creating a flat and
round cake that easily pops outs of the pan. If you don’t know what the heck I’m talking about here’s a video to show you how.}
-Bake your cake. While it’s in the oven prep the ganache.
Prep the ganache:
1. Coarsely chop chocolate on a cutting board, and put it in a heat proof bowl.

2. In a small saucepan over medium heat bring the heavy cream to a boil.
3. Pour heavy cream over chocolate and let stand for 2 minutes.
4. Stir the mixture until smooth. Stir in optional extract if desired.
5. Place
plastic wrap directly on the surface of the ganache and leave it to cool in the fridge for 1 hour.
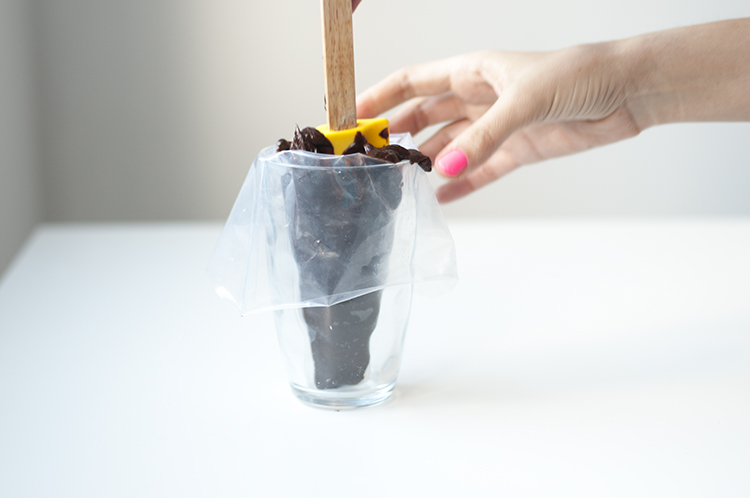
6. Put your decorators bag in a cup and fold over the edges. Put the ganache into your decorators bag. and cut it about a 1/2″ from the tip of the bag. Set aside.
Prep the cake: The video below shows exactly how to do the following steps 🙂
1. To fill and frost your cake you first need to cut it. I used a serrated knife to cut my cakes but some prefer a wire cake slicer.
Cut the top of the dome of the cake in one smooth slice so the top of
the cake is as flat as possible. Take a look at the video to see what I
mean. If it’s not perfect don’t worry!
2. Pick up the top half of the cake and and place it on parchment paper beside the bottom half.
3.
Now you can fill the cake, starting at the middle and circling all the
way out. You should be using the top of the cake as the bottom tier.
(see vid)
4. Flip the top layer upside down and place it on top of the filling so your nice flat cake bottom is now the top.
5. From the base to the top of the cake create lines of ganache directly beside each other.
6. Use your spatula to smooth them out, being careful not to life the ganache off the cake.
7.
This is when I start to use my turn table. If you don’t have one, they
sell they’re sold at most dollar stores, but you can definitely do this
without one.
8. Put a thin layer of ganache on the top on the cake
and spread in the same motion as the sides, being careful not to lift
the ganache from the cake. If the ganache lifts your cake frosting will
be full of crumbs.
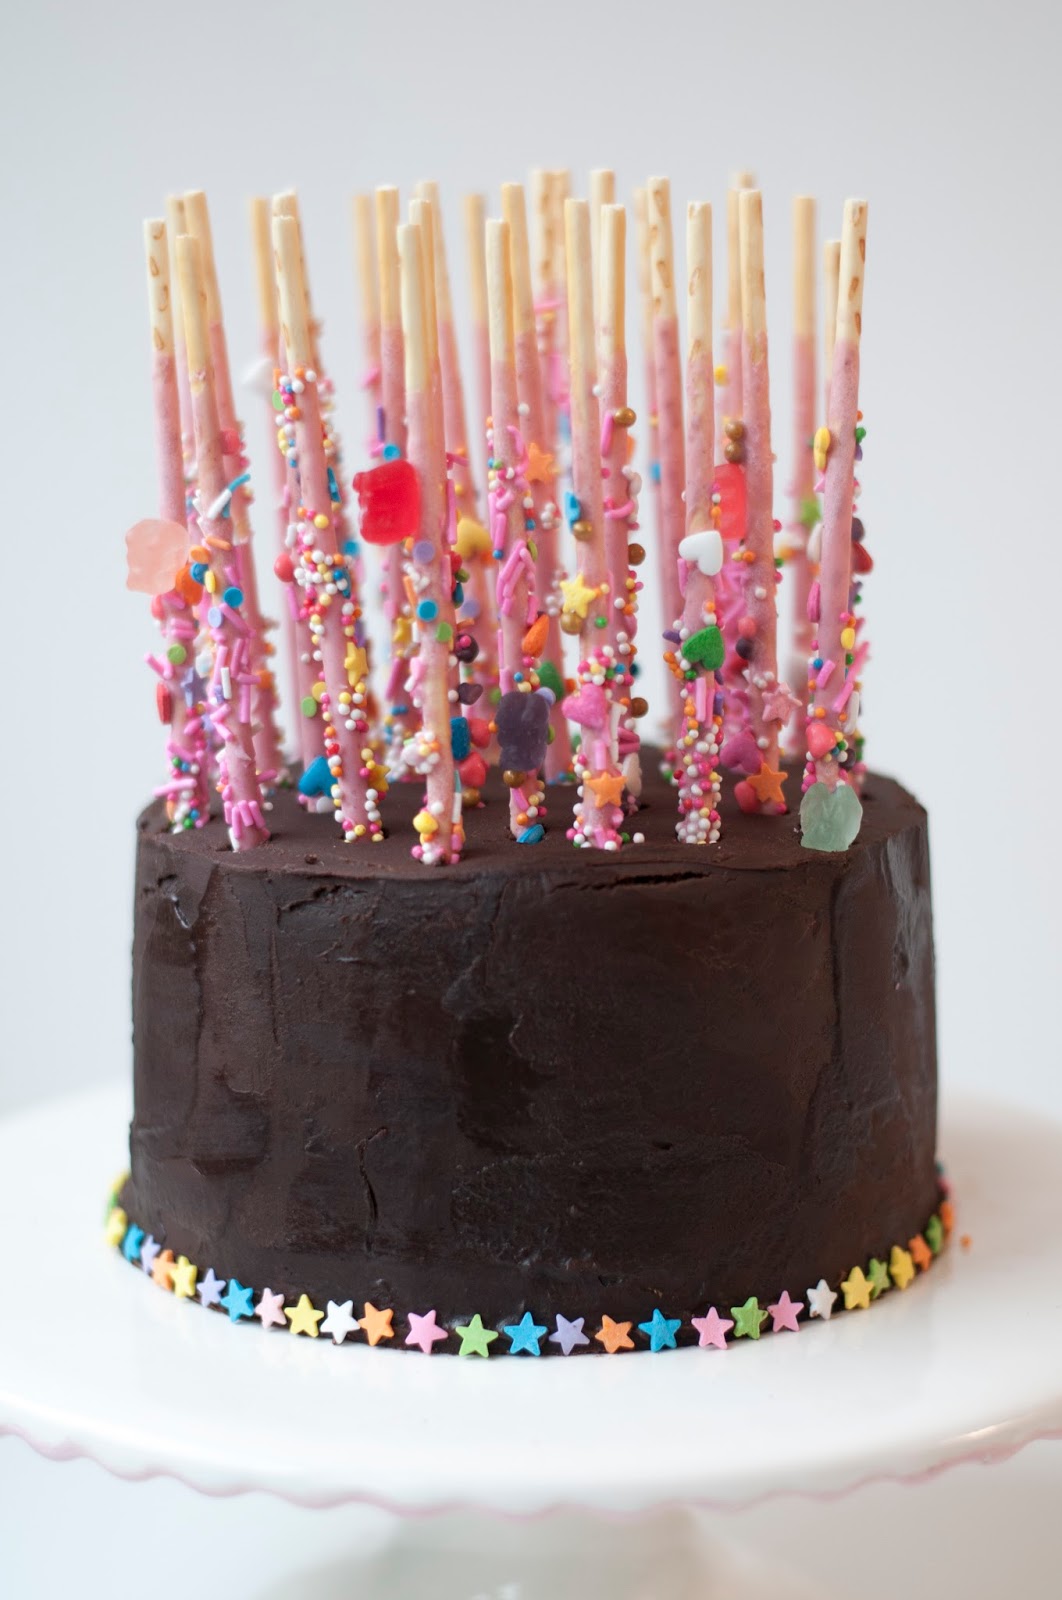
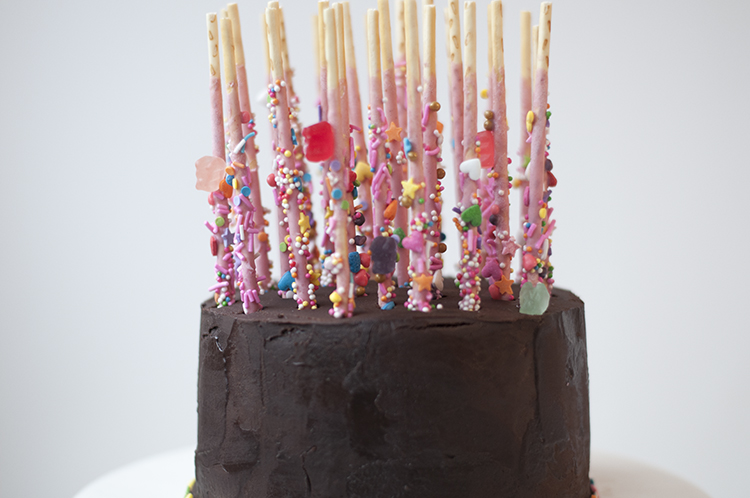
9. Add your Fancy Pocky in straight lines until the whole cake is full.
10. Show your friends and wait for ohhhh’s and awwww’s!