Sugar Cookies!
April 21, 2017


It’s
no surprise that I LOVE baking! One of my favourite things to make is
sugar cookies and it has been for years. Not only are they extremely
yummy, they are perfect for any occasion. I’ve made sugar cookies for
engagement parties, weddings, baby showers, house warming parties,
birthdays, styled shoots, every single holiday and sometimes just for no
specific reason at all. I have had a ton of questions over the years
about which recipes I use and how I make these cookies, where I get my
cutters and much more, so I’ve finally decided to share some of my
secrets here!
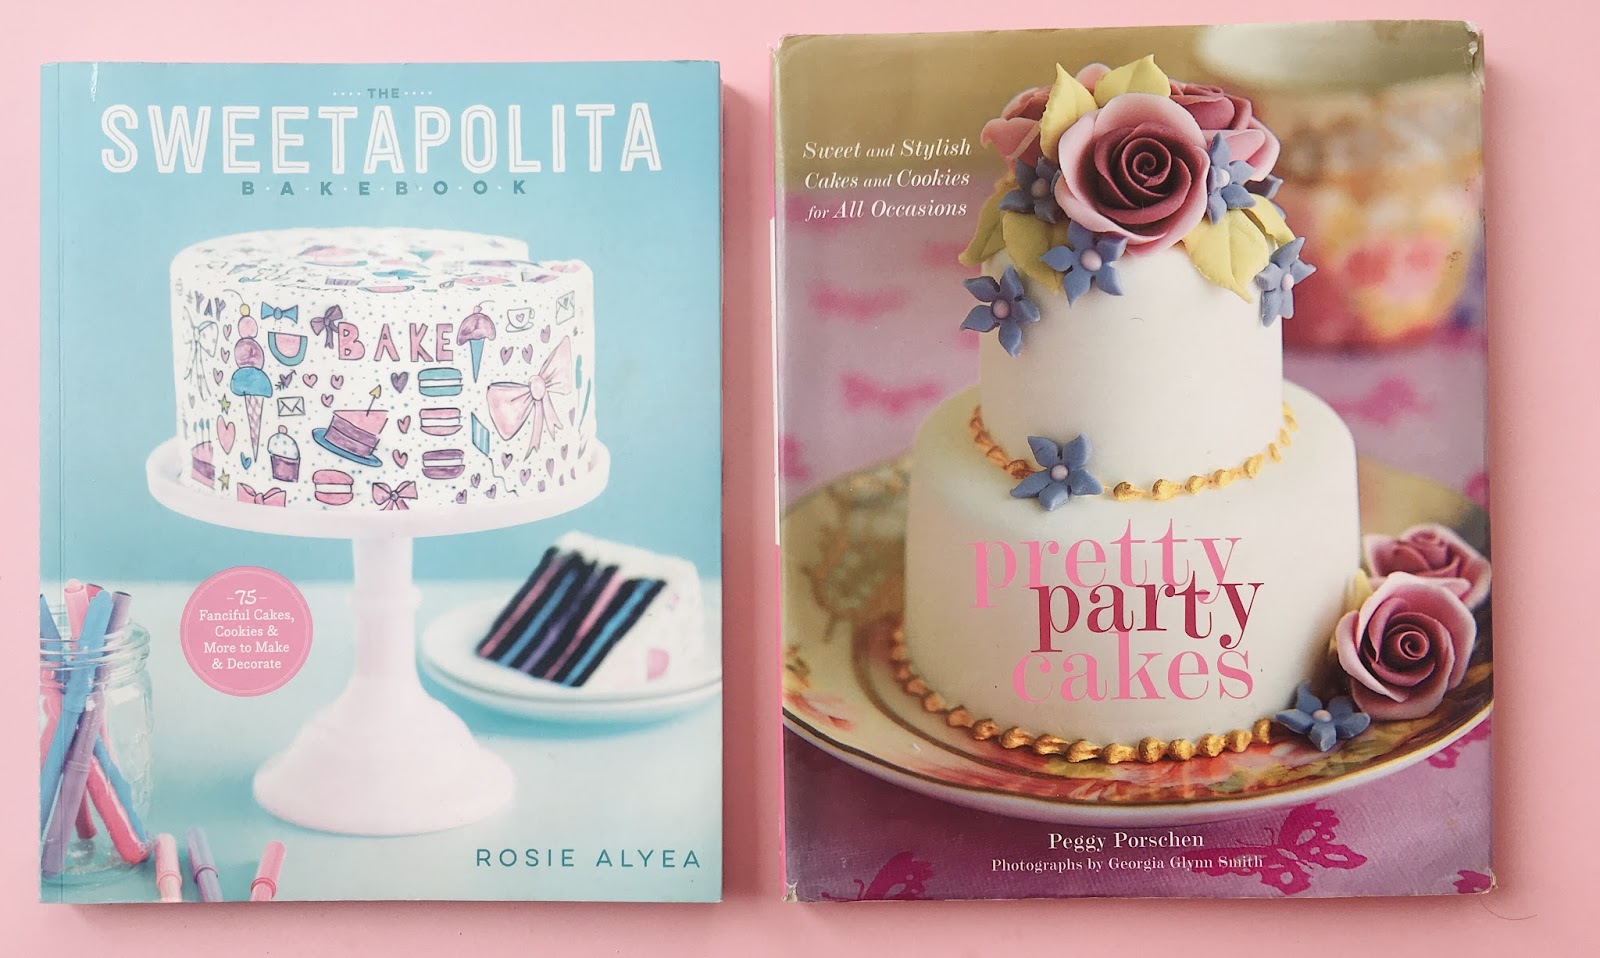
First let me talk to you about recipes. These two books are my go-to. The amazing Peggy Porschen
is a cake designer with the cutest shop in London, I have had this book
for YEARS. The sugar cookie recipe is very easy and definitely my
favourite that I have tried.
is a cake designer with the cutest shop in London, I have had this book
for YEARS. The sugar cookie recipe is very easy and definitely my
favourite that I have tried.
BASIC SUGAR COOKIES
1 3/4 sticks unsalted soft butter
1 cup sugar
2 large eggs, lightly beaten
3 cups all purpose flour plus more for dusting
Flavour Options:
Vanilla: add seeds from one vanilla bean or teaspoon vanilla bean paste
Lemon: add finely grated zest of 1 lemon
Chocolate: replace scant 1/2 cup all purpose flour with scant 1/2 cup unsweetened cocoa powder
Equipment:
KitchenAid or hand mixer
plastic wrap
large rolling pin
1/4 inch guide sticks
cookie cutters
spatula
cookie sheet
parchment paper
wire cooling rack
Directions:
1.
In a KitchenAid or electric mixer with paddle attachment, cream butter
with sugar and chosen flavouring until well until just creamy in
texture, do NOT overwork or cookies will spread while baking.
In a KitchenAid or electric mixer with paddle attachment, cream butter
with sugar and chosen flavouring until well until just creamy in
texture, do NOT overwork or cookies will spread while baking.
2.
Beat in eggs until well combined. Add flour and mix on LOW speed until
dough forms. Gather into 2 balls and wrap with plastic wrap and then
flatten into a disc. Chill for 1 hour.
Beat in eggs until well combined. Add flour and mix on LOW speed until
dough forms. Gather into 2 balls and wrap with plastic wrap and then
flatten into a disc. Chill for 1 hour.
3.
Place dough between 2 pieces of parchment paper, with dowel guides on
either side and roll out. Put in freezer for 15ish minutes or until
solid.
Place dough between 2 pieces of parchment paper, with dowel guides on
either side and roll out. Put in freezer for 15ish minutes or until
solid.
4.
Use cookie cutters to cut out shapes and place on cookie sheet lined
with parchment paper. Chill (I put them in the freezer) for about 15
minutes. Preheat oven to 350F.
Use cookie cutters to cut out shapes and place on cookie sheet lined
with parchment paper. Chill (I put them in the freezer) for about 15
minutes. Preheat oven to 350F.
5. Bake for 8-10 minutes, until lightly golden on bottom and edges. Let cool on wire racks.
This recipe is taken from Pretty Party Cakes book by Peggy Porschen and modified slightly by me.
NOTES:
I always put in the seeds of one vanilla bean or use a teaspoon of vanilla bean paste
Do
NOT skip the chilling part! After wrapping in plastic wrap, I let them
sit in the fridge for an hour, which is the perfect time to make the
royal icing. Also, chilling in freezer once rolled out allows you to
keep the shape of the cookies when transferred.
NOT skip the chilling part! After wrapping in plastic wrap, I let them
sit in the fridge for an hour, which is the perfect time to make the
royal icing. Also, chilling in freezer once rolled out allows you to
keep the shape of the cookies when transferred.
Then
I roll the dough out between two large pieces of parchment paper and
use wooden dowels (from the dollarstore in the craft section) on either
side while rolling. This will ensure that all of the cookies are the
SAME size.
I roll the dough out between two large pieces of parchment paper and
use wooden dowels (from the dollarstore in the craft section) on either
side while rolling. This will ensure that all of the cookies are the
SAME size.
If
you don’t have the cookie cutter shape you want/need make your own! You
can either free hand or print a shape off of the internet. I glue
parchment paper to a piece of stiff cardboard and then draw the shape
and cut out. After you have chilled your rolled out dough (still between
the parchment paper) place it on a cutting board, put the parchment
paper side down onto the dough (prevents sticking!) and using an x-acto,
utility knife (that is solely used for food) or a sharp kitchen knife,
trace around the shape.
I
like to freeze the cookies again for another few mintutes before
putting in the oven, this really helps the cookies from spreading while
backing.
like to freeze the cookies again for another few mintutes before
putting in the oven, this really helps the cookies from spreading while
backing.
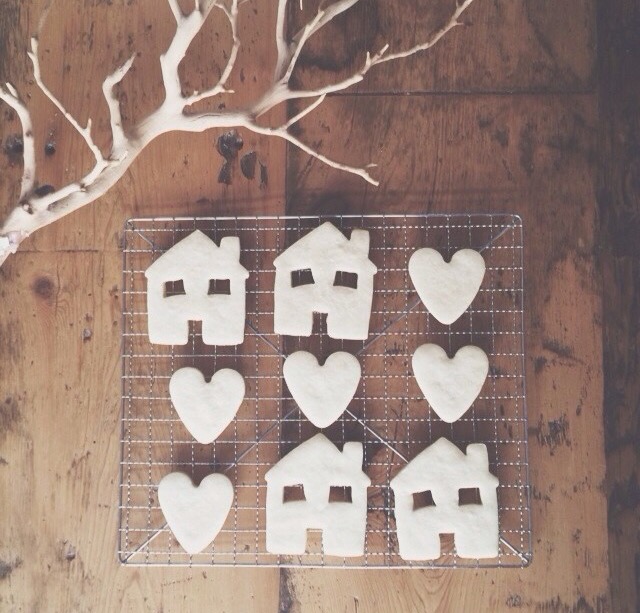
WATCH
THE COOKIES! I personally like my sugar cookies more on the soft side
and not brown and crunchy. Put all your smaller cookies together on one
cookie sheet, it’s best to organize by size because the smaller ones
will bake much quicker. I leave them in until the bottoms are very
slightly golden. Transfer directly to wire racks.
Ok, now time for the fun part, royal icing and decorating!!

ROYAL ICING
So, let me talk to you about the mystery that is royal icing. I get so many messages about which recipe I use and how I do it, so I’m going to spill all my not so secret, secrets.
I have tried tons of royal icing recipes, some work better than others, some taste better. Royal icing is supposed to get hard, and I’ve had issues with it not drying completely. So after extensive research, I have found my favourite! Rosie Alyea of Sweetapolita is a baking queen /genius and I love everything she does! You should definitely get her book if you’re interested in baking pretty things! You can find the recipe that I use on her blog HERE and also in her book.
Equipment:
KitchenAid
pastry decorating bags
standard couplers
decorators tips
toothpicks
gel food colours, I use Wilton & AmeriColor
paper towel
Optional:
sprinkles
food markers
NOTES:
I like to use pure almond extract, it makes the icing so yummy! However if I’m baking cookies for a group of kids or someone you know has a nut allergy will be eating it, you can replace almond with vanilla extract, just make sure it’s CLEAR so it doesn’t change the colour of your white icing.
You can use egg whites but I ALWAYS use meringue powder instead. I buy mine at BulkBarn.
Consistency is everything!! Also the hardest part and it took me awhile to figure it out. There are a million amazing tutorials and detailed blog posts about this where you can see photos, so I’m just going to tell you what works best for me.
When you finish mixing the royal icing, add a little bit of water, you want it to have a “10-second consistency”, which
means when you run the tip of a knife through the icing, the line
disappears in 10-seconds. This will result in an ideal consistency for
outlining and filling the cookies.
means when you run the tip of a knife through the icing, the line
disappears in 10-seconds. This will result in an ideal consistency for
outlining and filling the cookies.
Colouring your icing is always the fun part, for me anyways! I ALWAYS mix colours and never use them straight from the tub. It just makes the colour have more dimension and custom. If you don’t know much about mixing colours, you can check this chart out! Mix all your colours before you start! Royal icing will dry quickly so place a damp paper towel and a dish ontop (or plastic wrap, or put in a tupperwear container) so it does not dry out!
Prepping the decorating bags! You can see more on how to do this over on Wilton’s page here. I usually use a #2 or #3 tip.
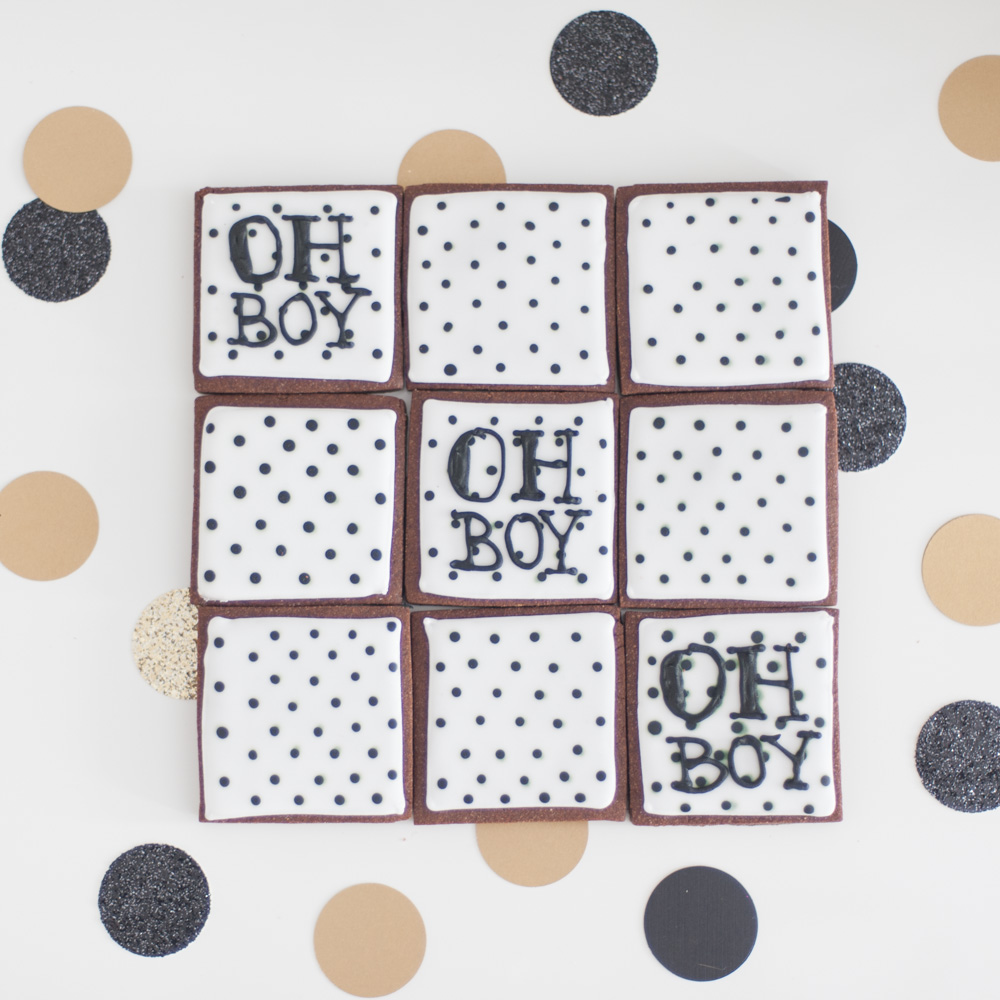
Pipe the outline! Some people like to leave the outline to dry a bit, so you can see it, but I personally like when my cookies are seamless so I fill it right away. Make sure to start around the outside and then fill in the entire thing, don’t be skimpy with the icing! Then use a toothpick to gently swirl it all together! If you’re adding more decorations or drawing on the cookies, make sure to let them dry for at least 4 hours. If you’re adding polka dots or want to try the wet-on-wet technique, do that now.
Make sure to let them dry for 12 hours before placing in bags and 24 hours before stacking!! These cookies are great to make ahead! Store them in air tight containers in a cool dry place.

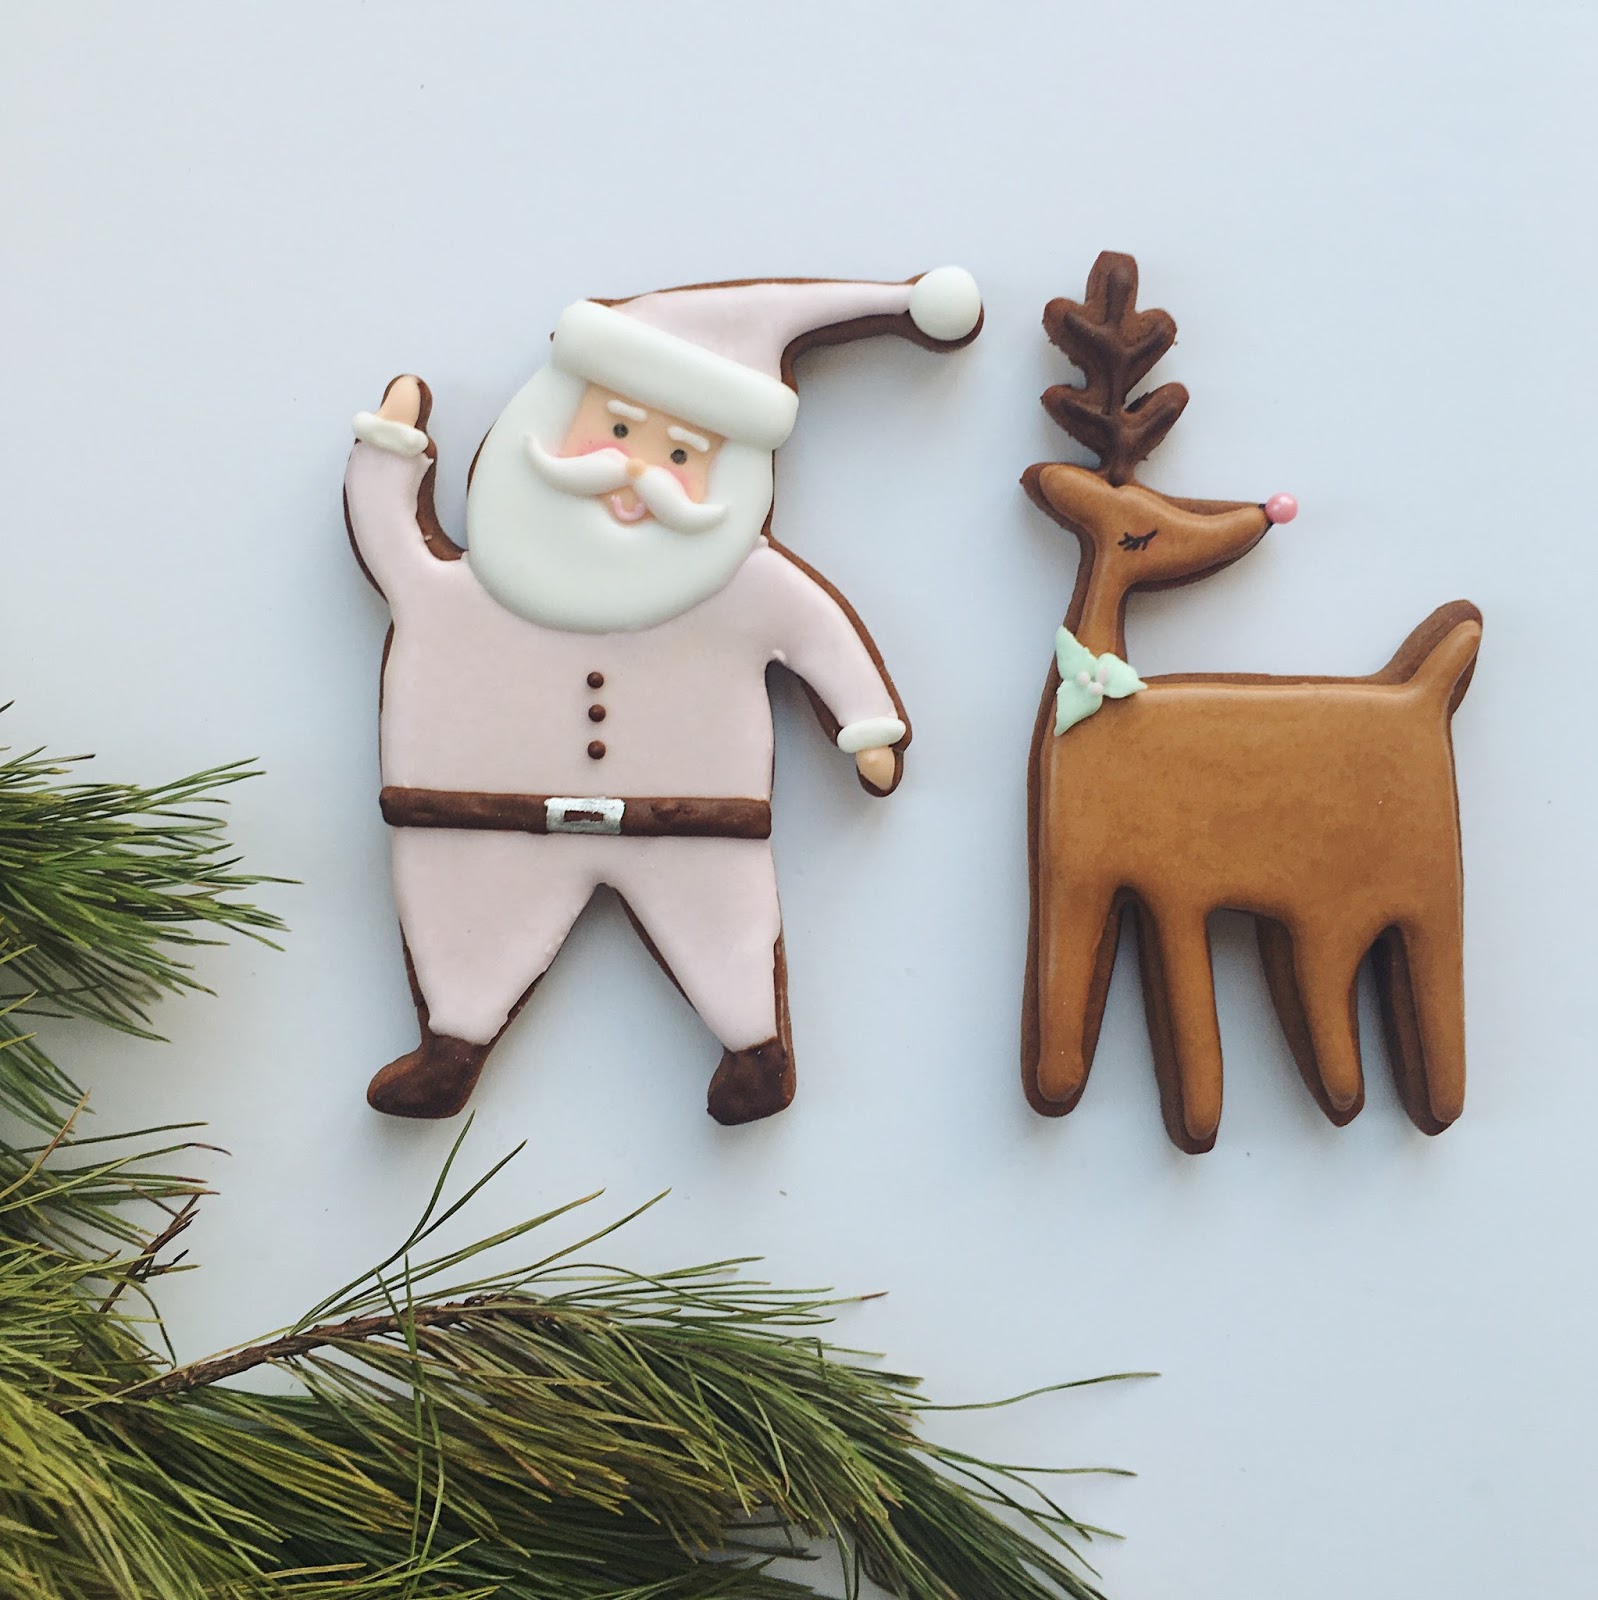
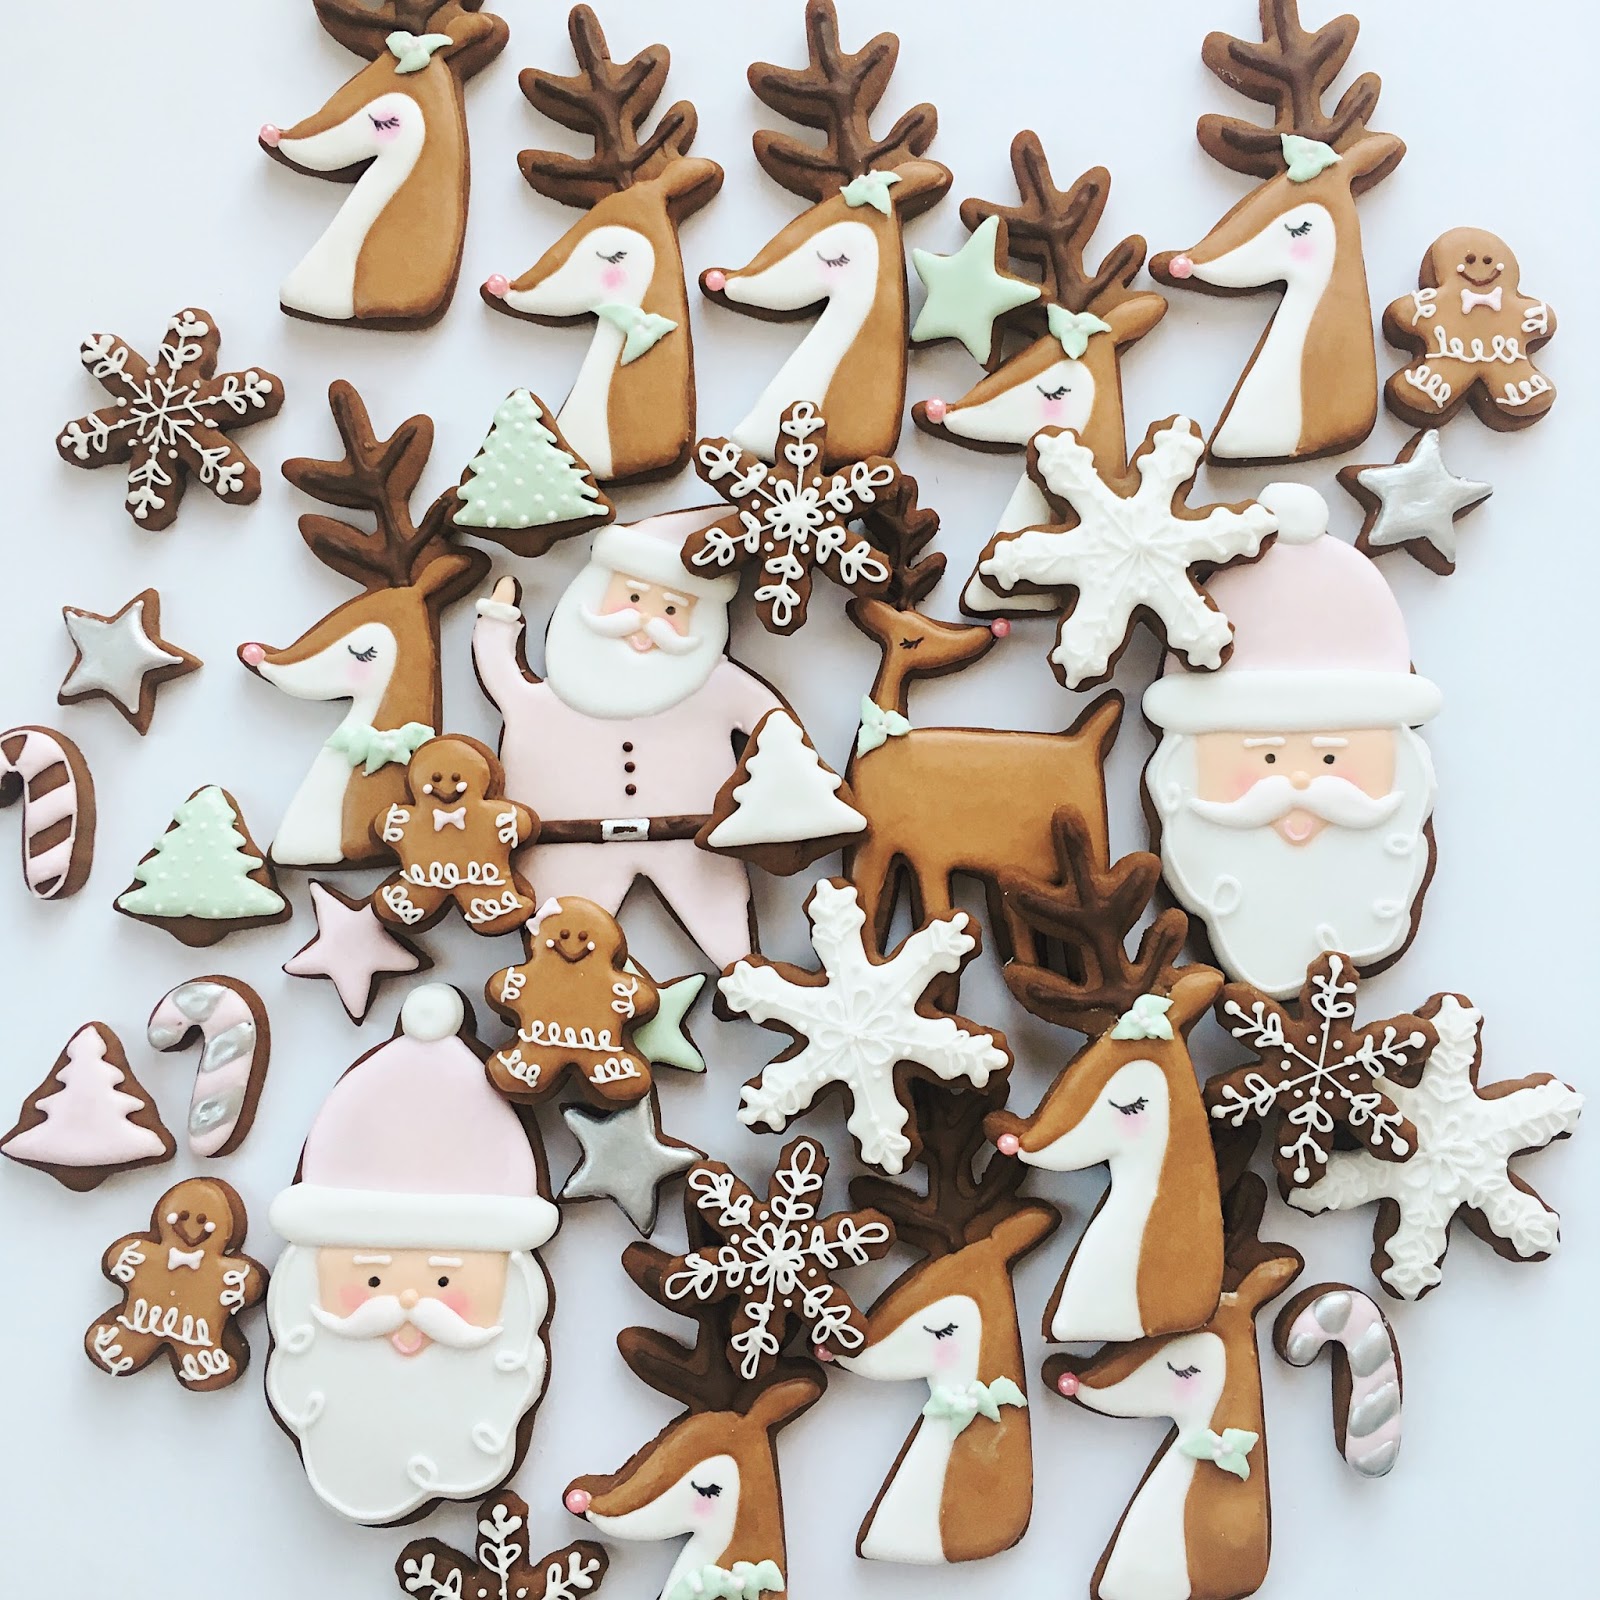
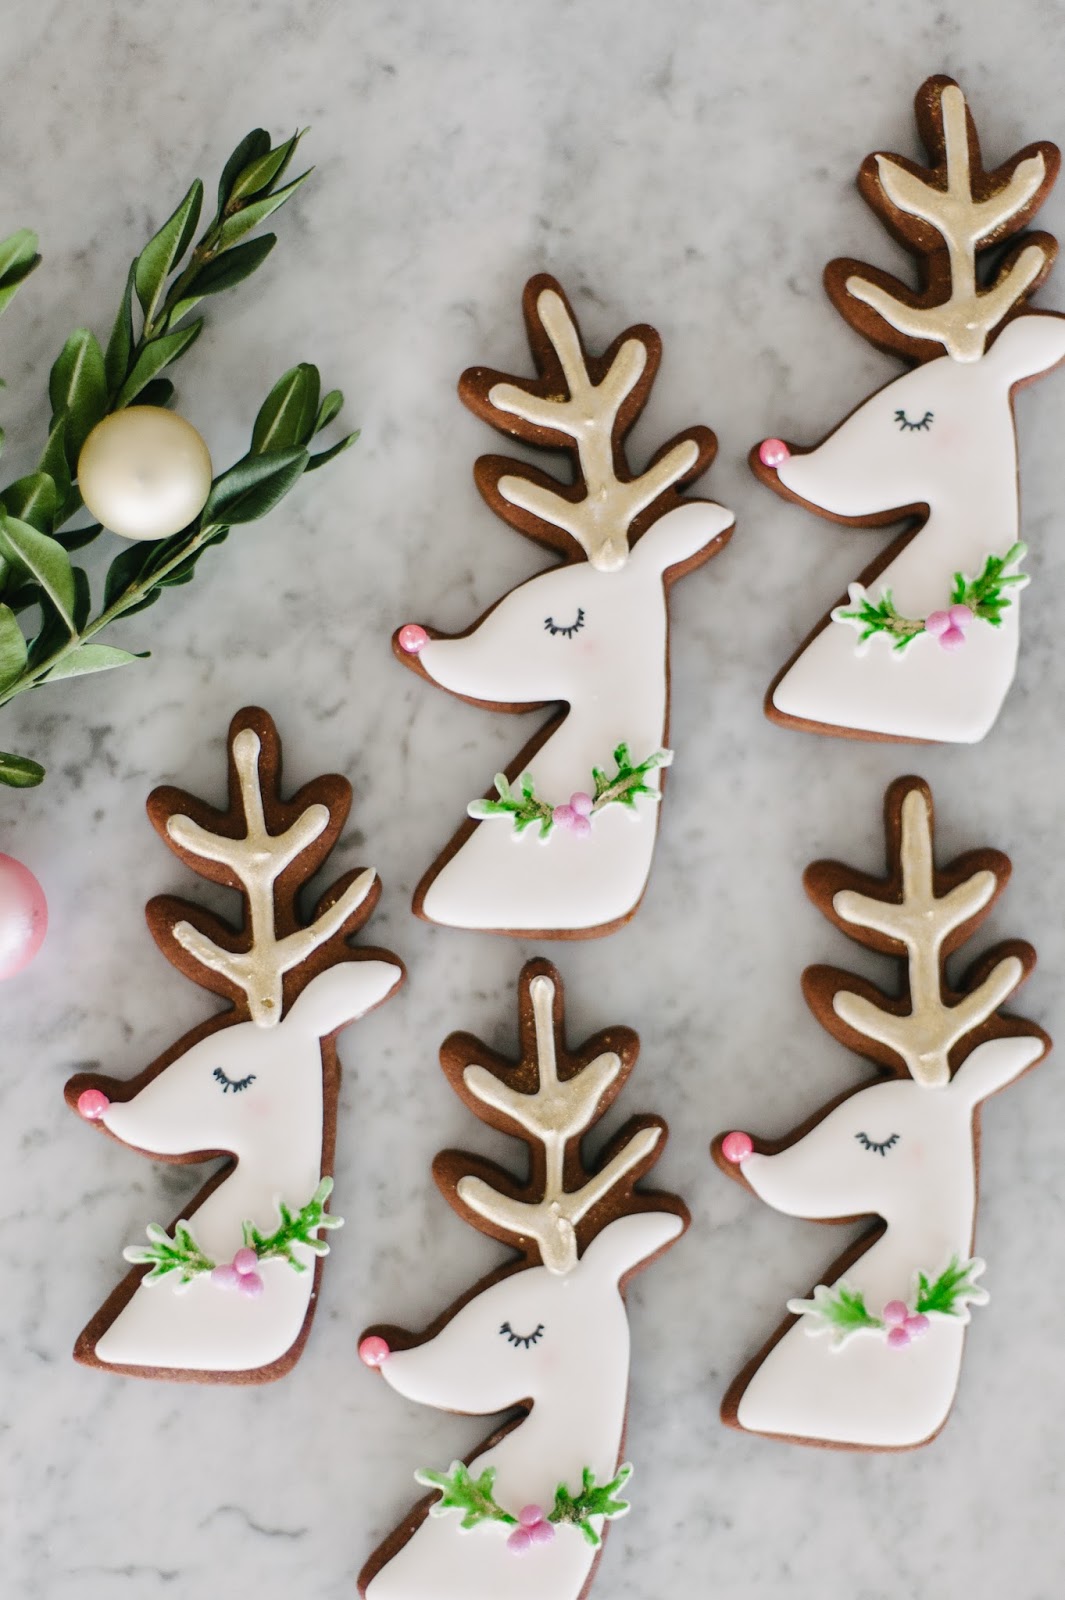
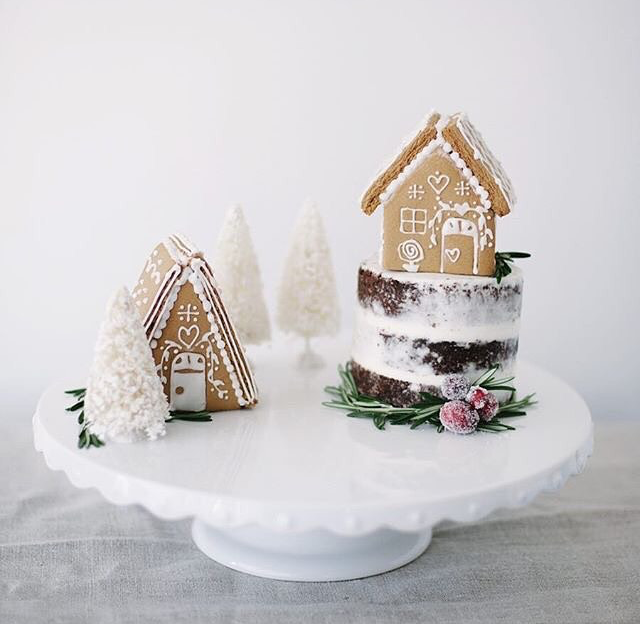
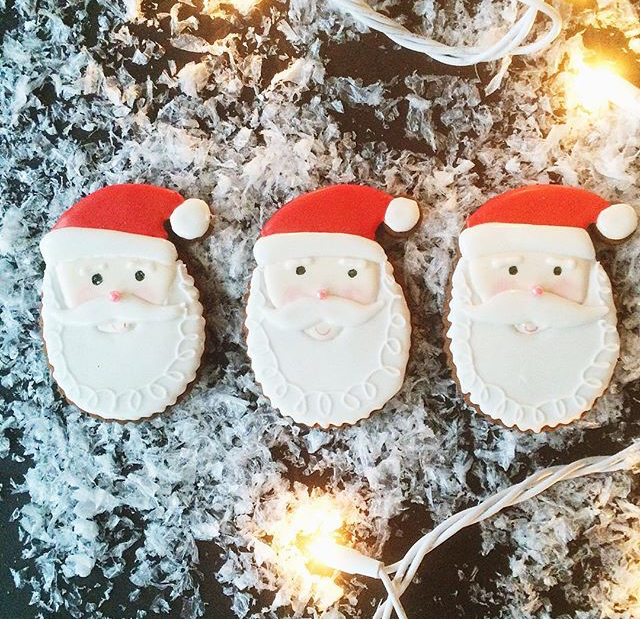
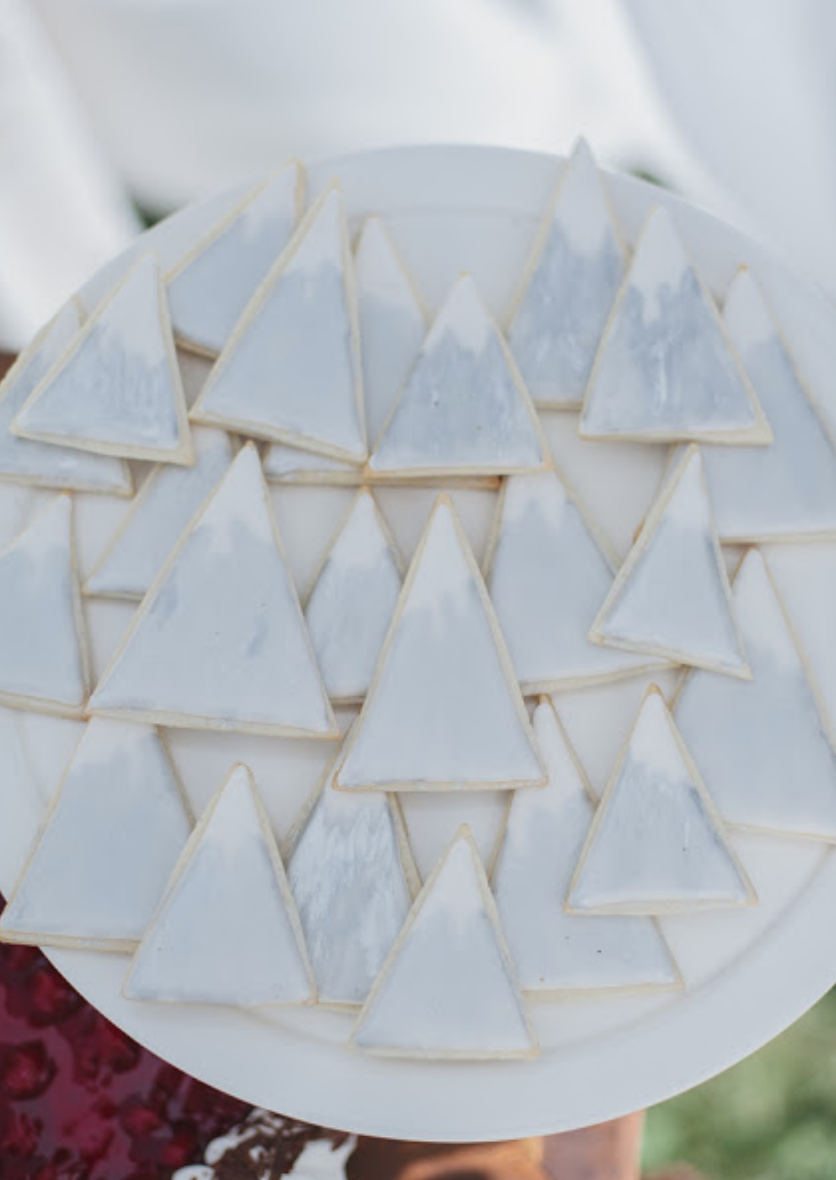
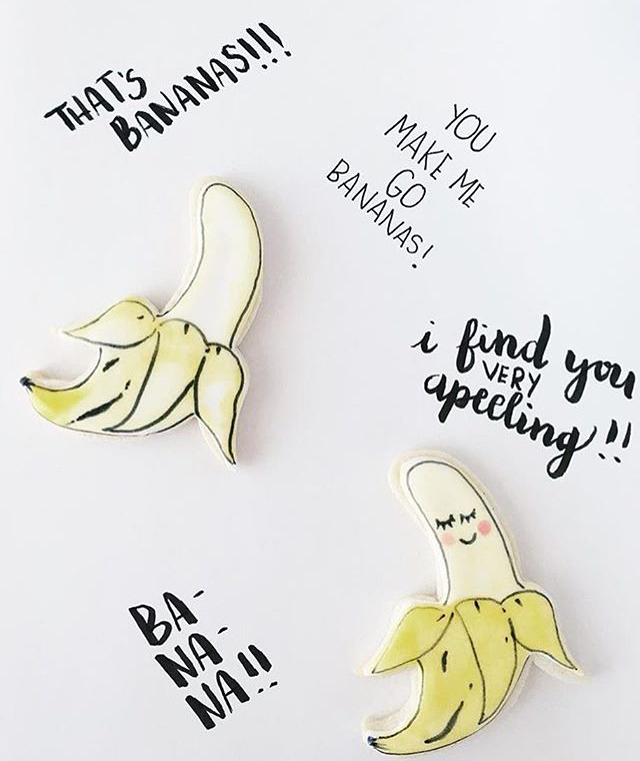
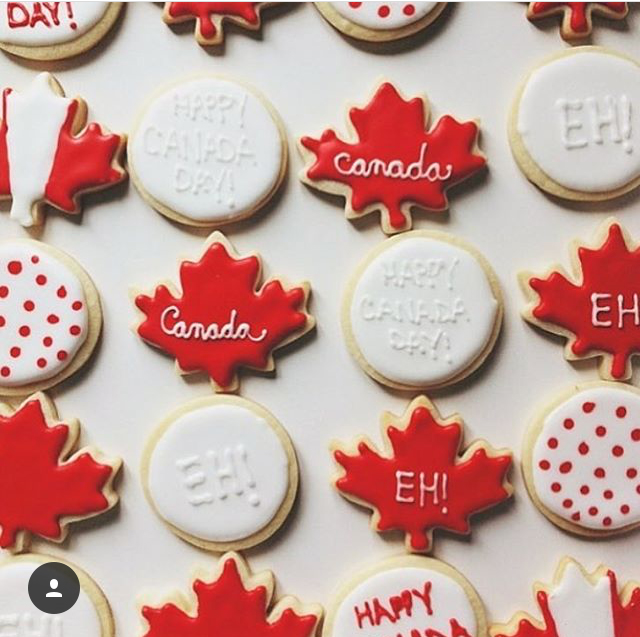
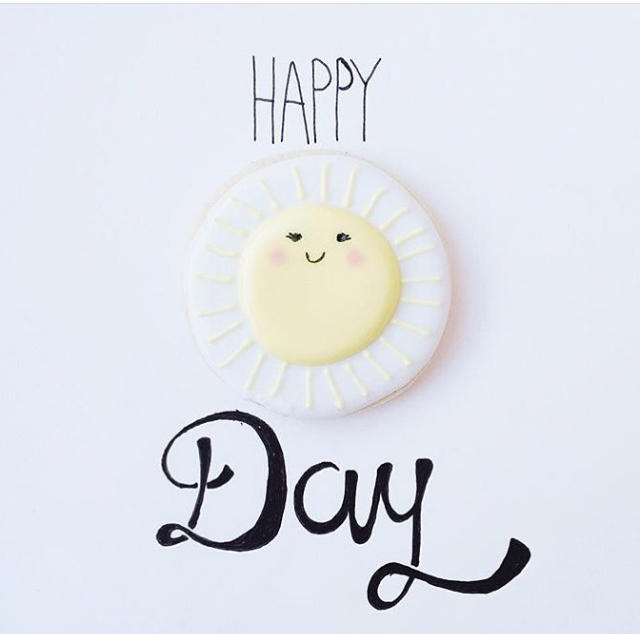
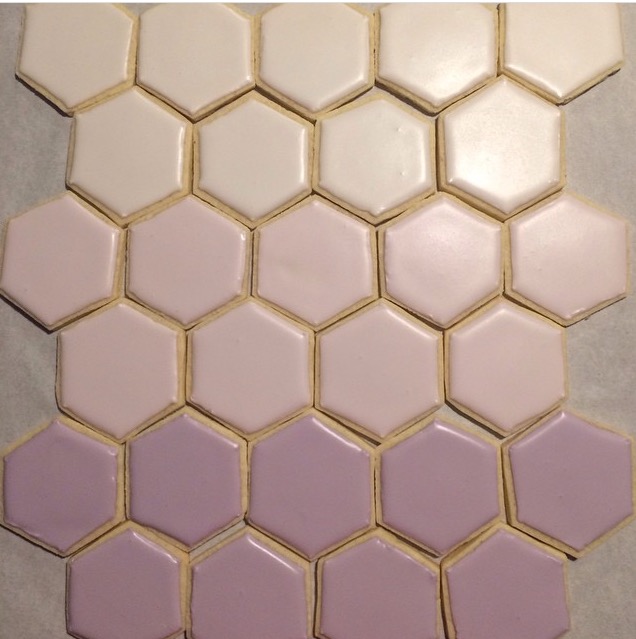
That’s it! I think I love these cookies so much because I can really use my imagination and come up with some fun designs. It’s like drawing but then you can EAT them! WIN-WIN, am I right?! I also love bringing them to parties, I’ve even brought them down to California a few times for Thanksgiving and 4th of July Celebrations, they are always a hit!
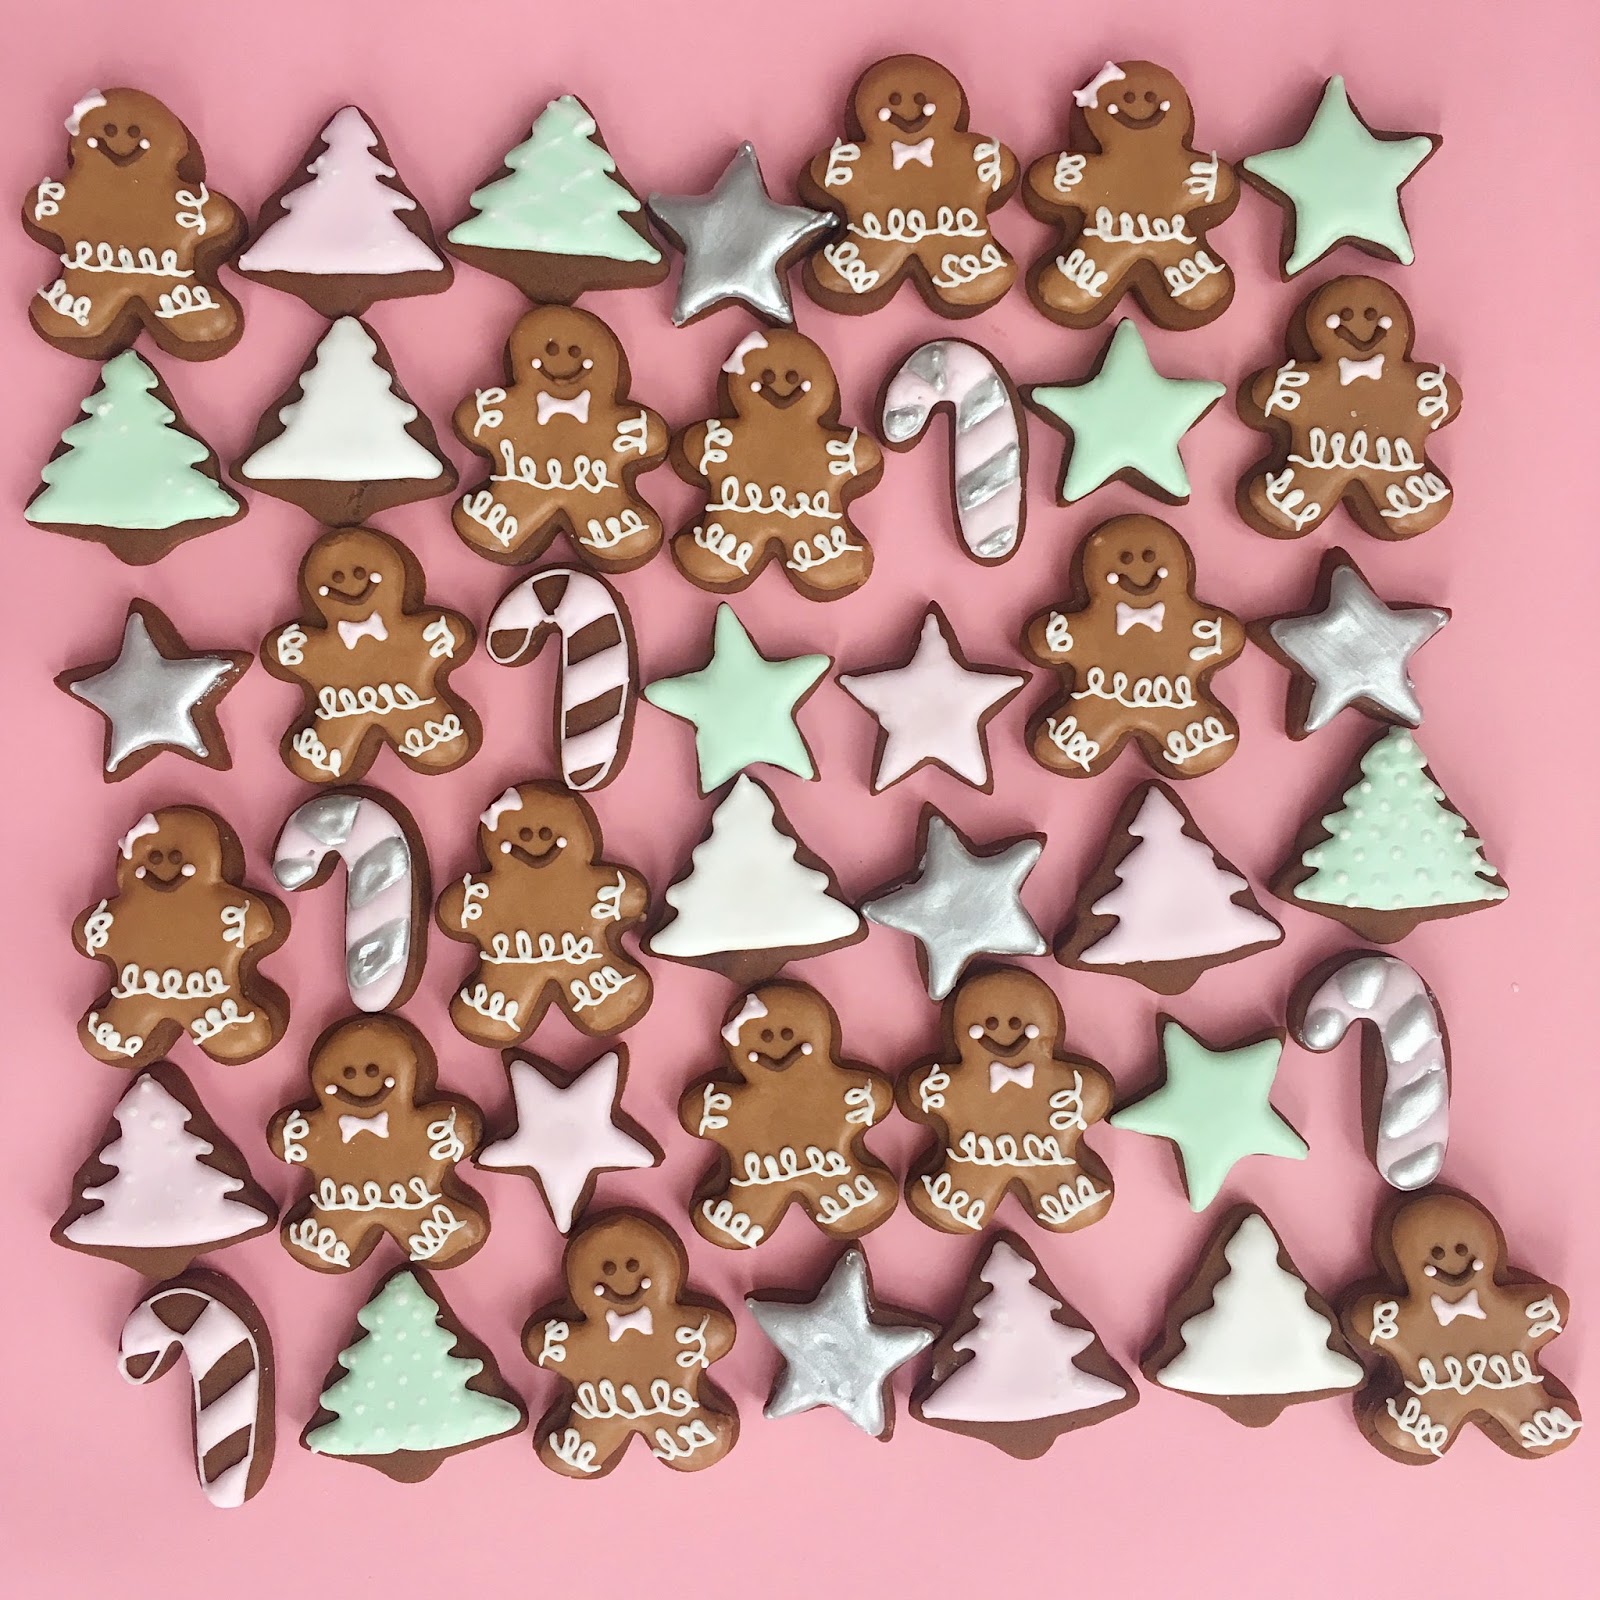
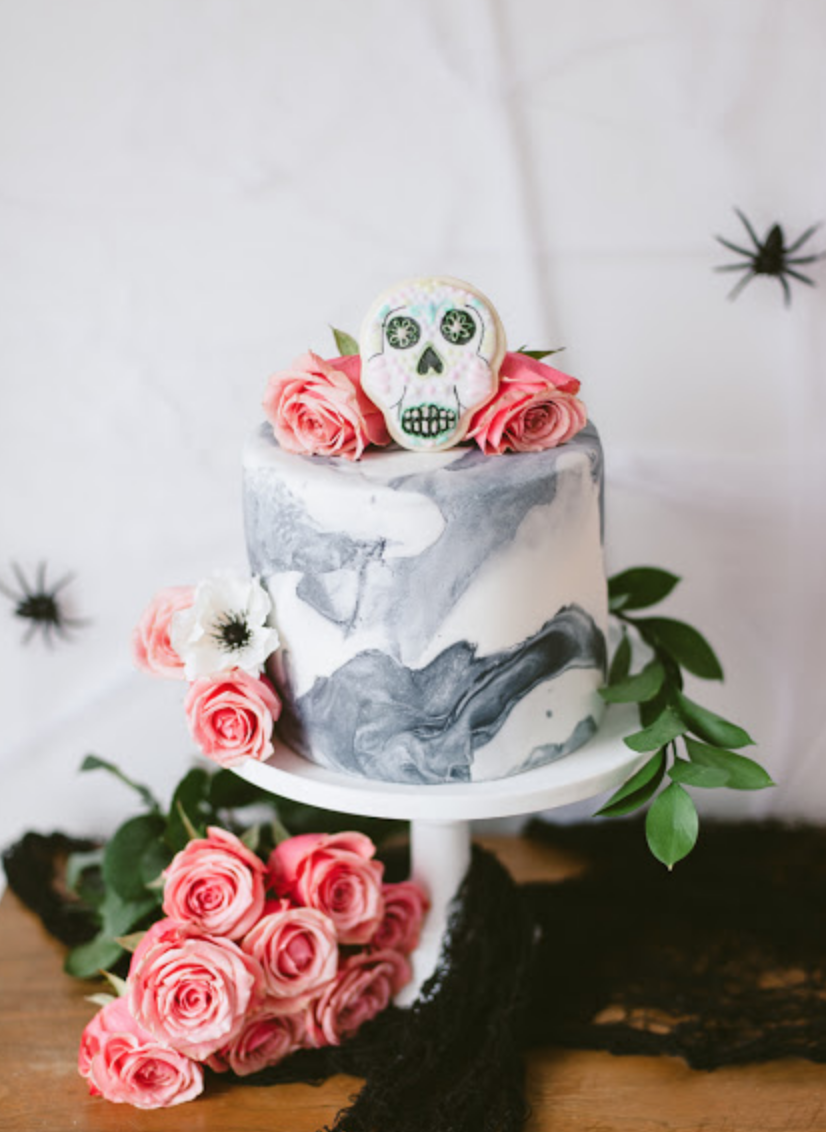
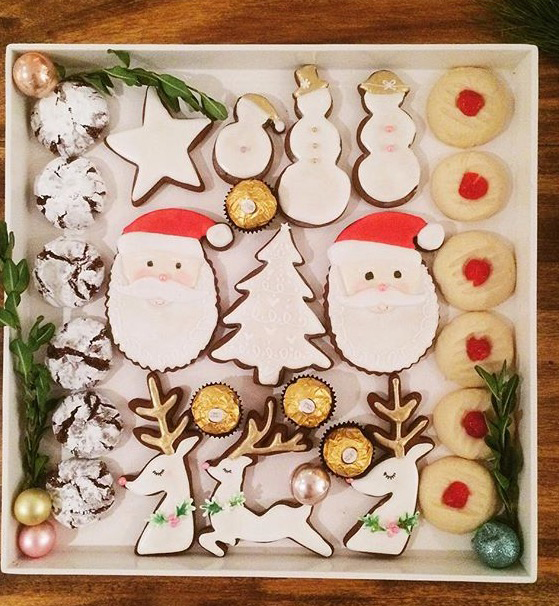
And now, for a little preview of just a fraction of the cookies I’ve made in the past 🙂


Hope this is helpful for some of you, please be sure to tag us in the photo if you try to make some sugar cookies of your own!!
xox Nat