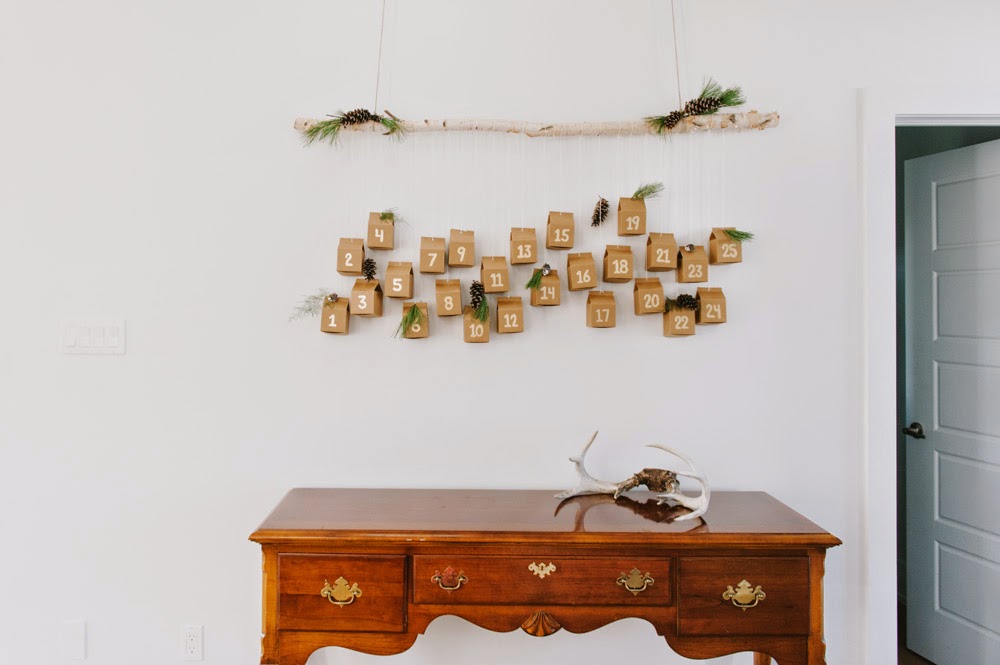
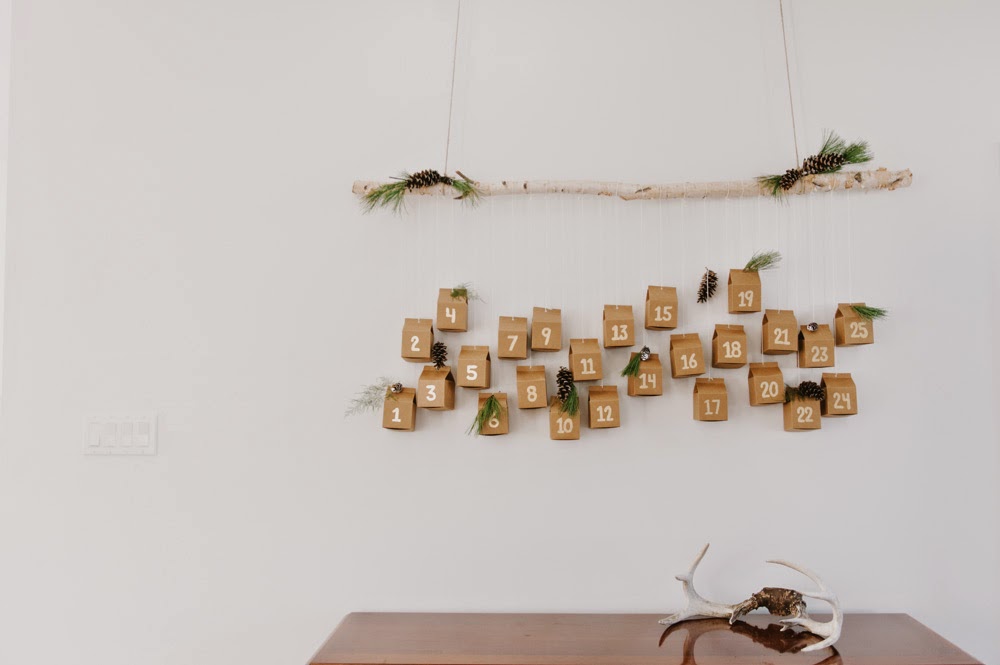
I cannot believe it’s almost December. Things are crazy this year, but I’m hoping to get a chance make another advent calendar. In the meantime I want to share with you a DIY tutorial for my calendar from last year!
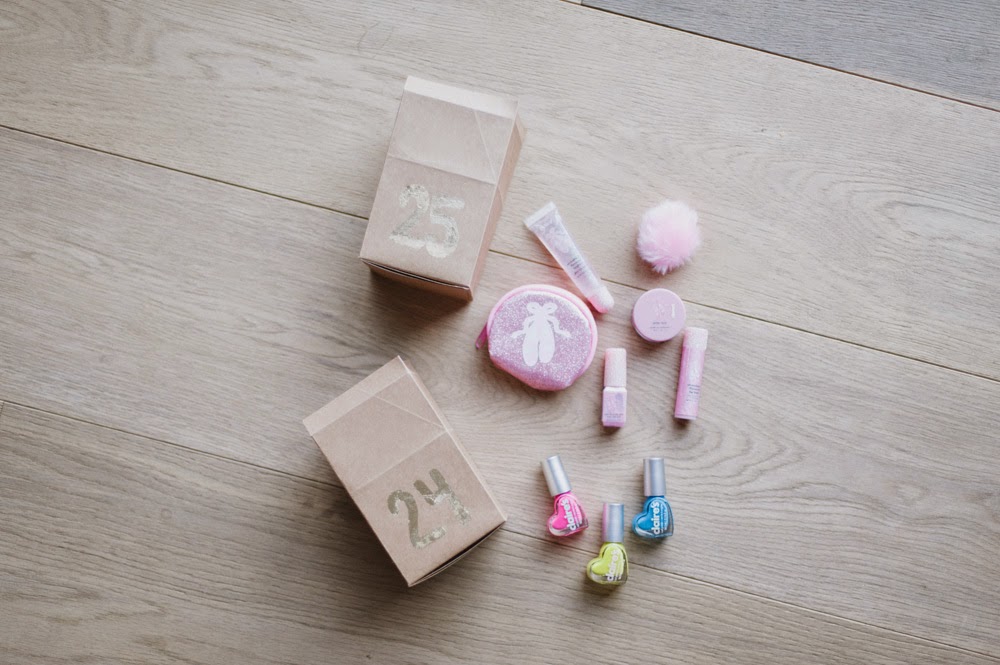
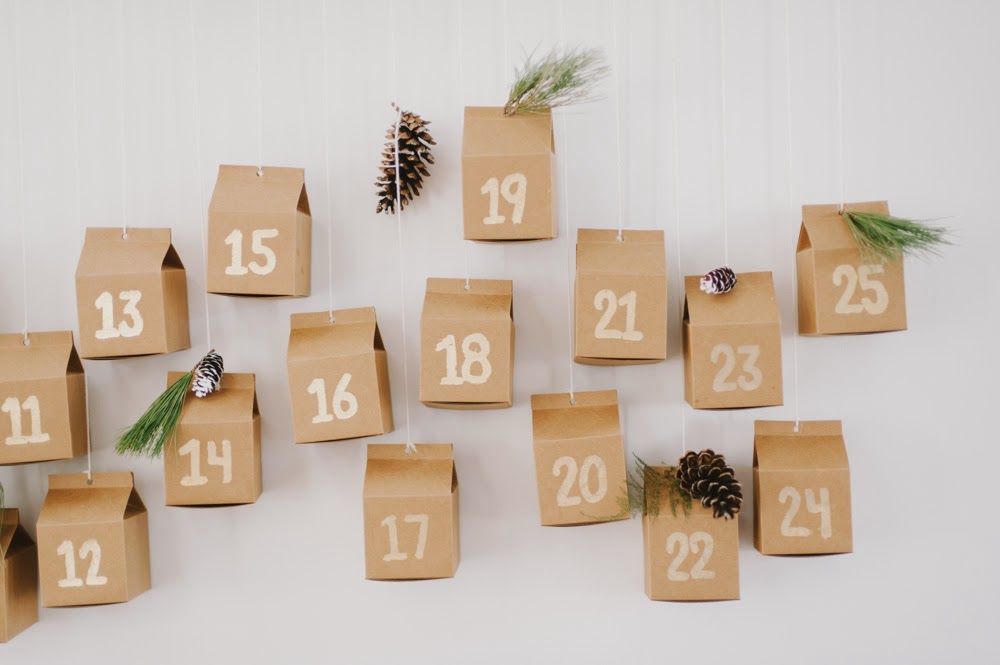
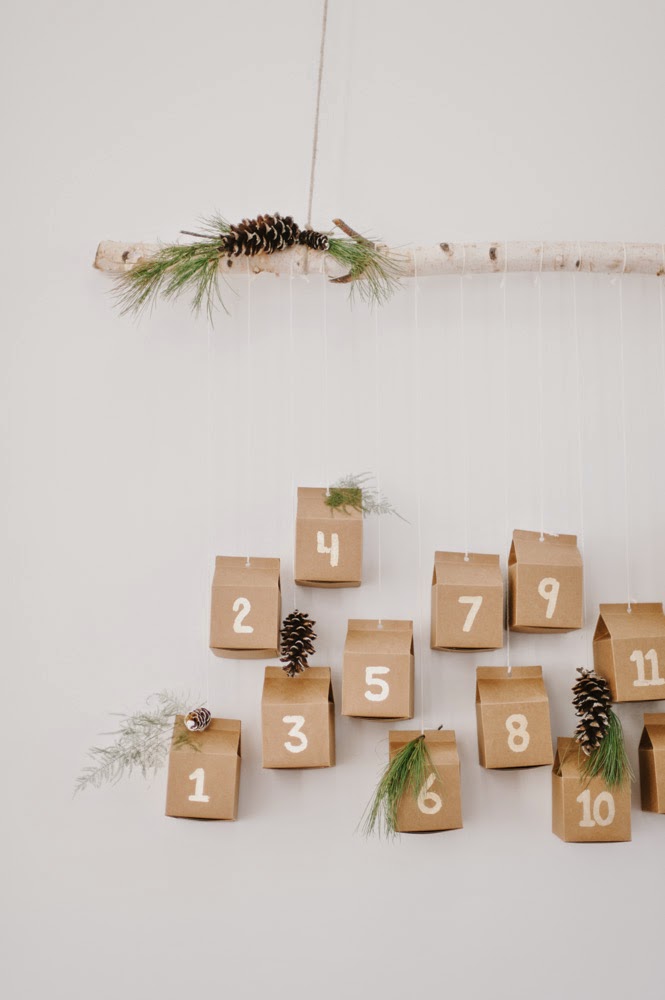
I found the boxes at Michael’s and used a 40% off coupon. I already had
the gold leaf, but I also purchased that at Michael’s a few months ago.
All of the other materials I had, or found in the forest.
the gold leaf, but I also purchased that at Michael’s a few months ago.
All of the other materials I had, or found in the forest.
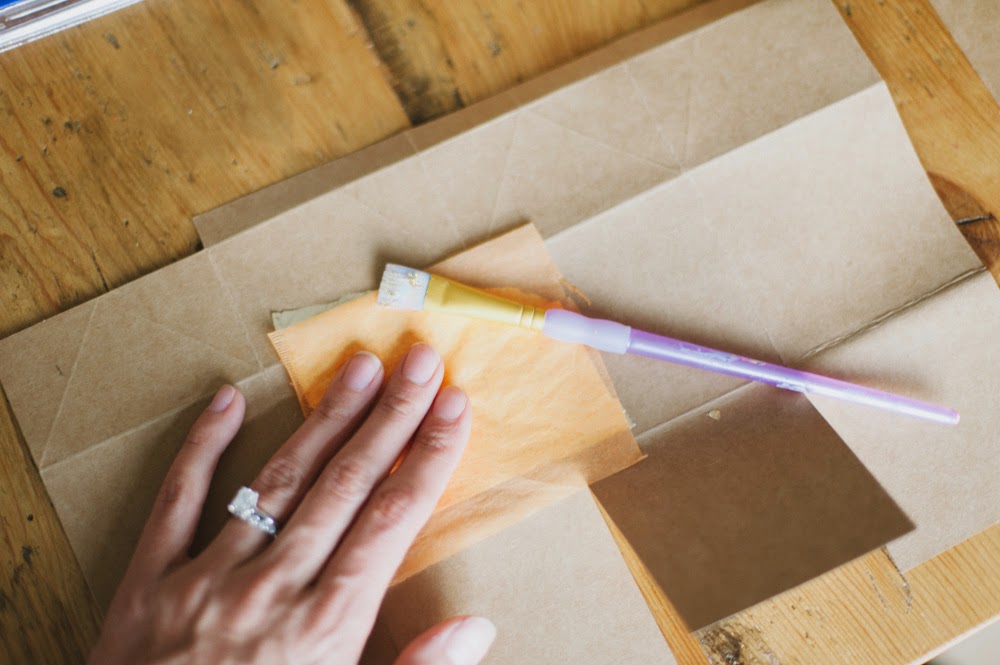
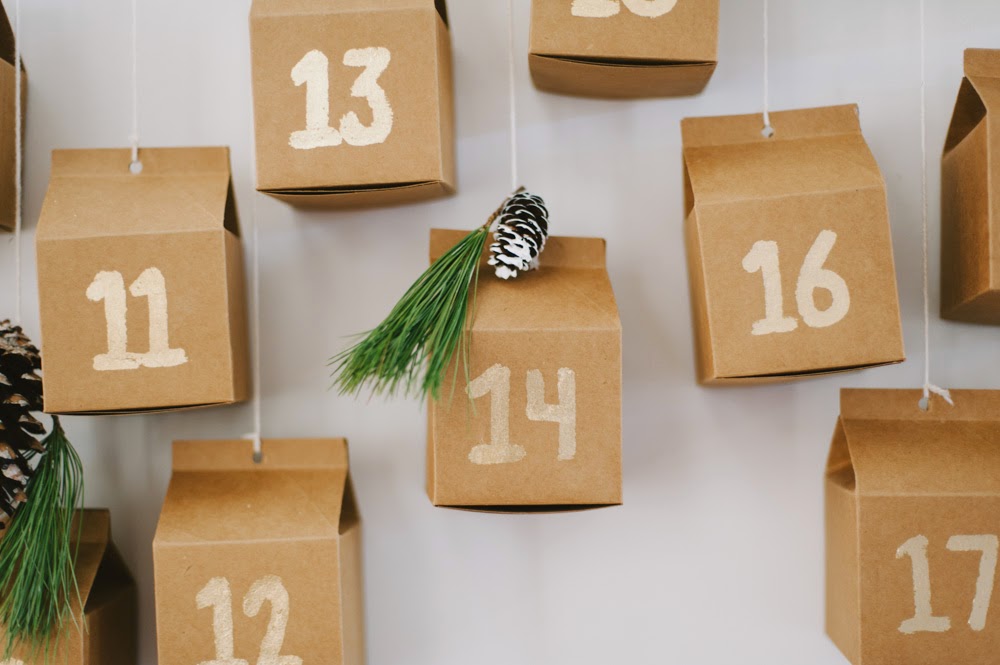
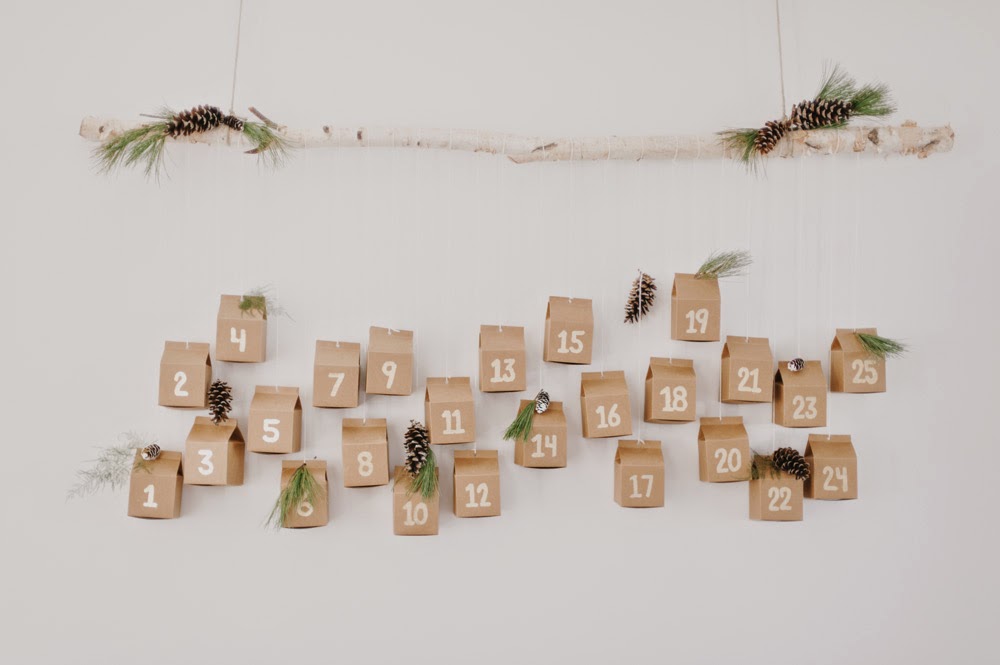
To gold leaf the numbers, I first made myself a little white paper window so
that they would all be the same size, because I am a little crazy like
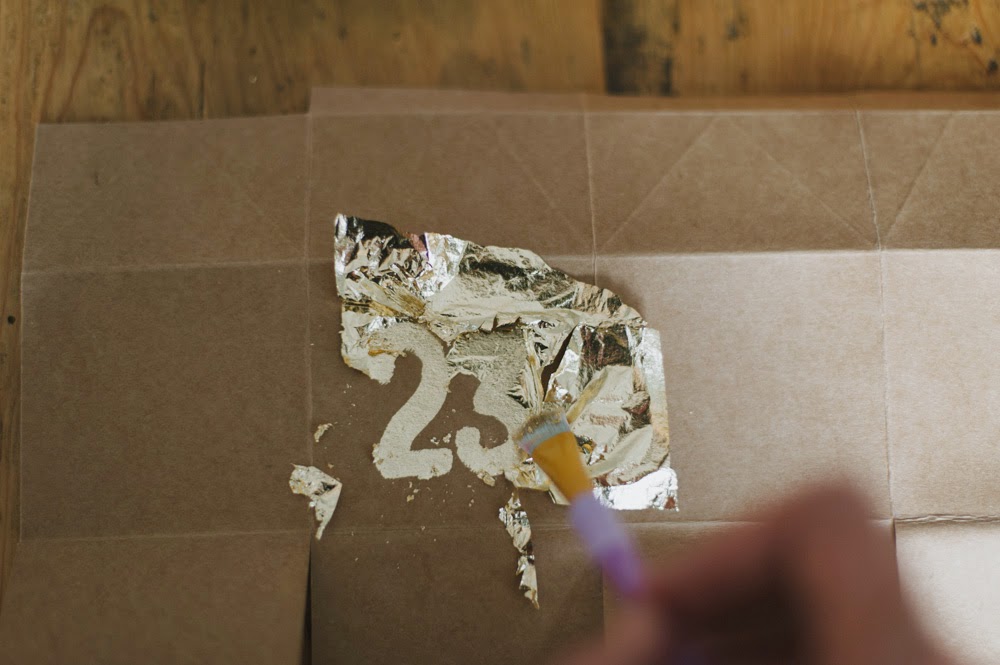
that. Then take the adhesive pen and draw your number, wait a few
seconds and then place the gold leaf on top of the glue, with the tissue
paper and rub it in gently. Next take a paint brush and brush away the
gold leaf. I try and save all the big leftover pieces.
that they would all be the same size, because I am a little crazy like
that. Then take the adhesive pen and draw your number, wait a few
seconds and then place the gold leaf on top of the glue, with the tissue
paper and rub it in gently. Next take a paint brush and brush away the
gold leaf. I try and save all the big leftover pieces.