Project Ellia’s Room – Painted Wooden Blocks
February 23, 2016
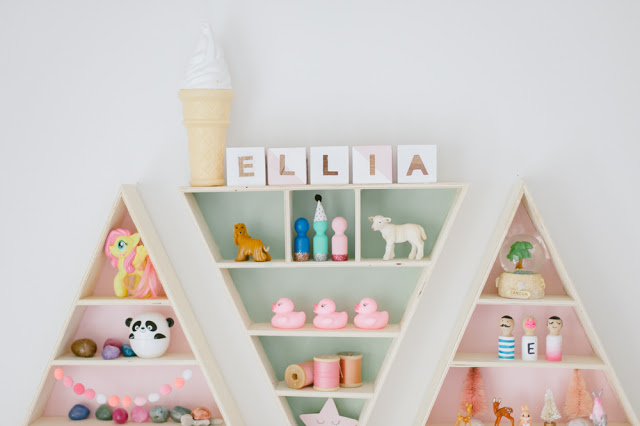

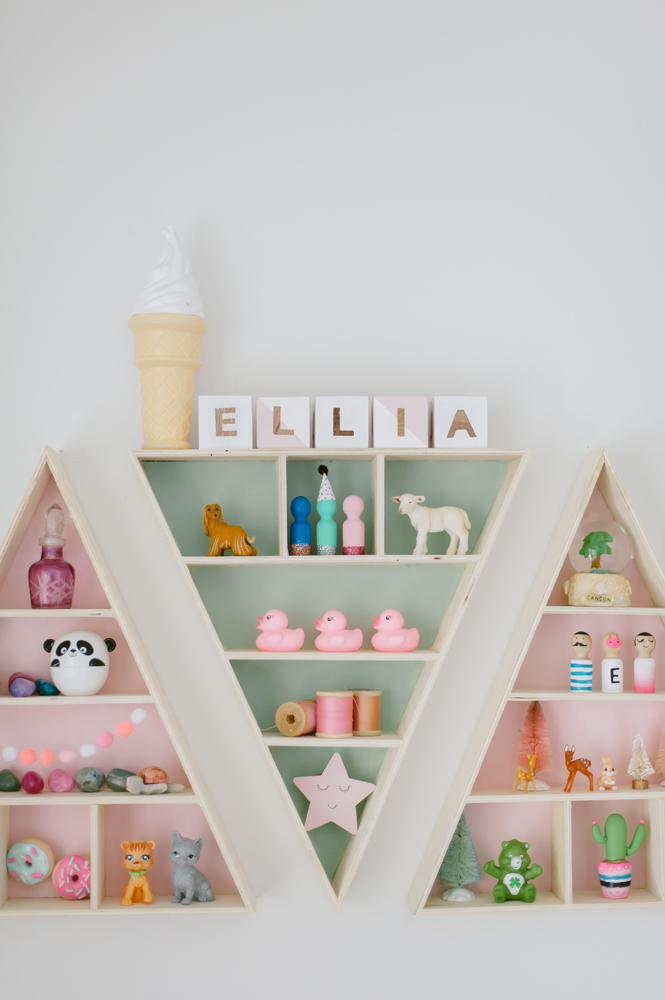
We have still been working away on Ellia’s Room over here, and it’s almost ready to share the whole thing!
Today we have a simple DIY that is super cute and can be used for so many things.
Today we have a simple DIY that is super cute and can be used for so many things.
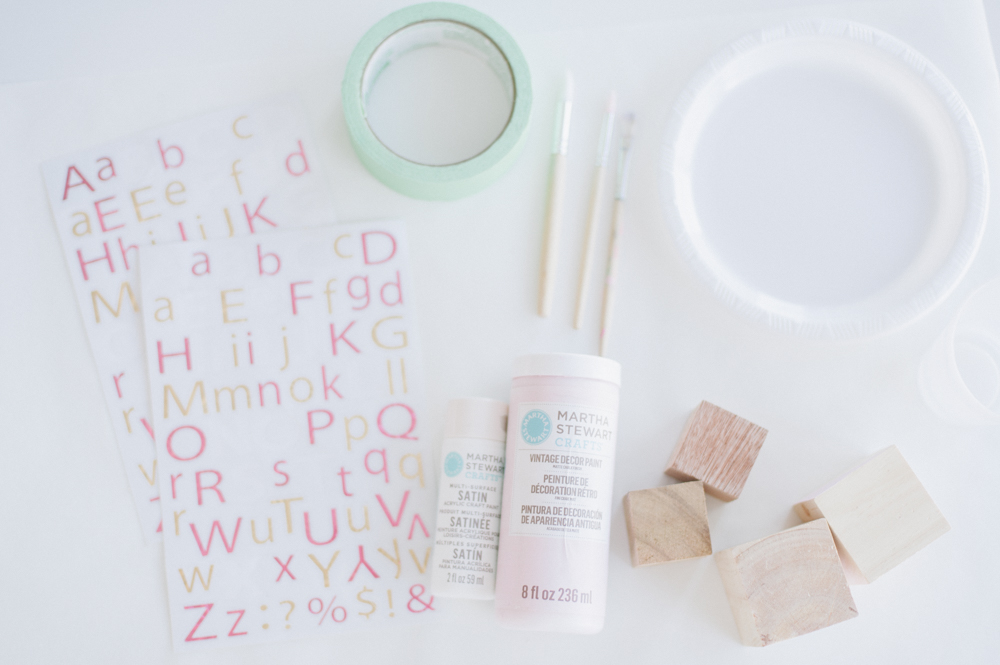
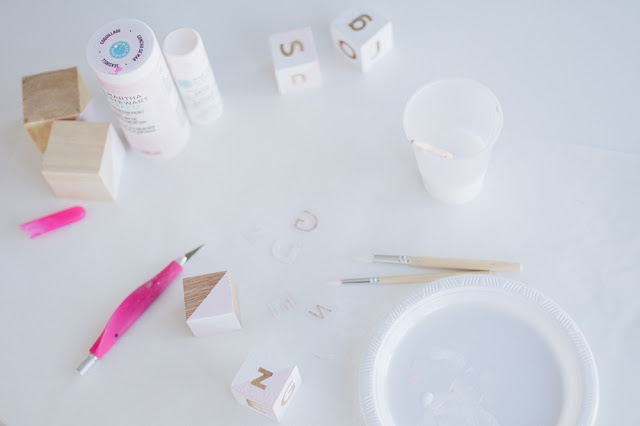
Materials:
Wooden blocks (Michaels)
Paint
Painters Tape
Paint Brushes
Alphabet Stickers (dollarstore)
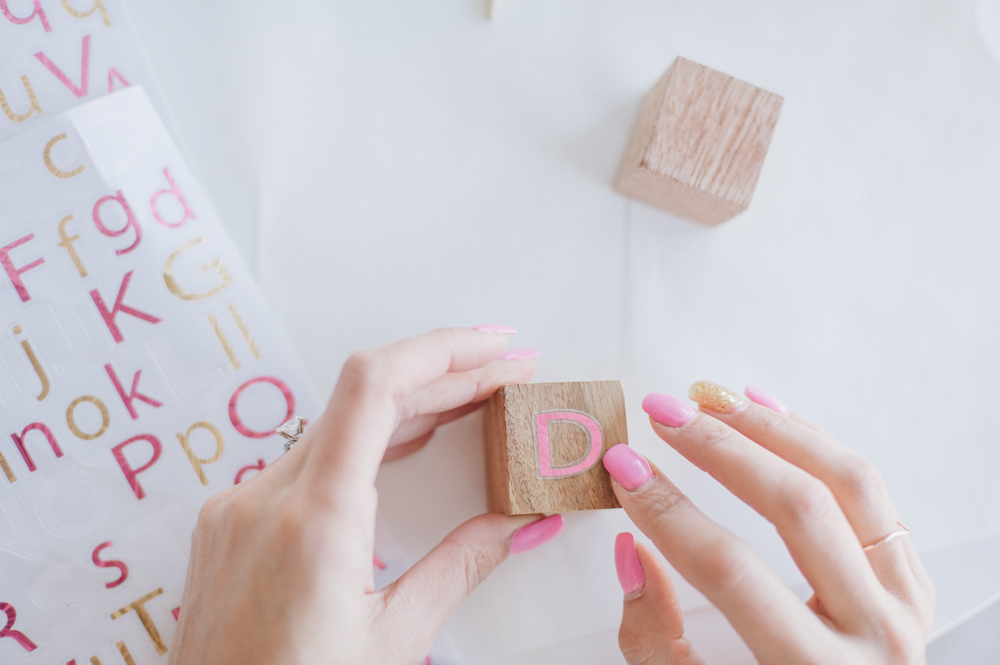
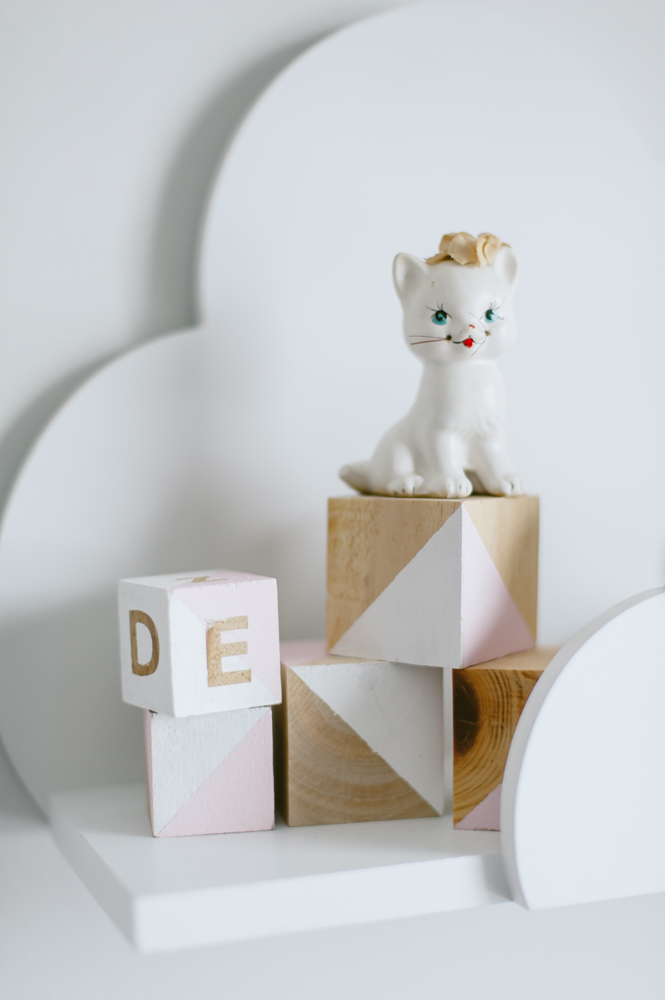
Put a different letter sticker in the center of each side.
 Choose your colours! We went with a base of white for the entire block. You can paint each side a different colour too!
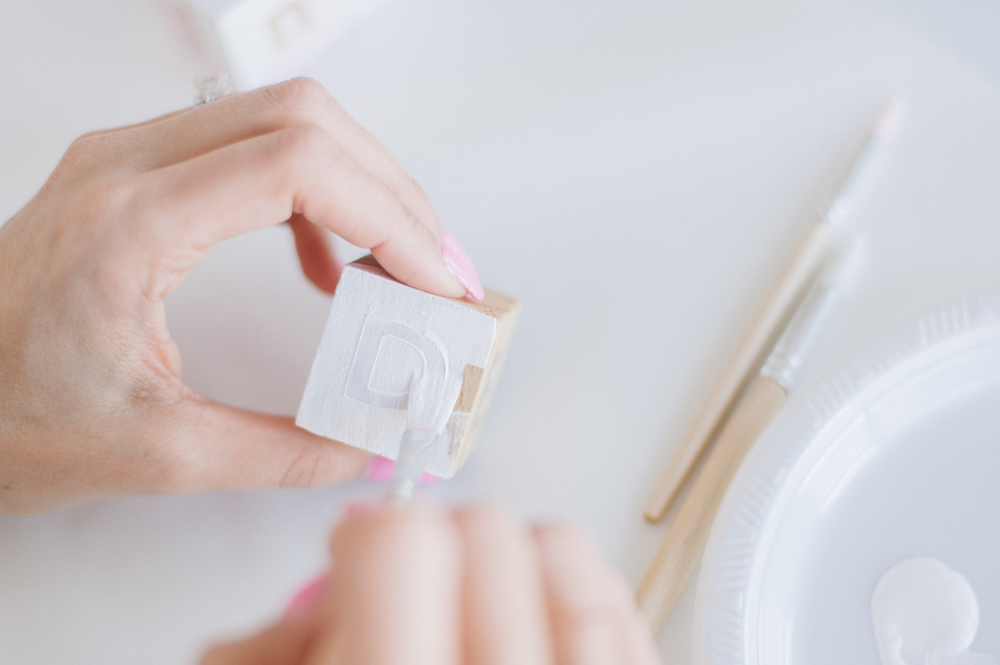

Let dry. Do a second coat if you want. Take your painters tape and place it diagonally from one corner to the next.
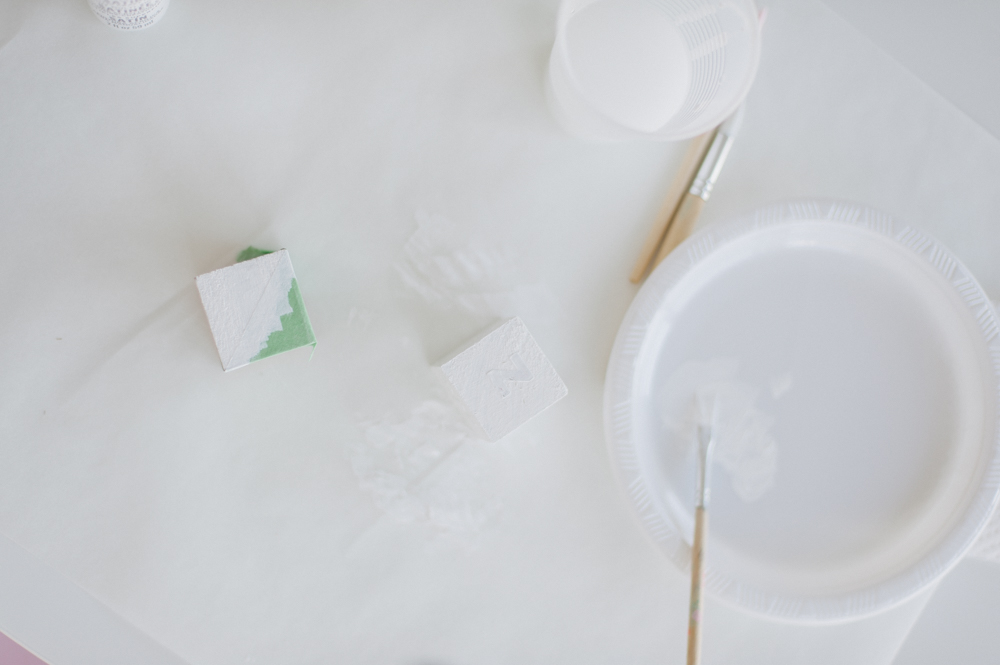
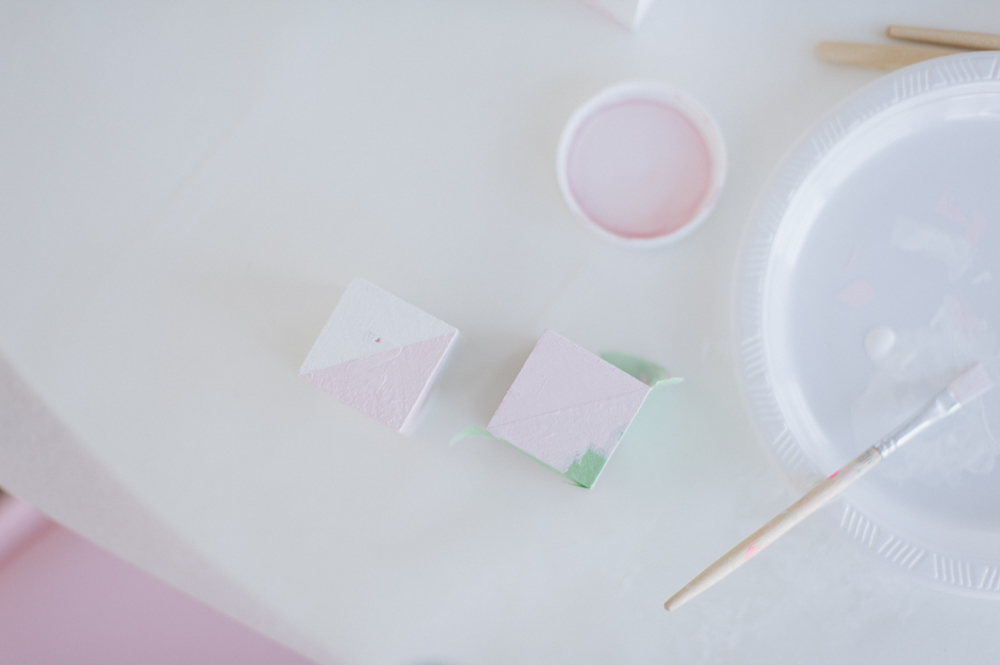
Paint with another colour. Let dry and do a second coat.

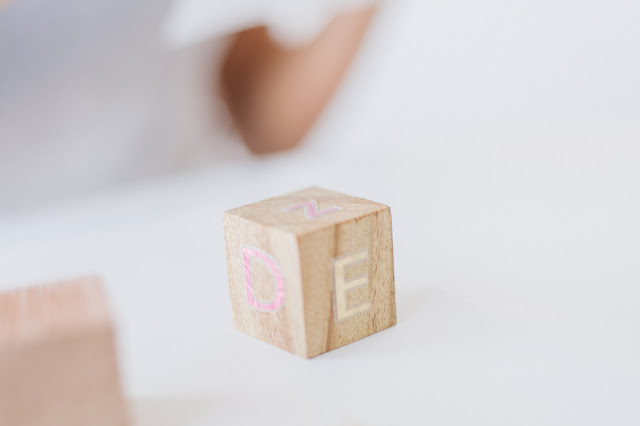
 Once completely dry take off tape. Then slowly peel off the letter sticker


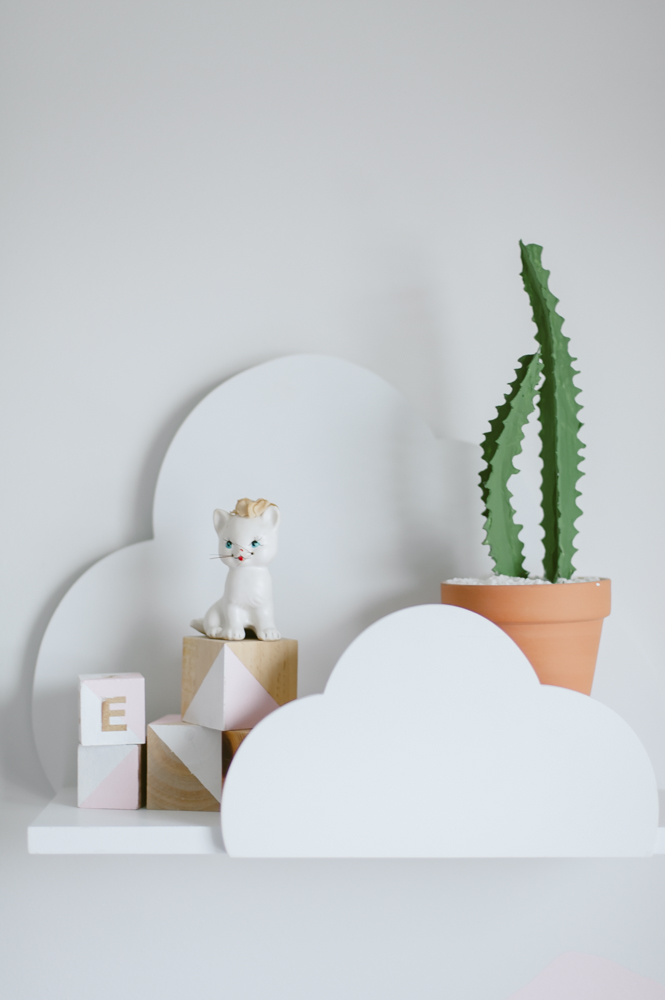
 We also did some blocks with no letters, just painted diagonal lines. They are fun to pair together, be used for shelf decor or even to prop up little trinkets. We also think they would be great gifts for a new baby, because they can be customized and would look super cute in a nursery, dontchya think?!

xo Nat