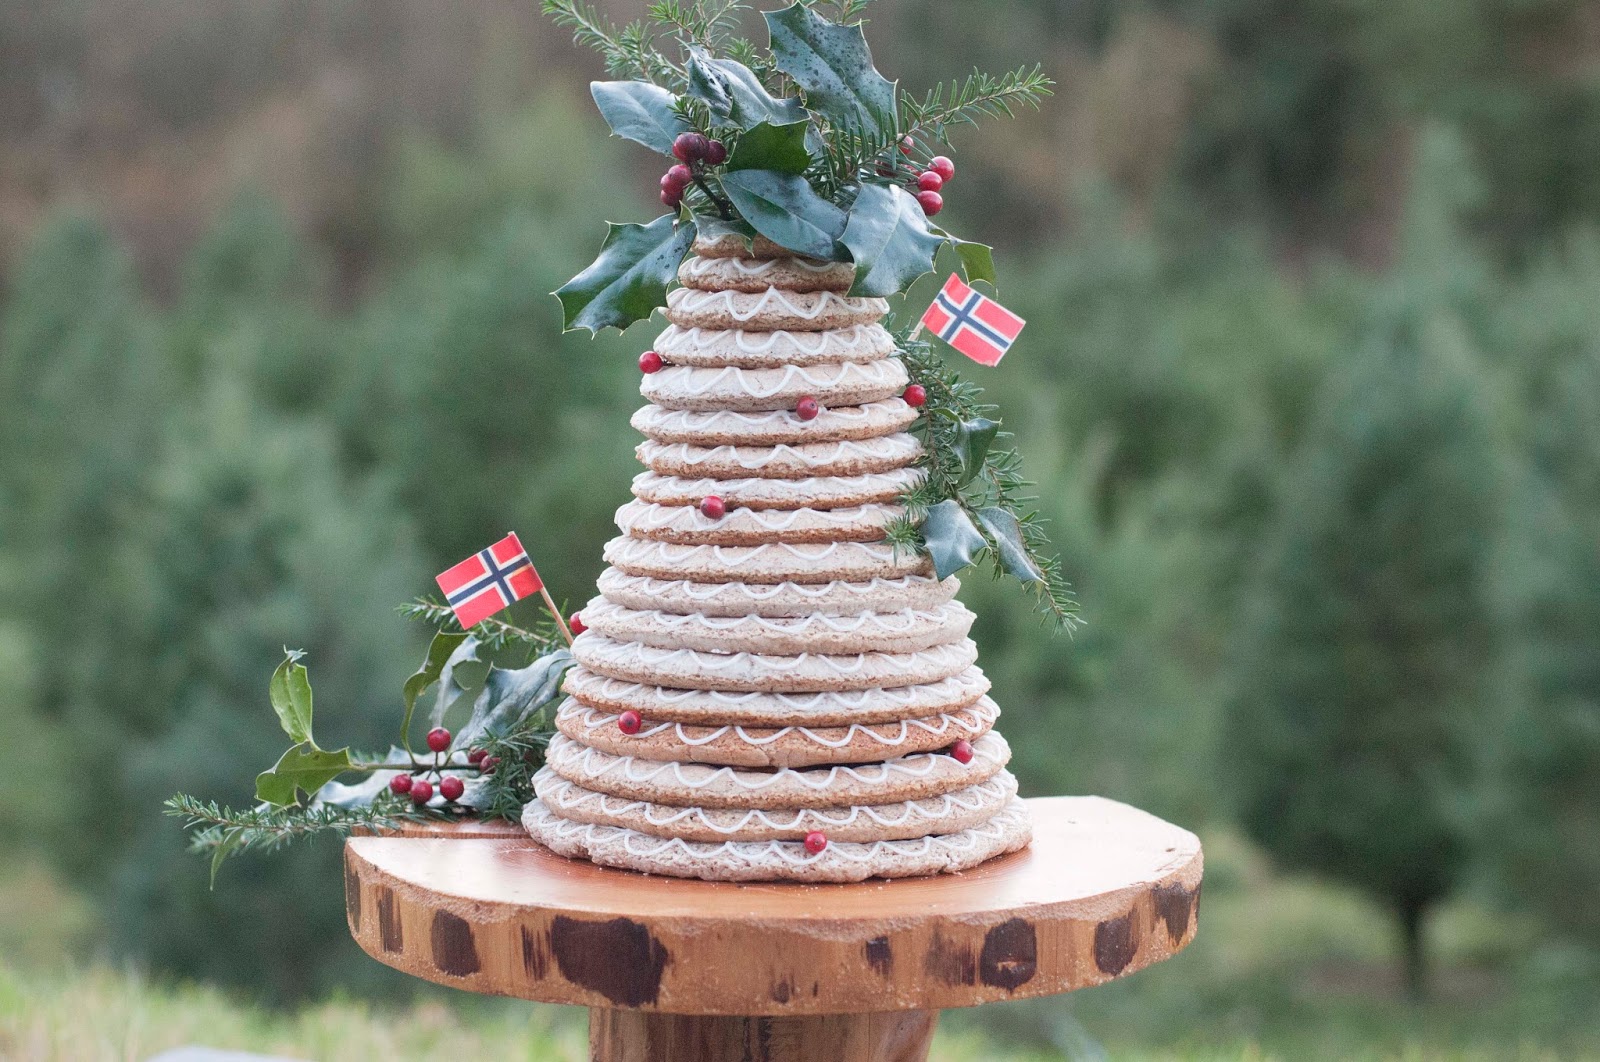
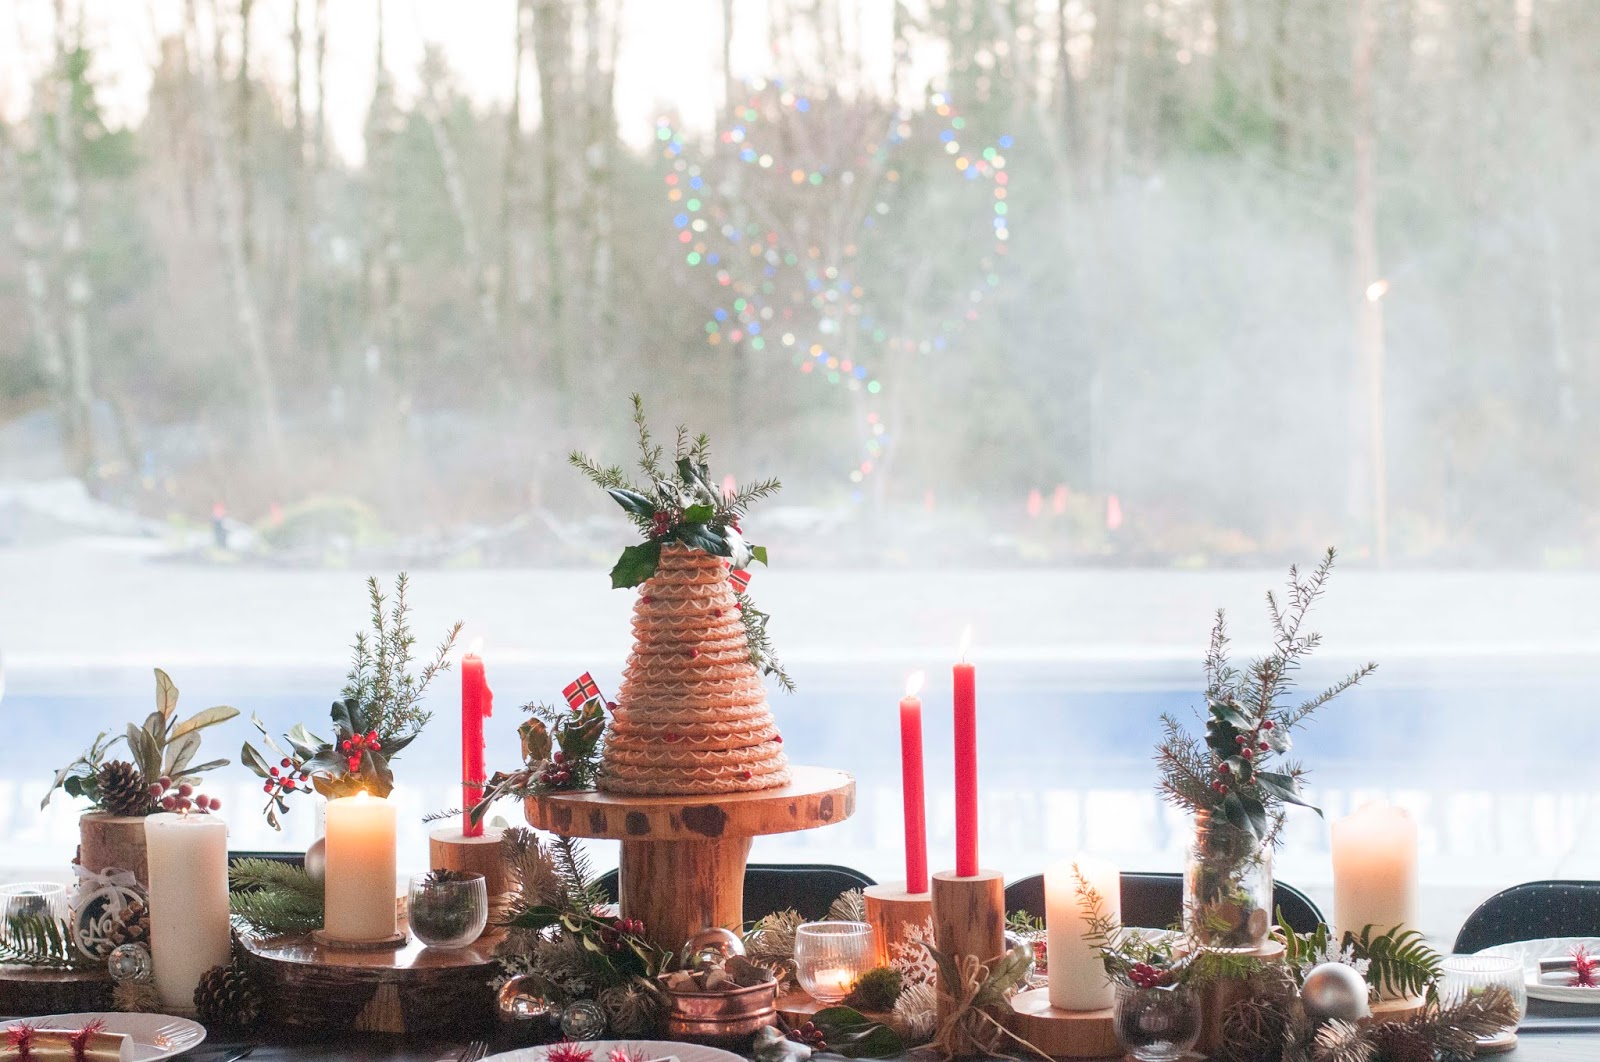
Holiday Kransekake

 I’m currently in beautiful Fort Langley, British Columbia at my lover’s (TJ!)
parents house. We are celebrating an early Christmas, and of course
that calls for baking. TJ’s mom Lil is Norwegian, and makes the
yummiest sweets (and Norwegian PANCAKES). I wanted to make a traditional Norwegian Krensekake
because she always makes this recipe into cookie logs over the holidays,
and I looooove them. But in tower form the Kransekake is taken to a
whole new level of YES! This is her mum’s recipe, straight from
Norway. I’m so grateful to have it passed down to me, and am excited to
share it with you 🙂
-1 tbsp cardamon
-1 tbsp cinnamon
for the icing:
-soft butter for pan
* I used a decorators bag with a #1 tip but you can get away with a strong zip lock with a little hole in it.
Simply mix these ingredients together with a whisk or fork. Can use it up to two days if kept in the fridge.
What to do:
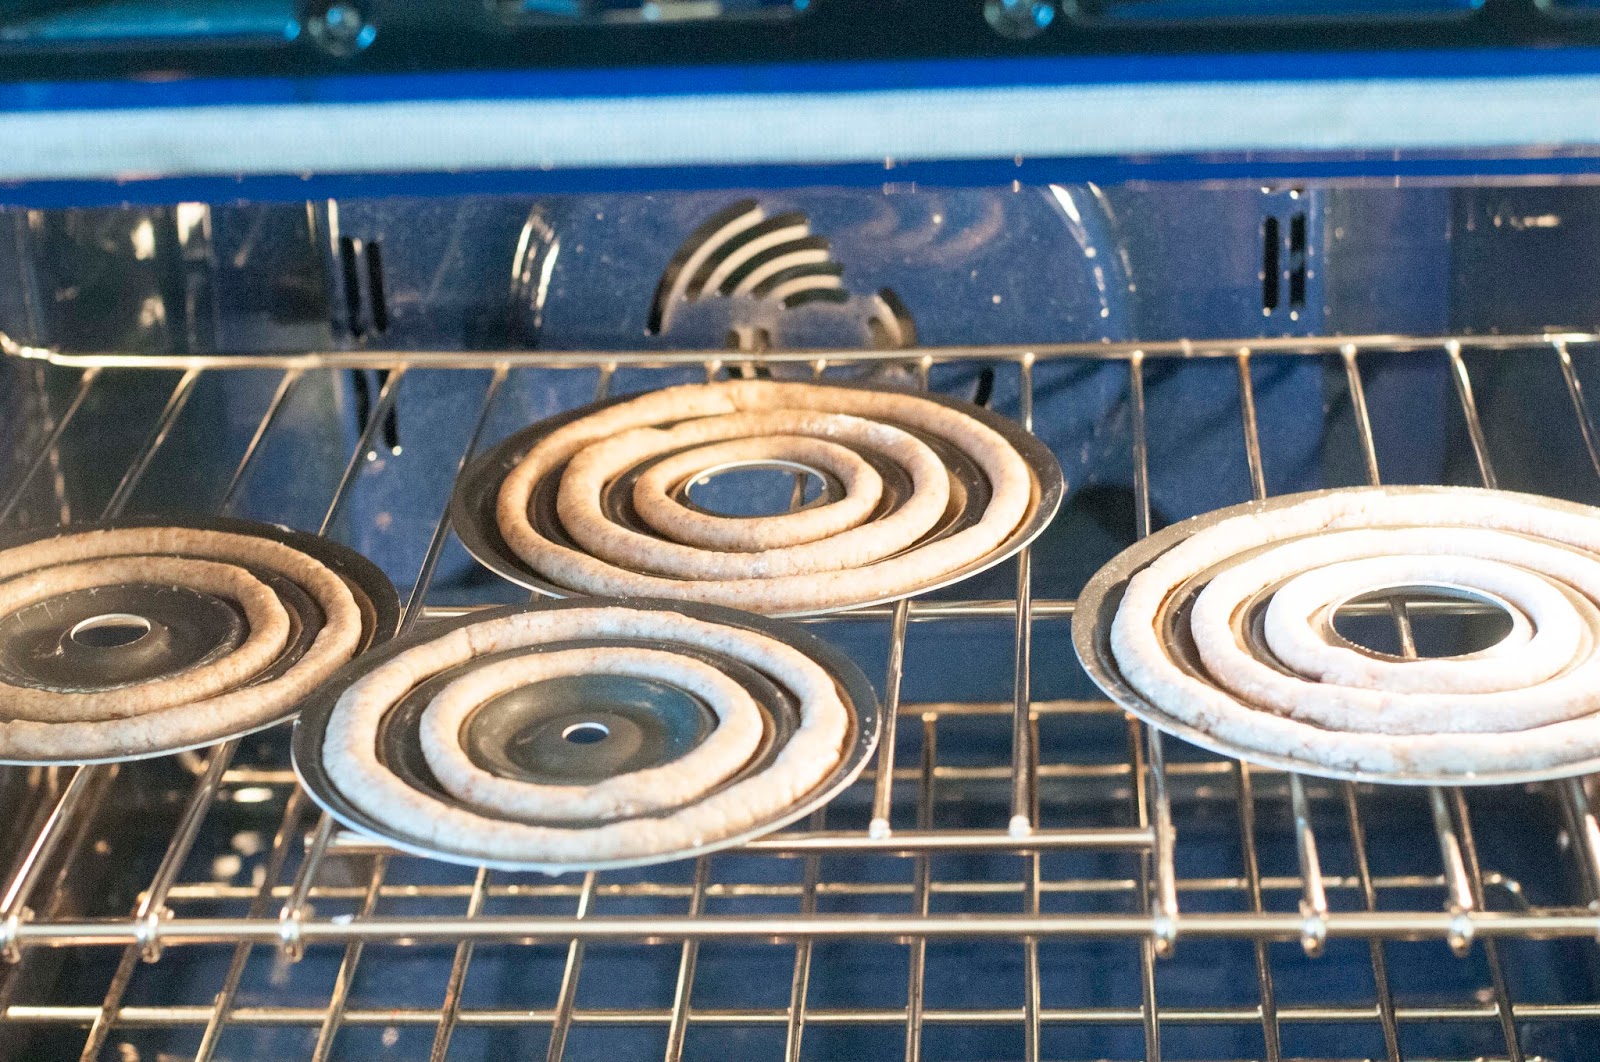
1. Preheat oven to 400°F.
2. Use a basting brush to put a thin coat of butter in all the creases of the pans.
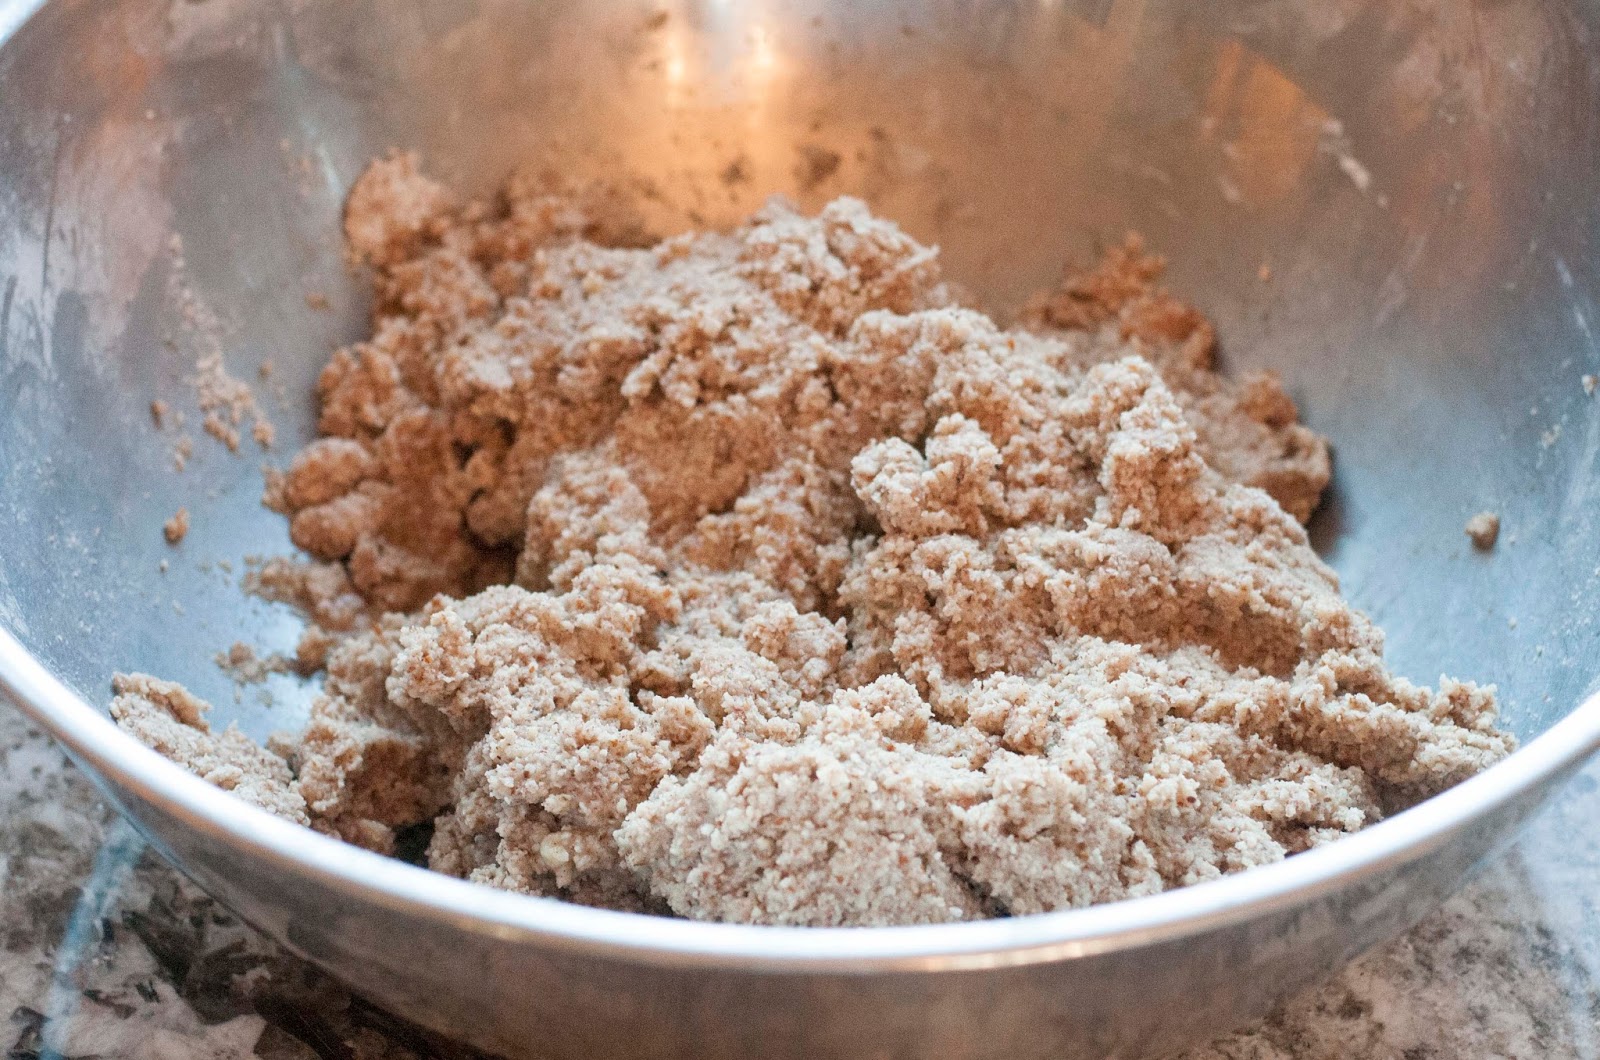
3. Combine ground almonds, icing sugar, cardamon and cinnamon in large bowl with a wooden spoon.
4. Crack egg whites in a bowl and mix with a fork. Add egg whites to mixture.
5. Mix together until a dough forms. I used my hands for this because I find it easier.
6. Roll the dough into a strands about the width of your pinkie finger.
7. Place the strands into the mold’s and attach them together, without pushing them into the pan.
8. Bake for 10 minutes. Keep your eye on them, they shouldn’t turn brown. Let sit for 10 minutes once they’re out of the oven before removing from the pans. Be gentle when lifting them. You may need a knife to help loosen them.
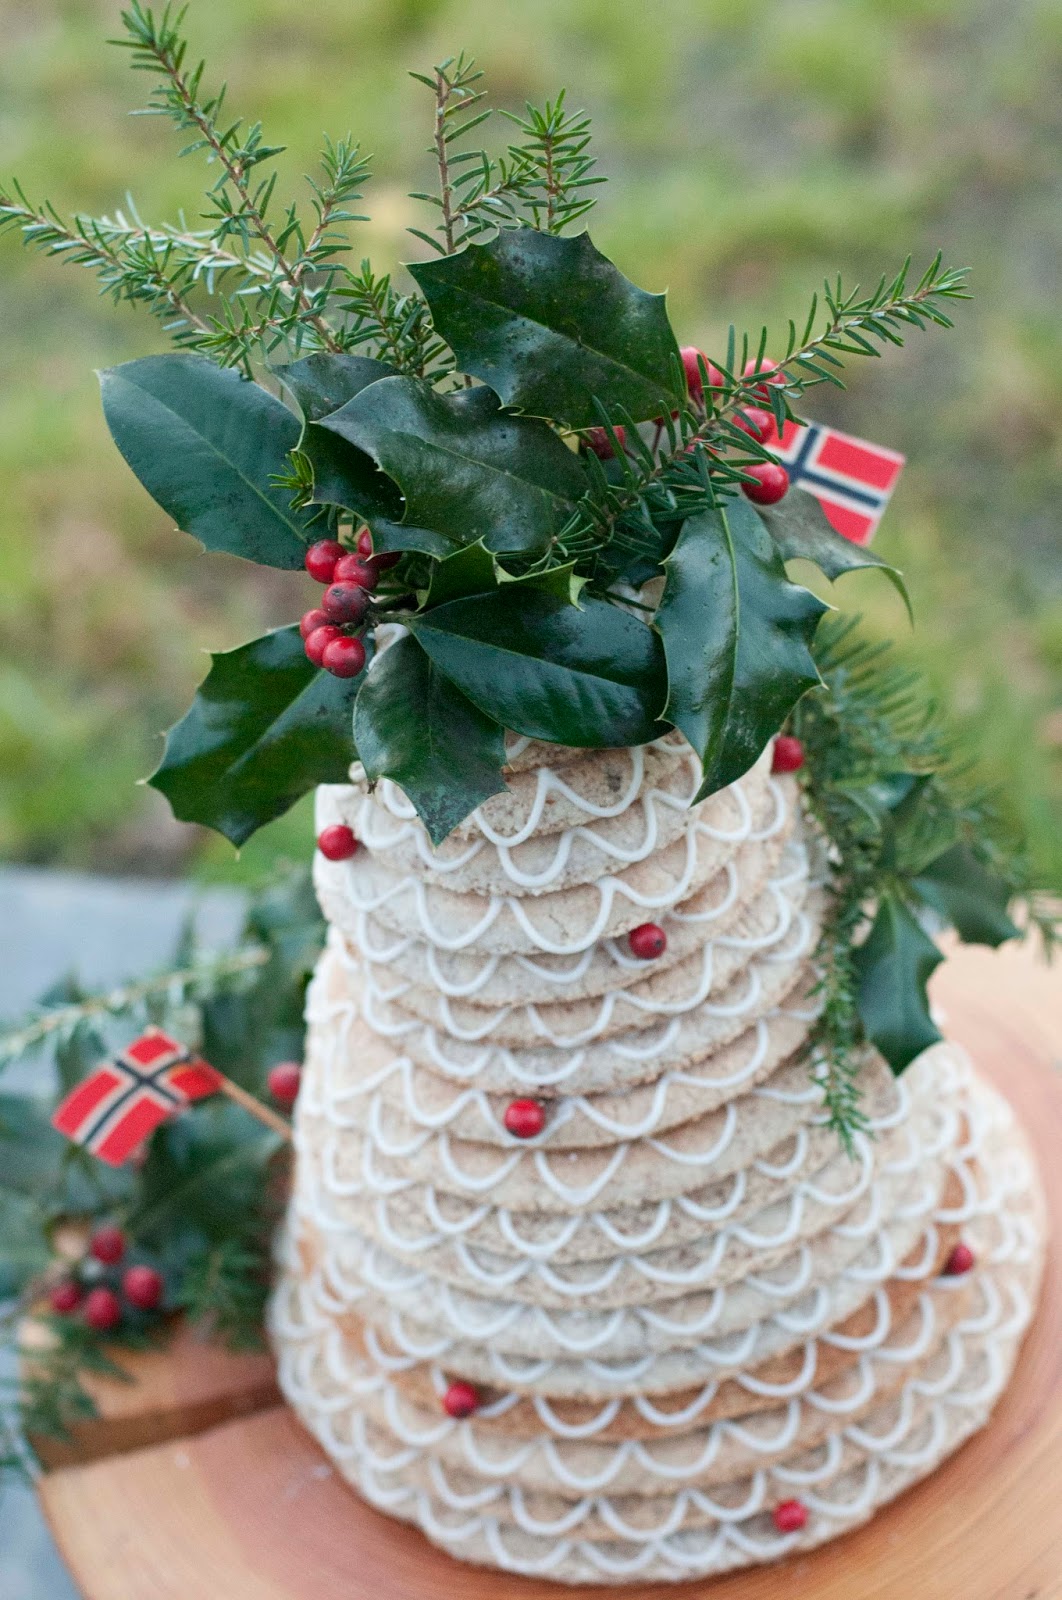
9. Once they’re completely cool, put your largest ring on a plate upside down and pipe a scallop design around it with your pastry bag or ziplock. I also added an outline around the top of the ring over the scallop just for a bit of extra icing and to secure the cookies. See the picture below.
10. Place the second largest on top on the largest ring, and repeat. Do this for all of the rings.
11. Top with whatever you want, leave it plain, make it fancy; GET CREATIVE!
*Note: If you need to re-bake any of the rings for whatever reason, wipe out the mold thoroughly and dry it before buttering again. I burned one because I had residual butter left on it.


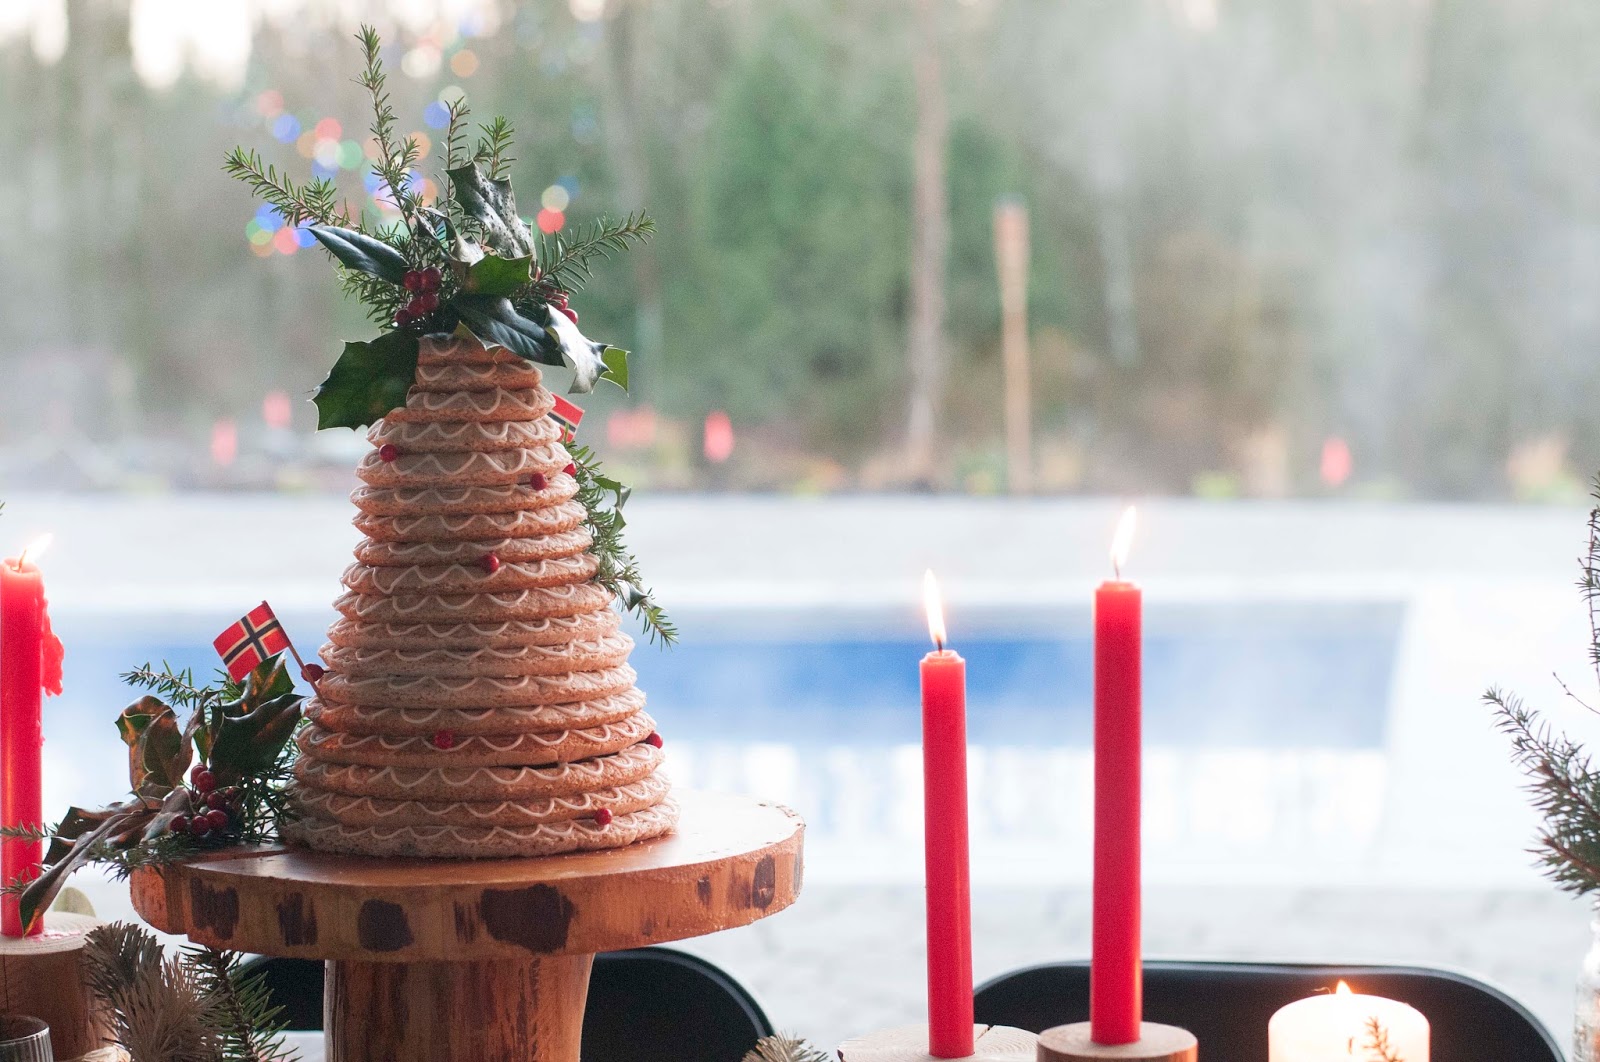
 The scalloped edge and ring on top of it.
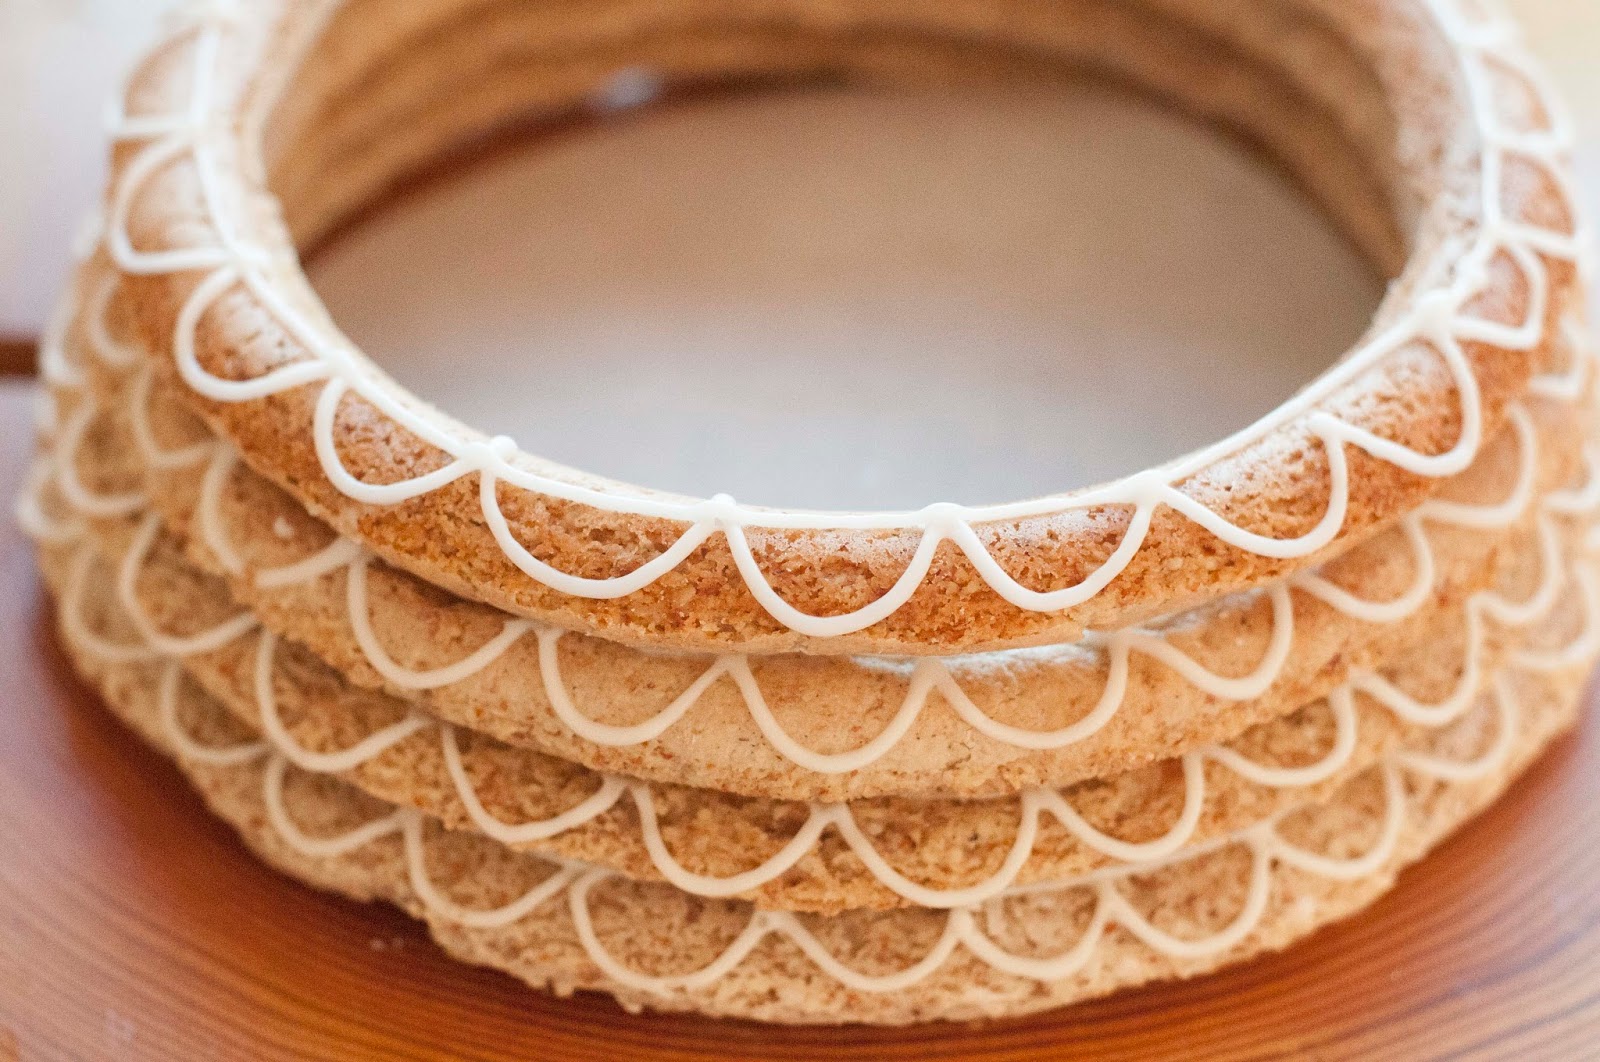
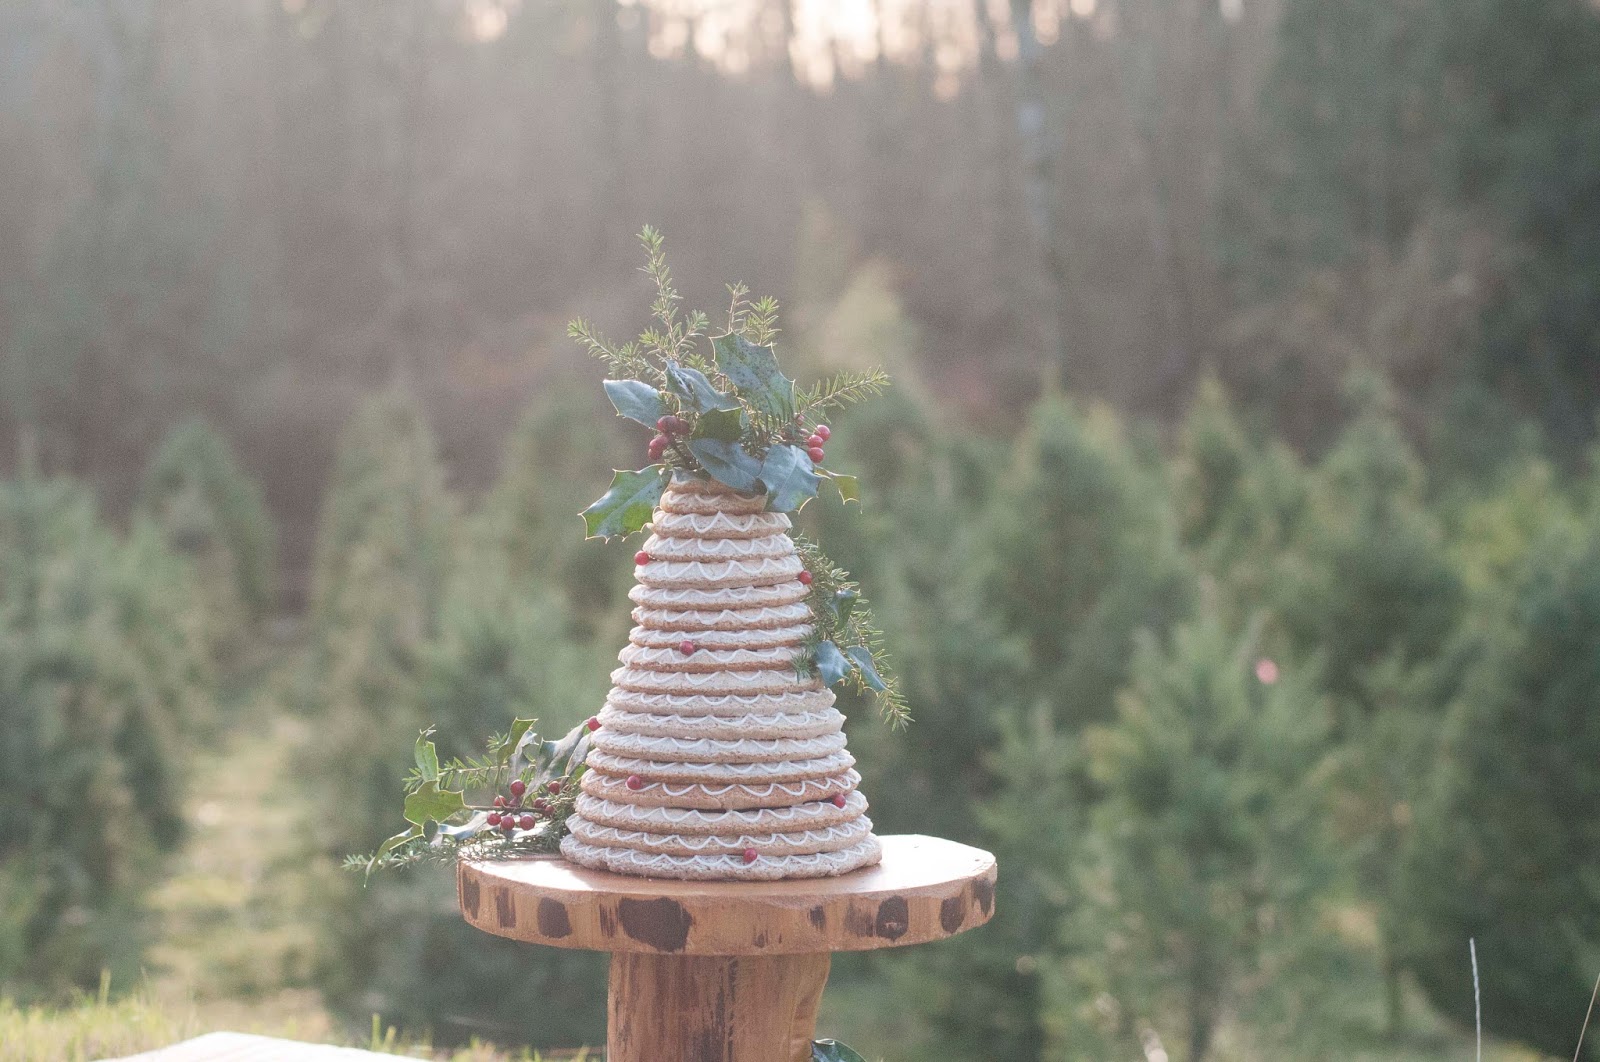
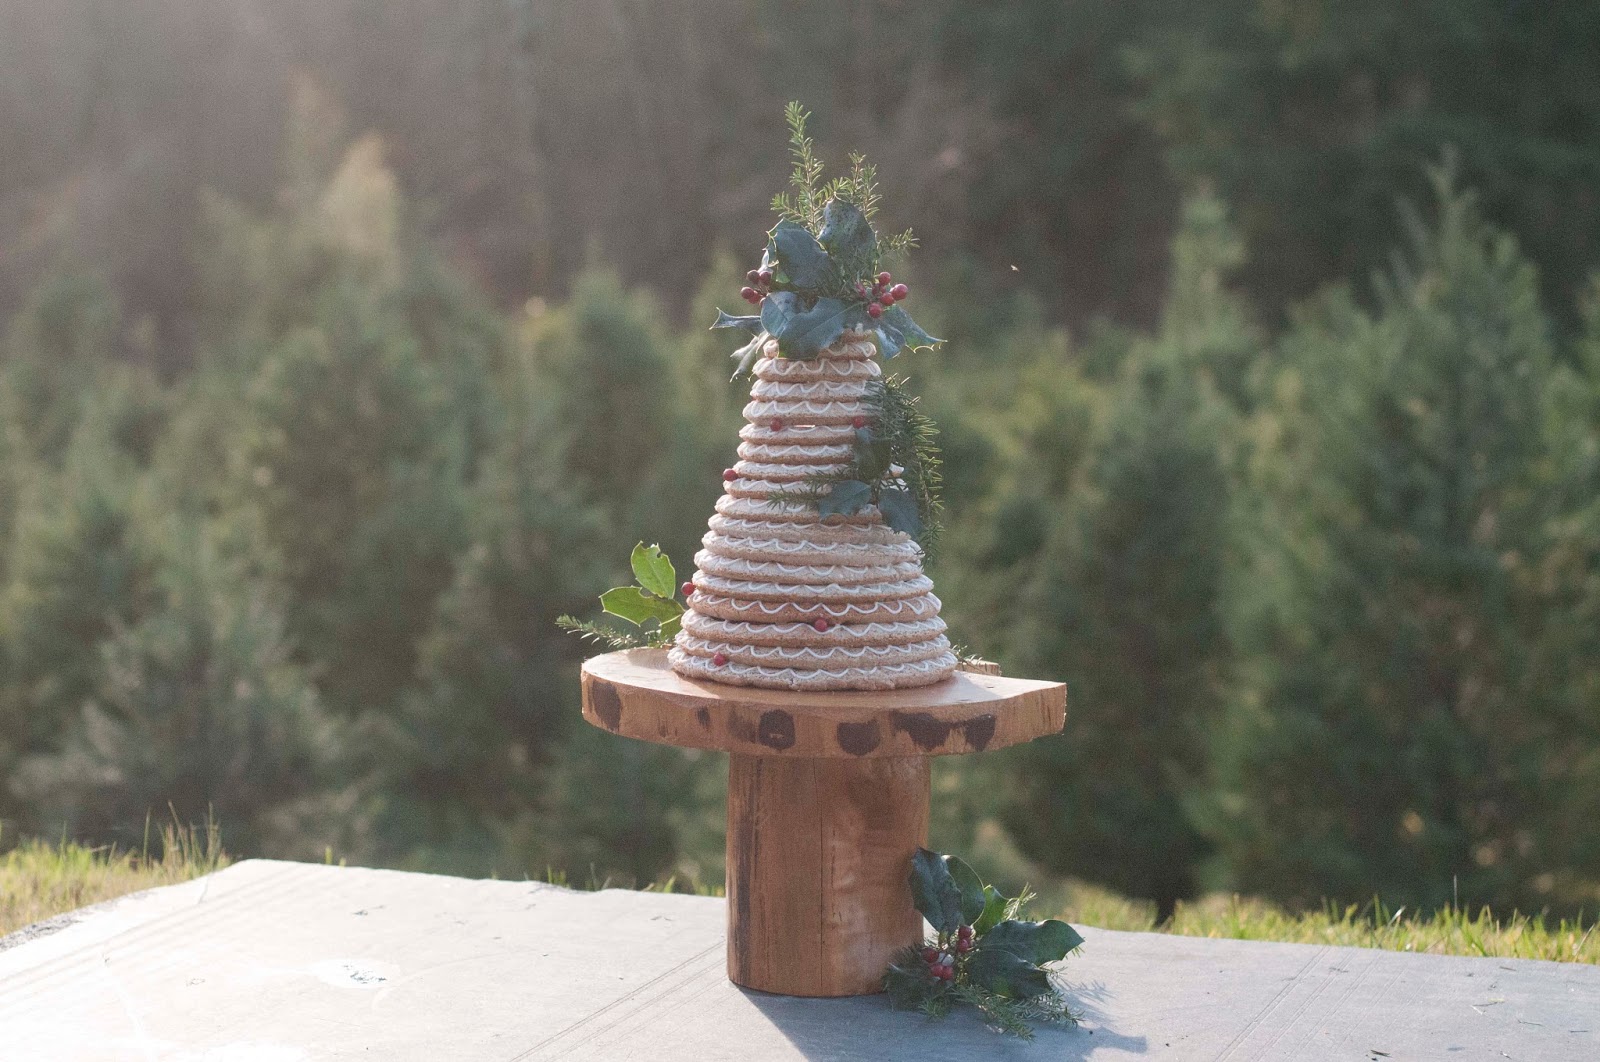


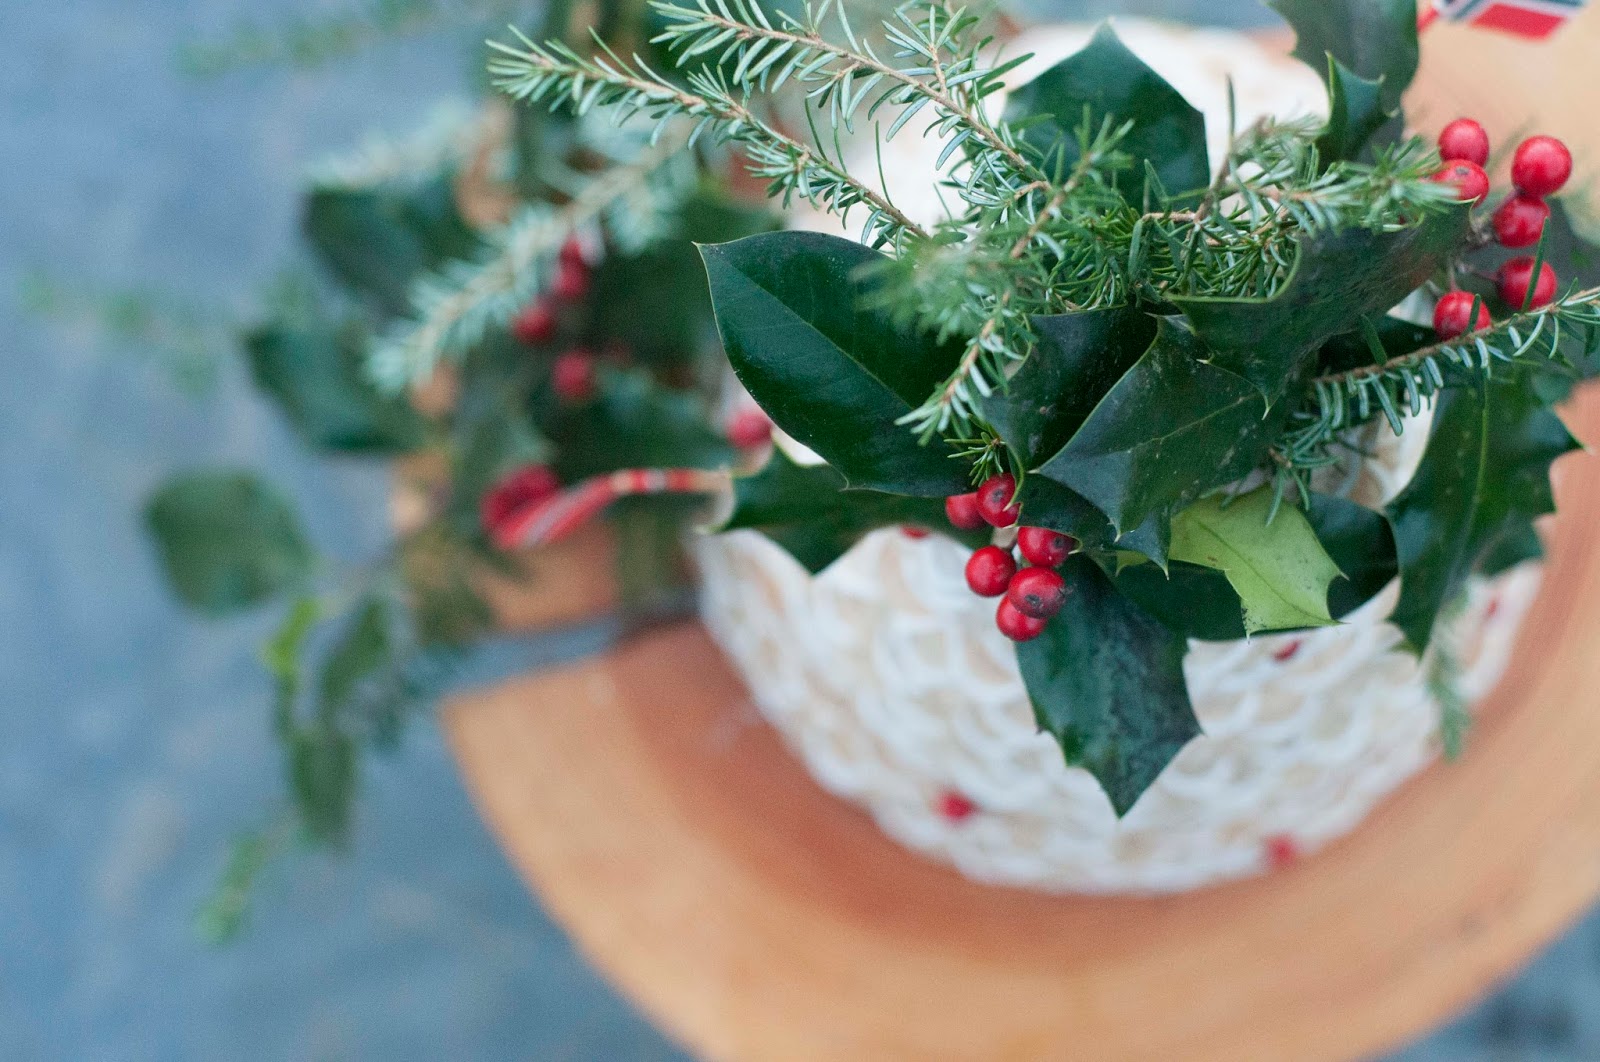


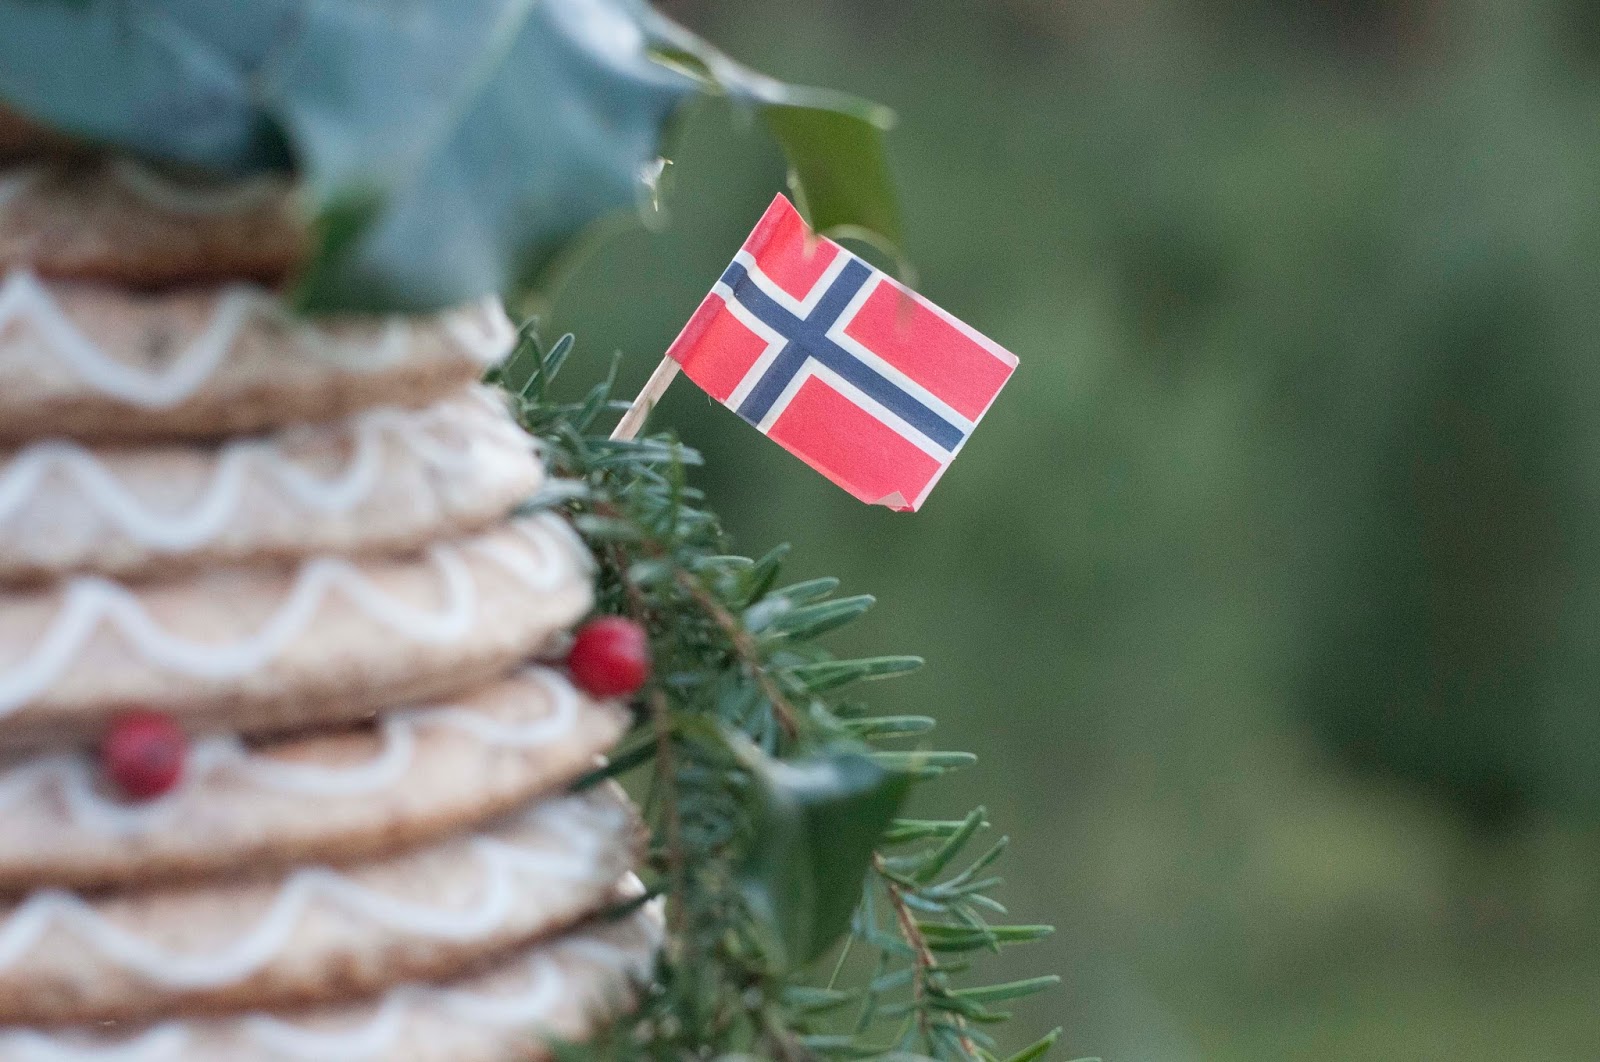

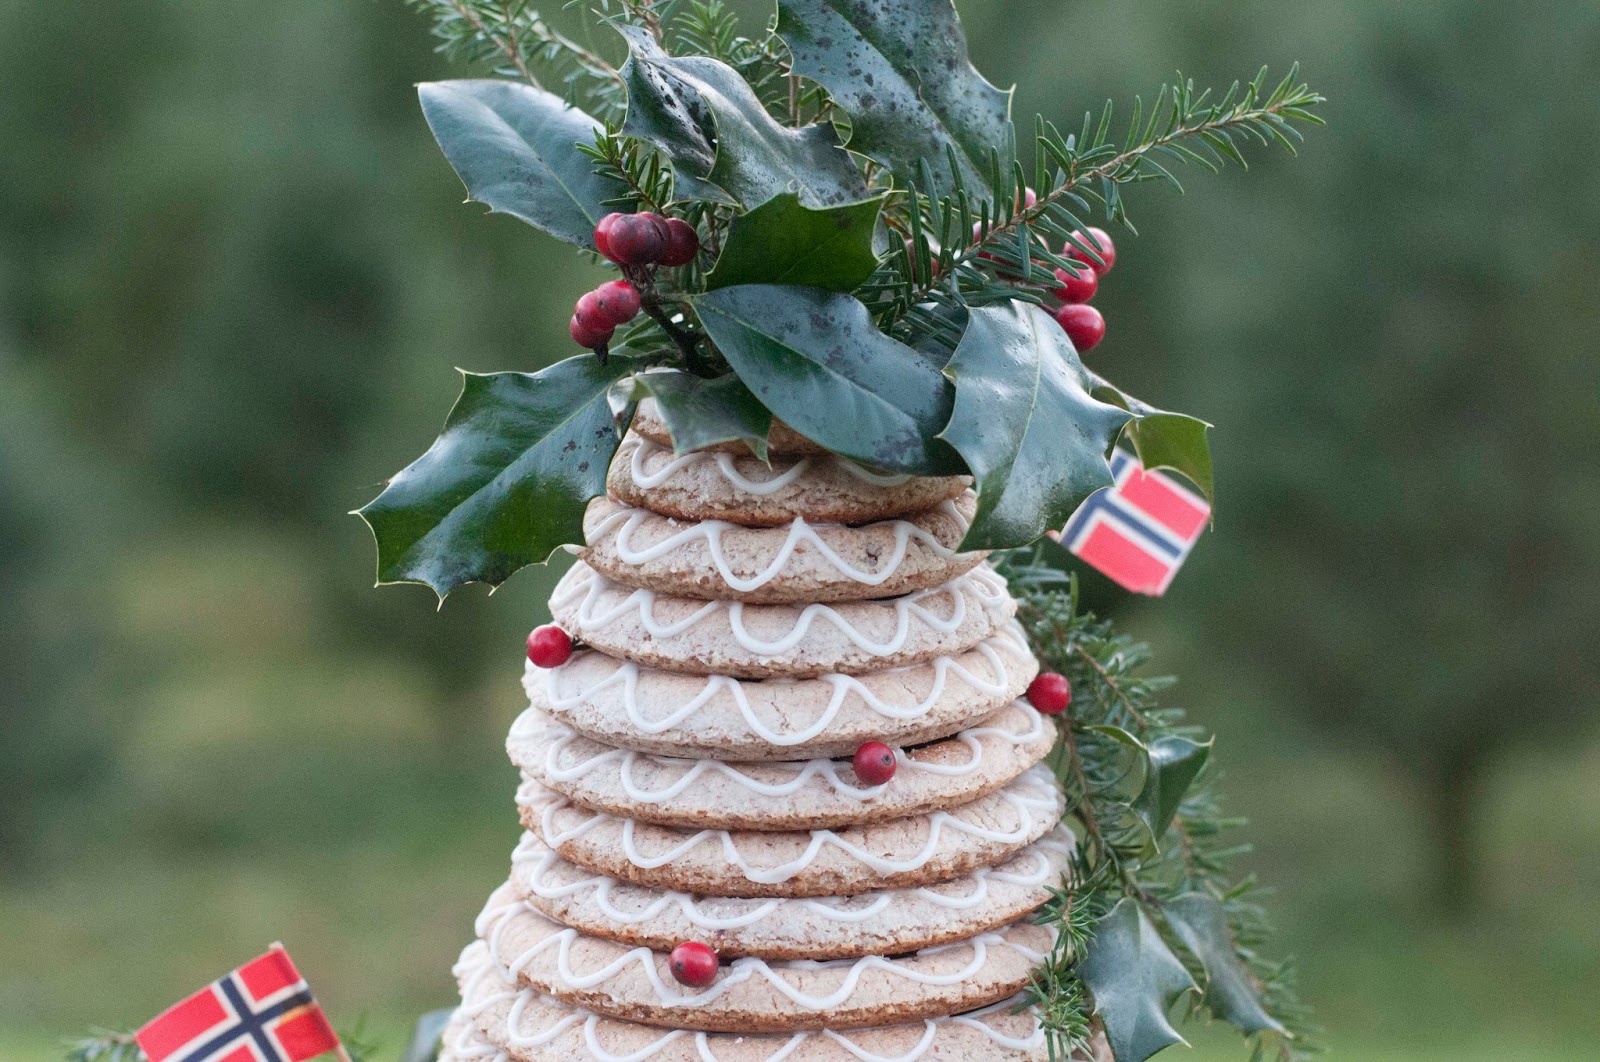
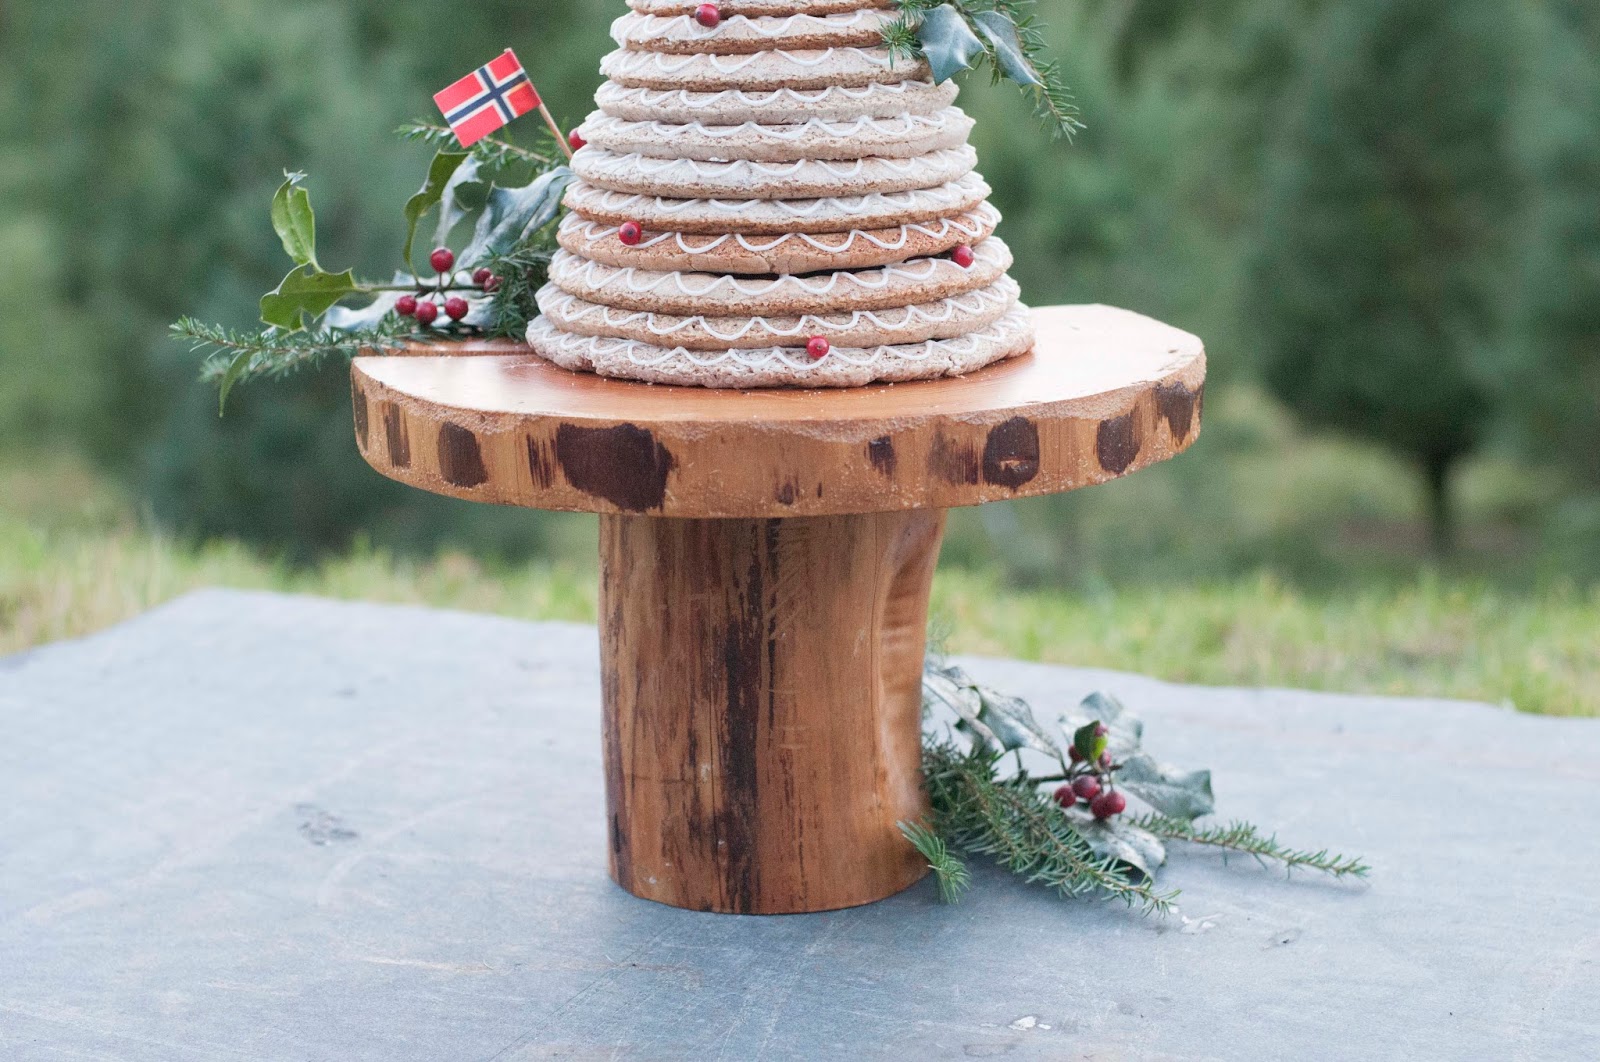
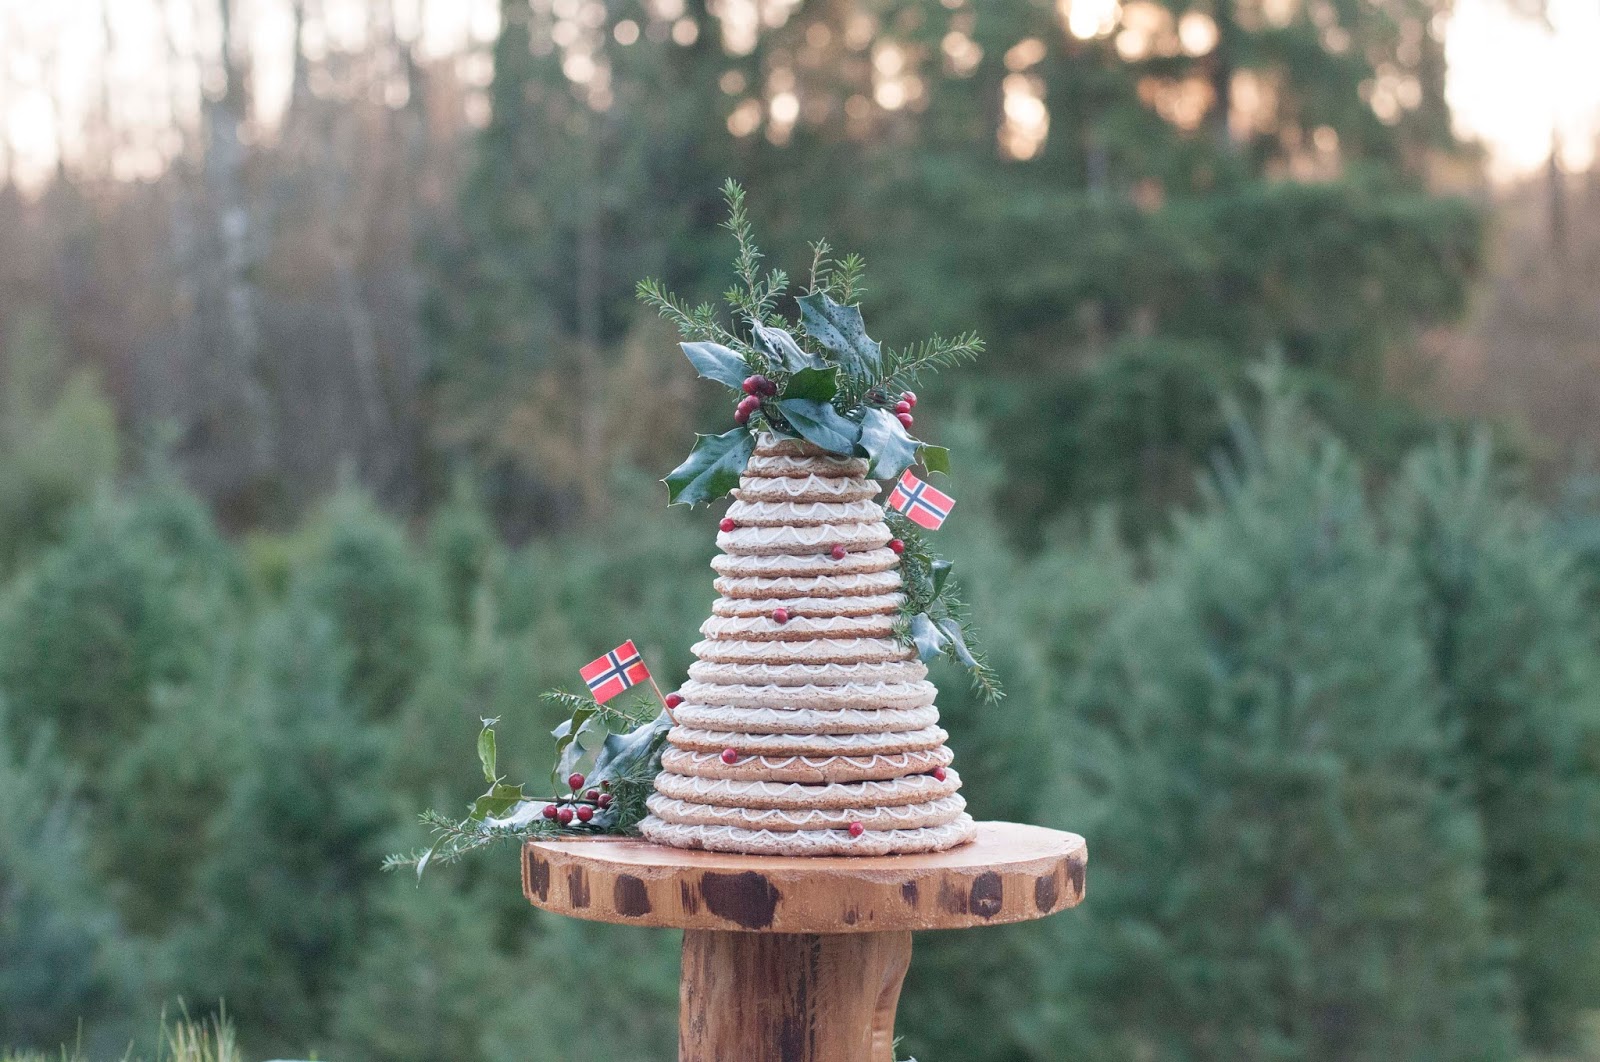

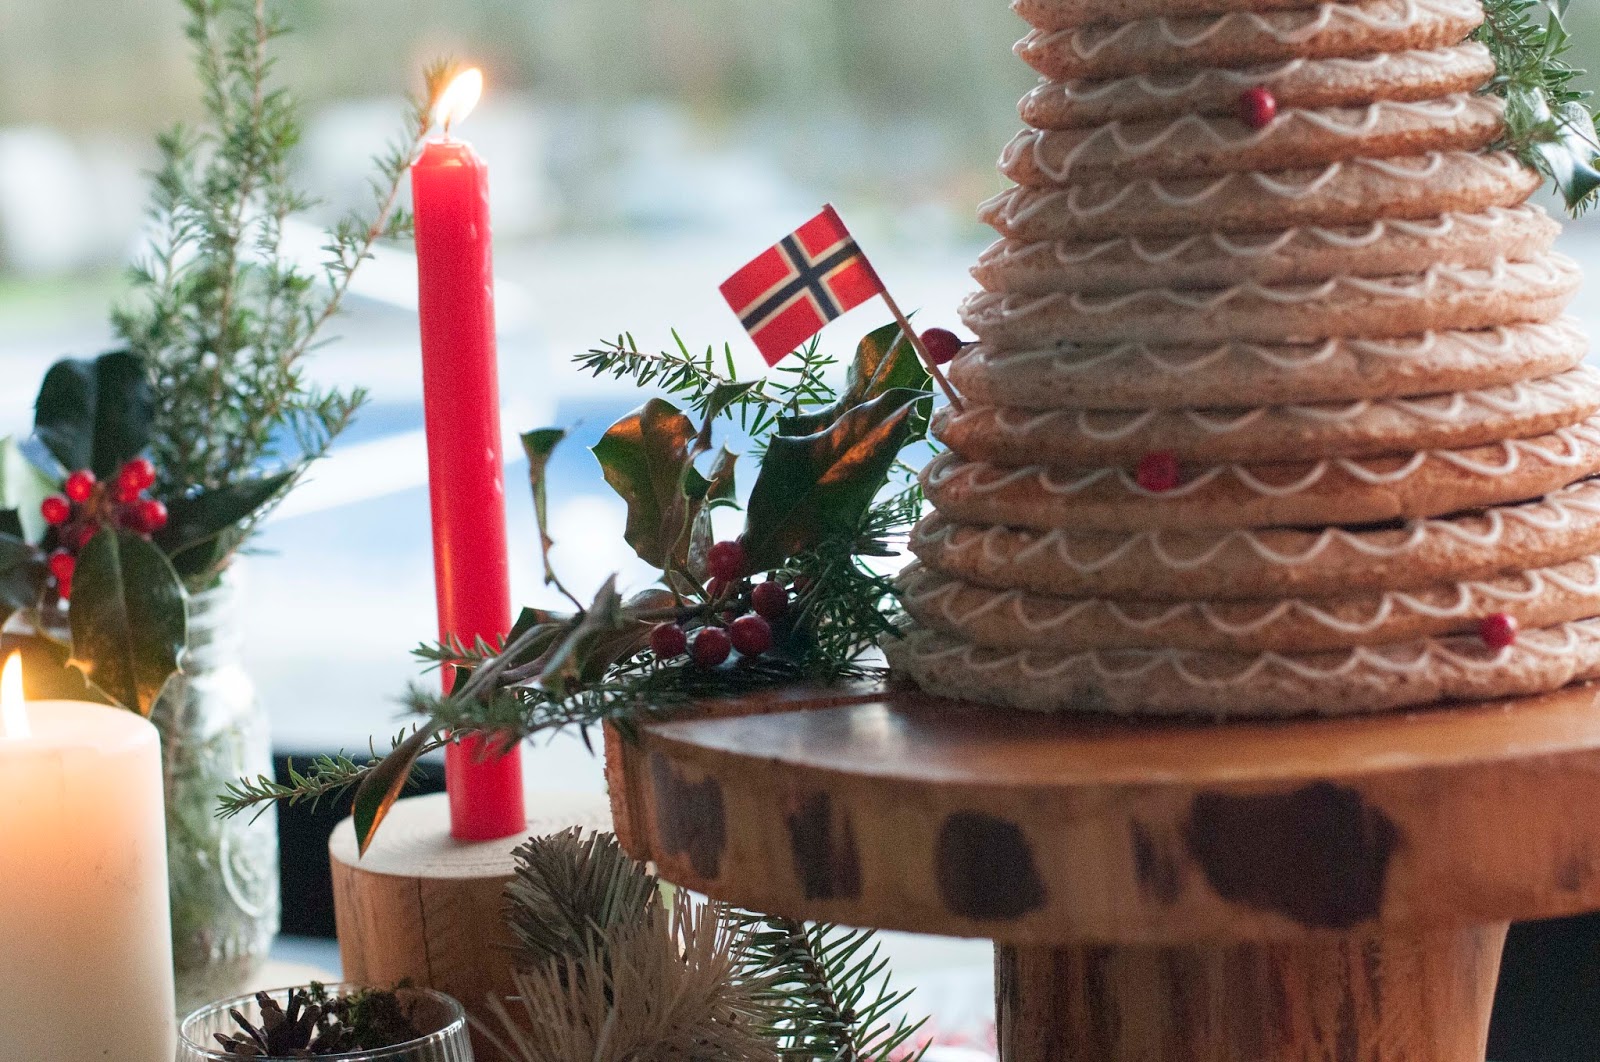
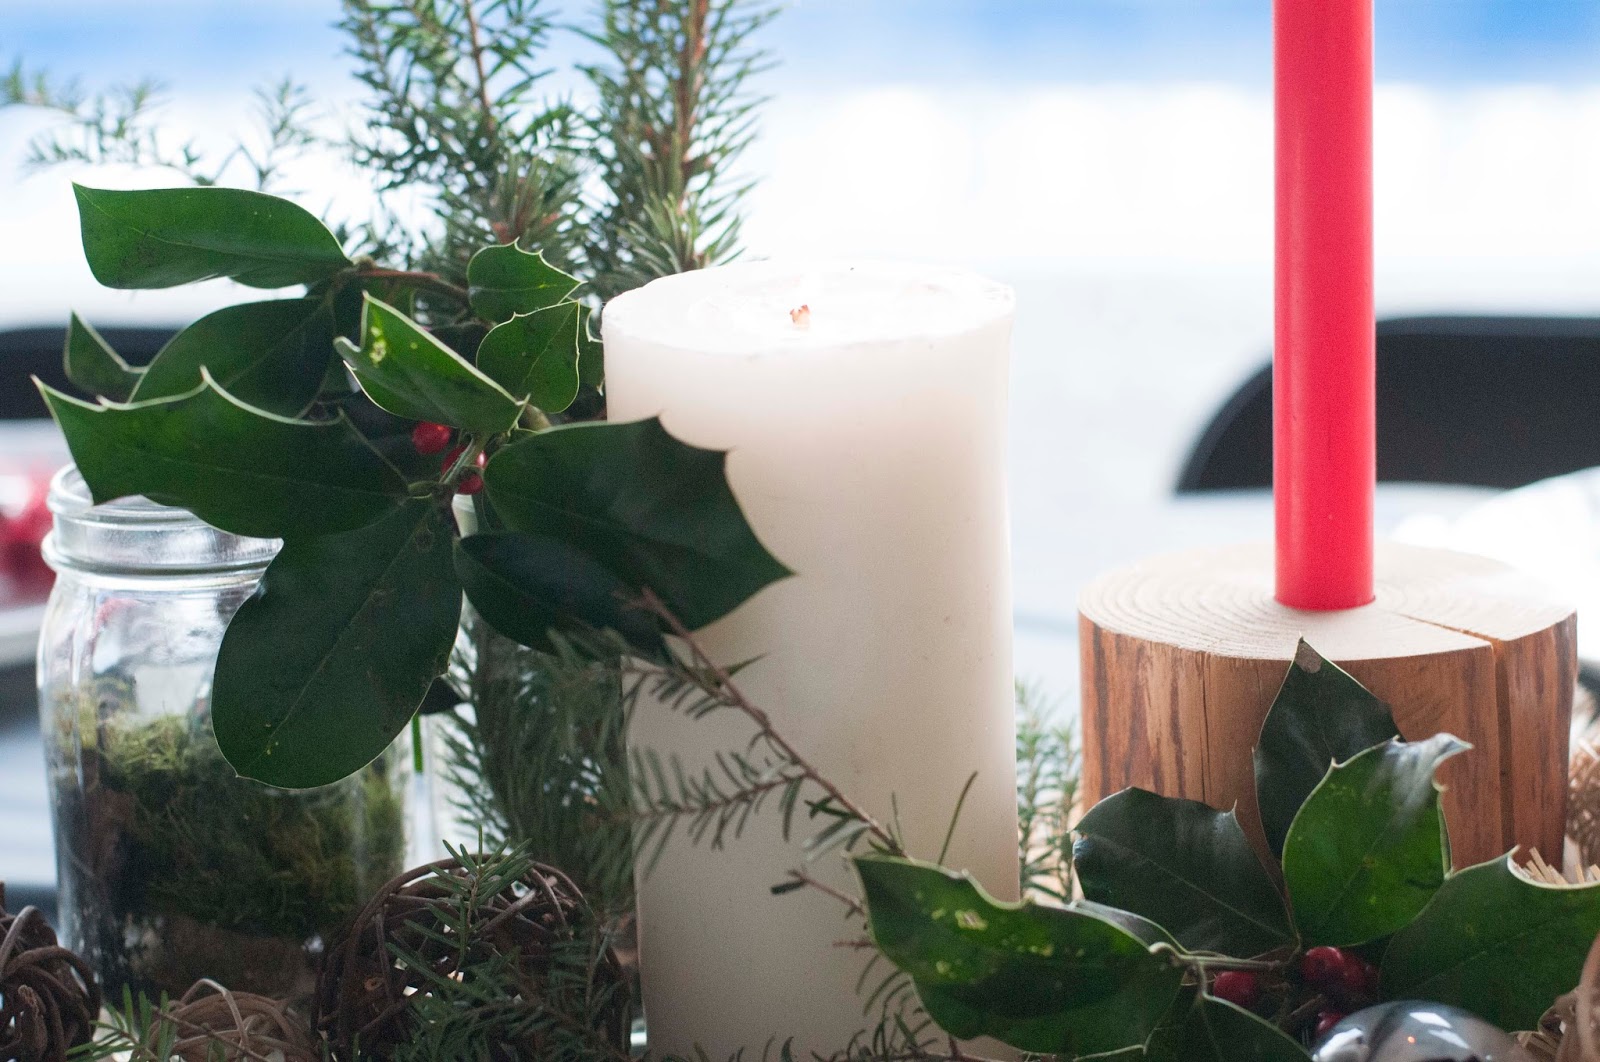
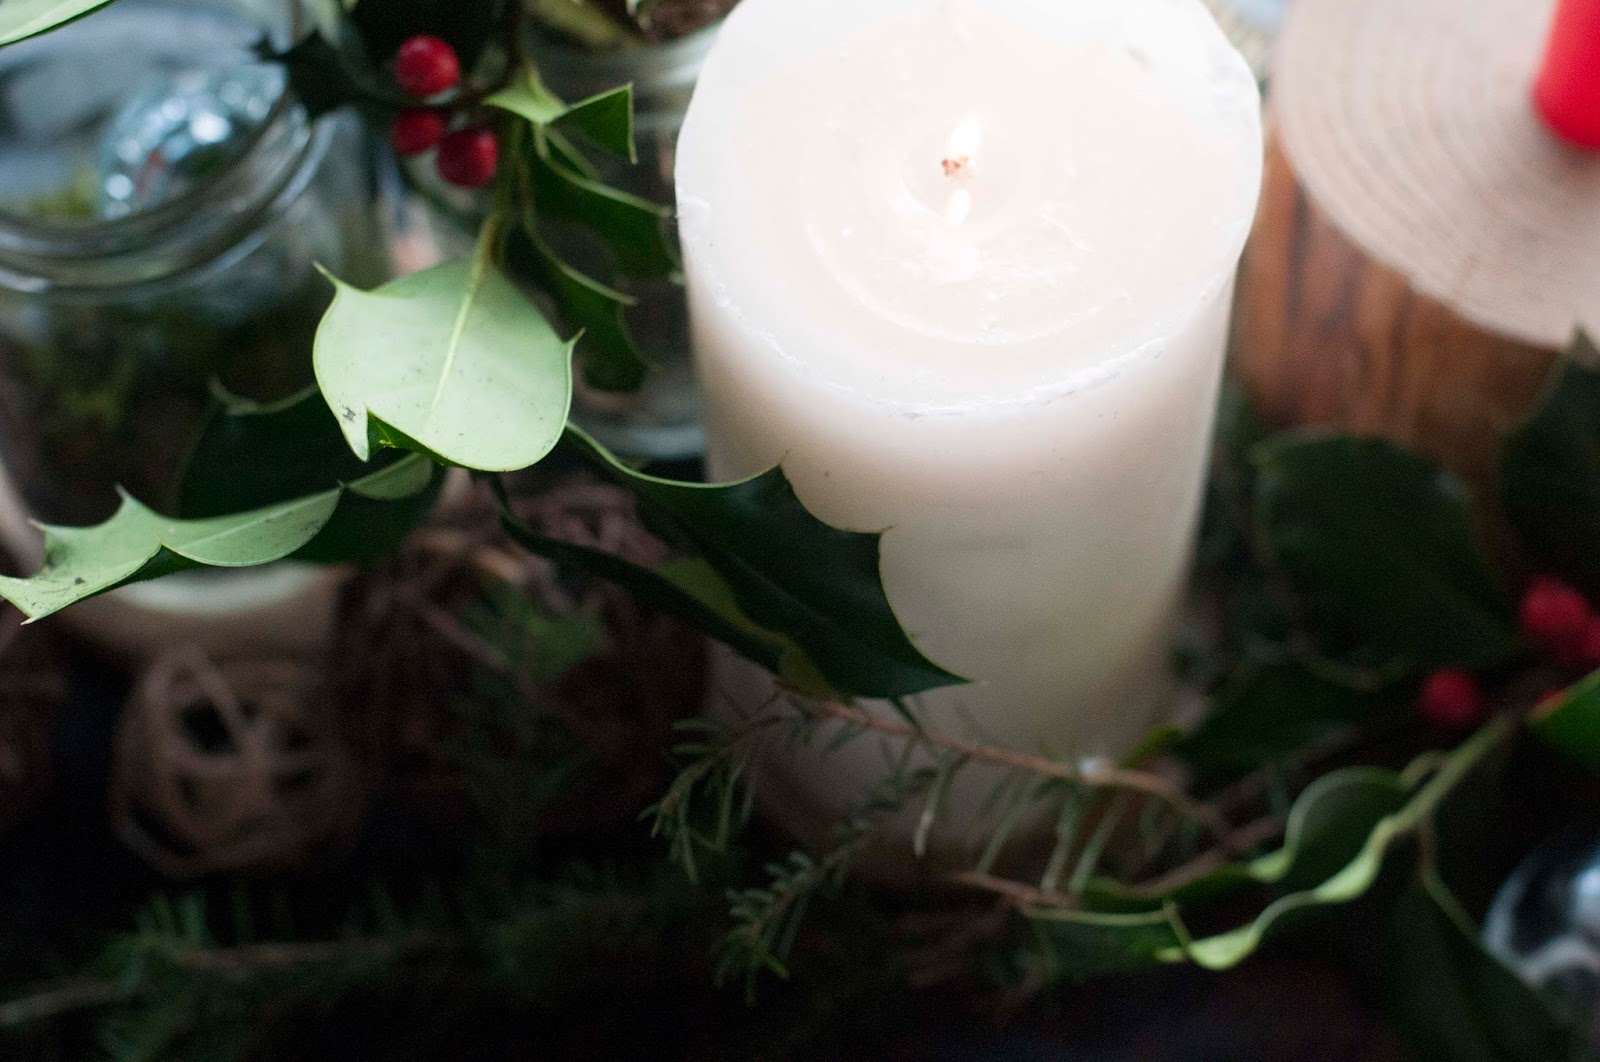
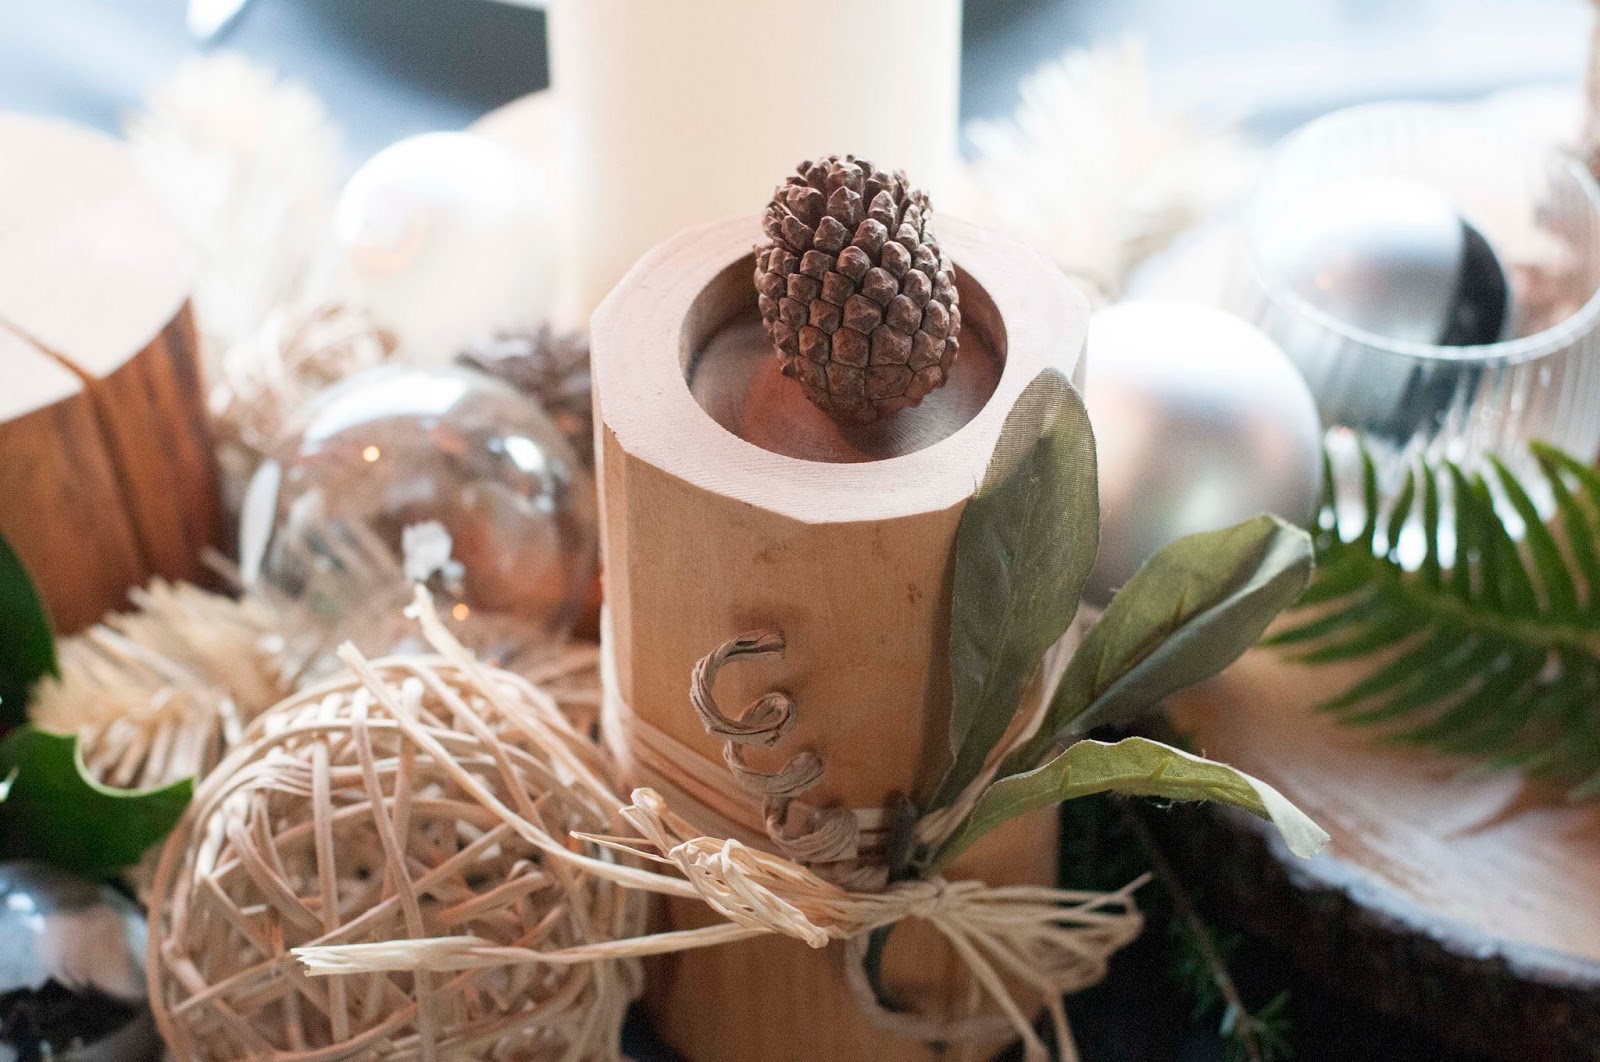
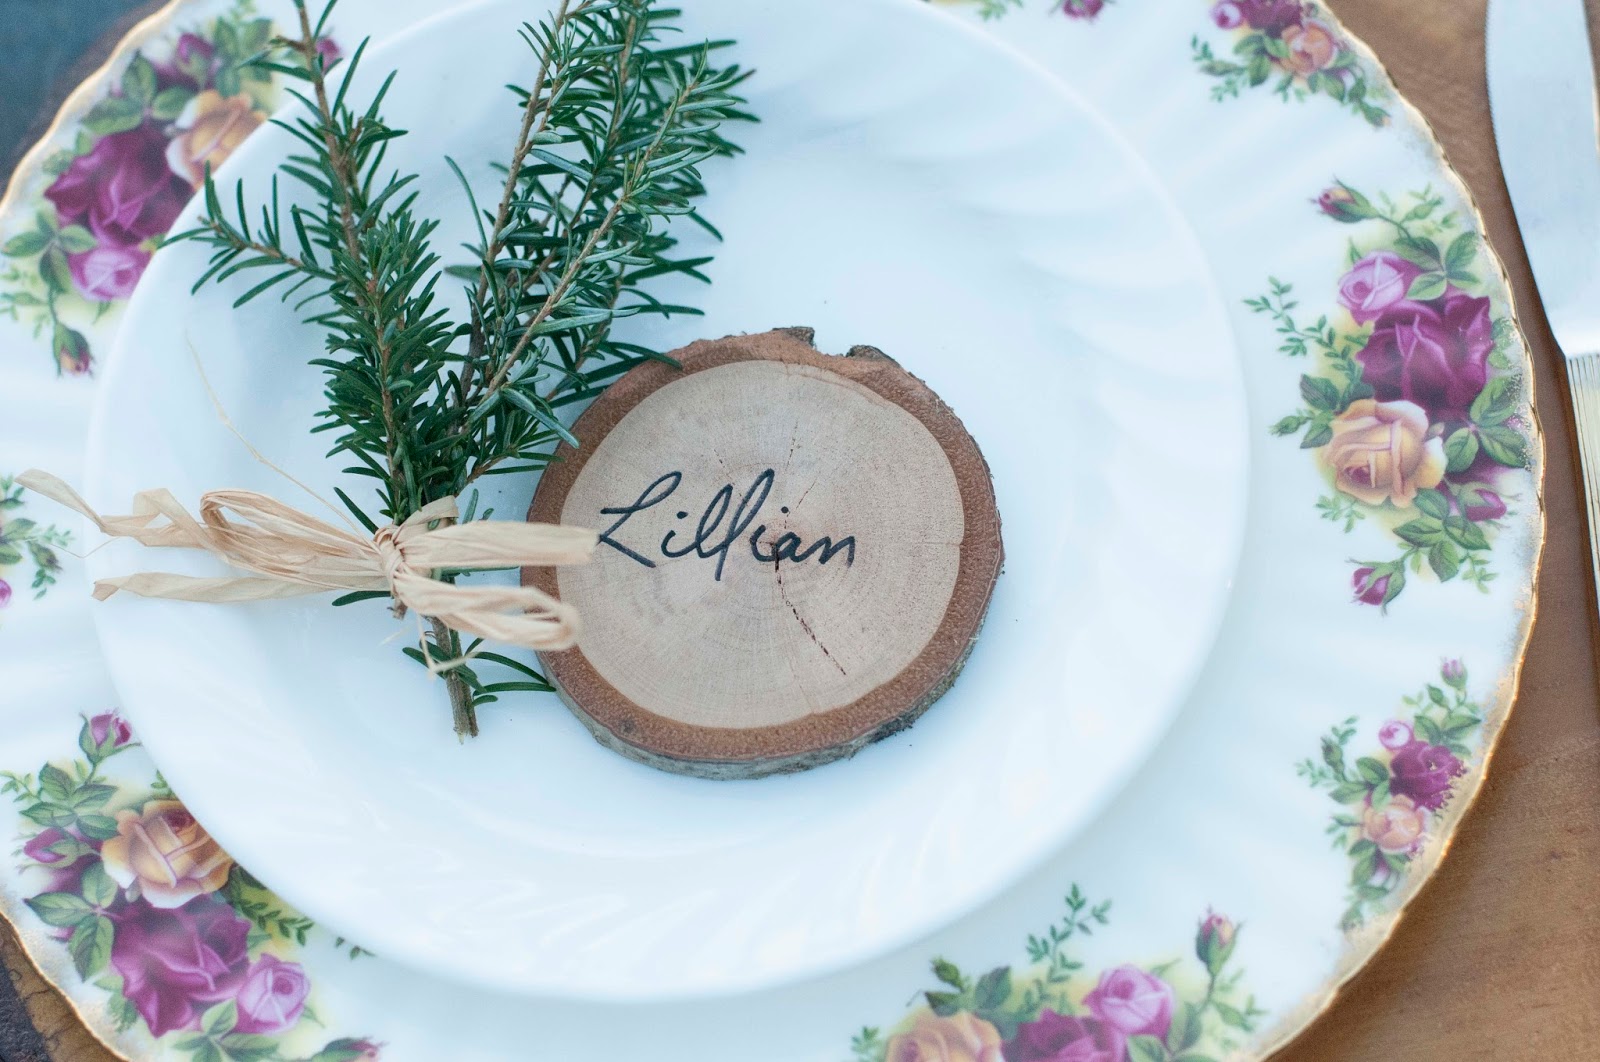
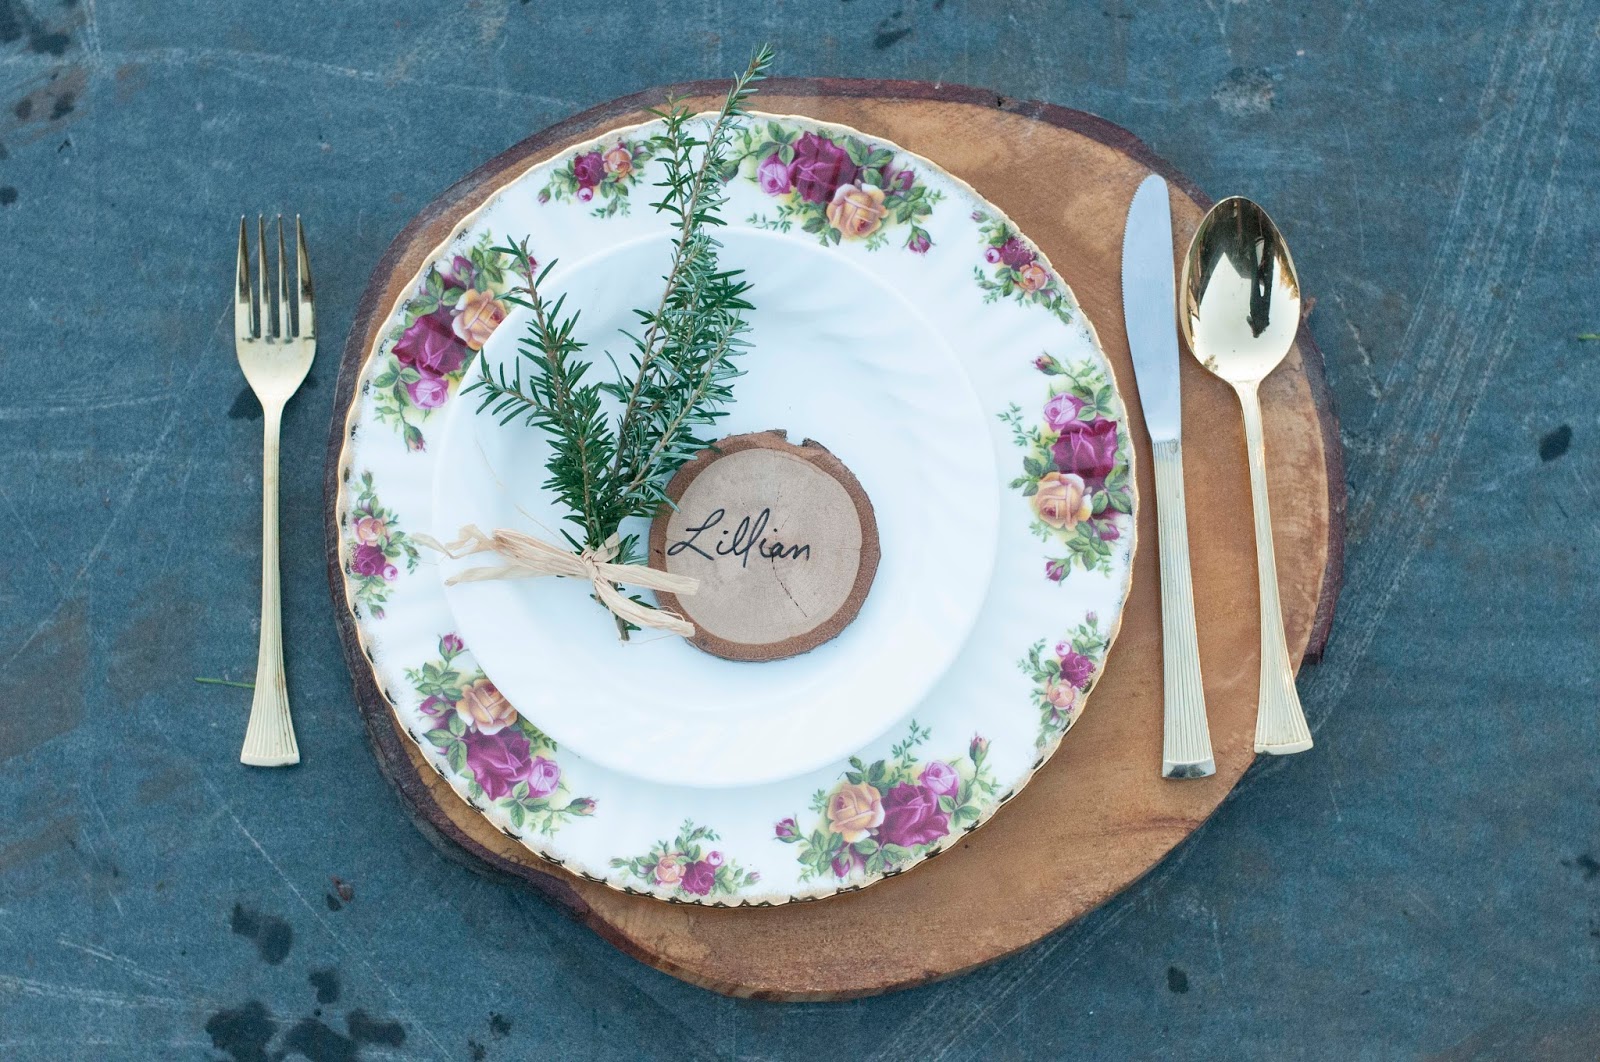
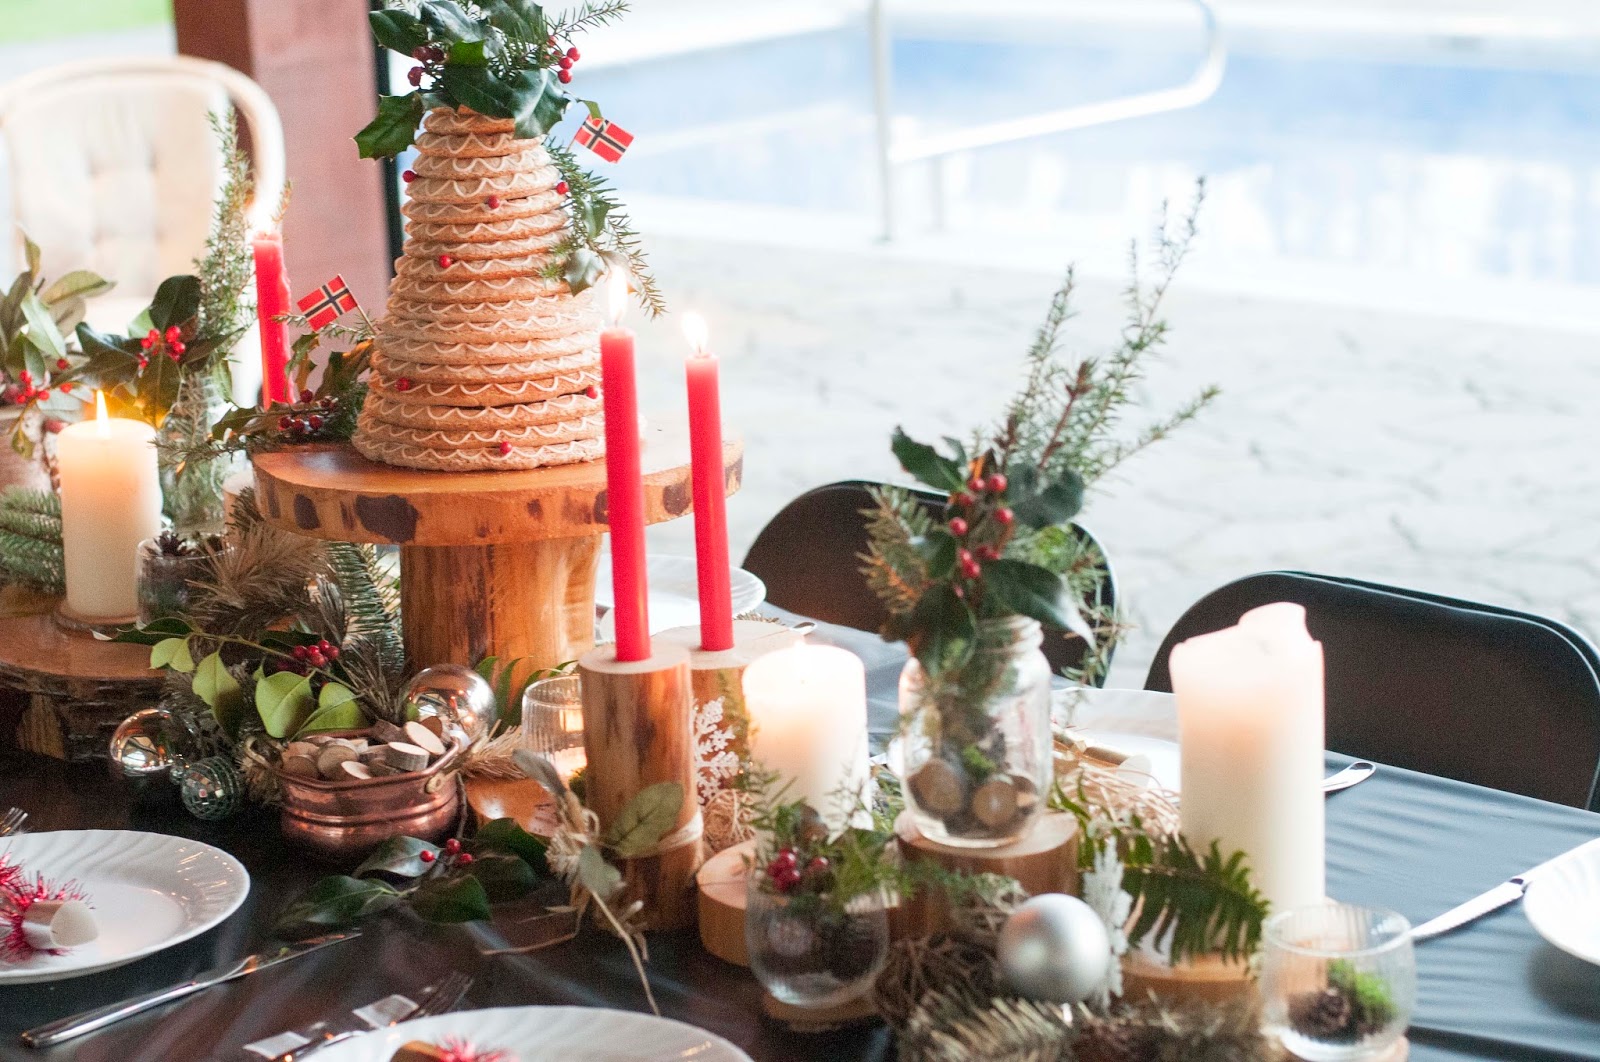
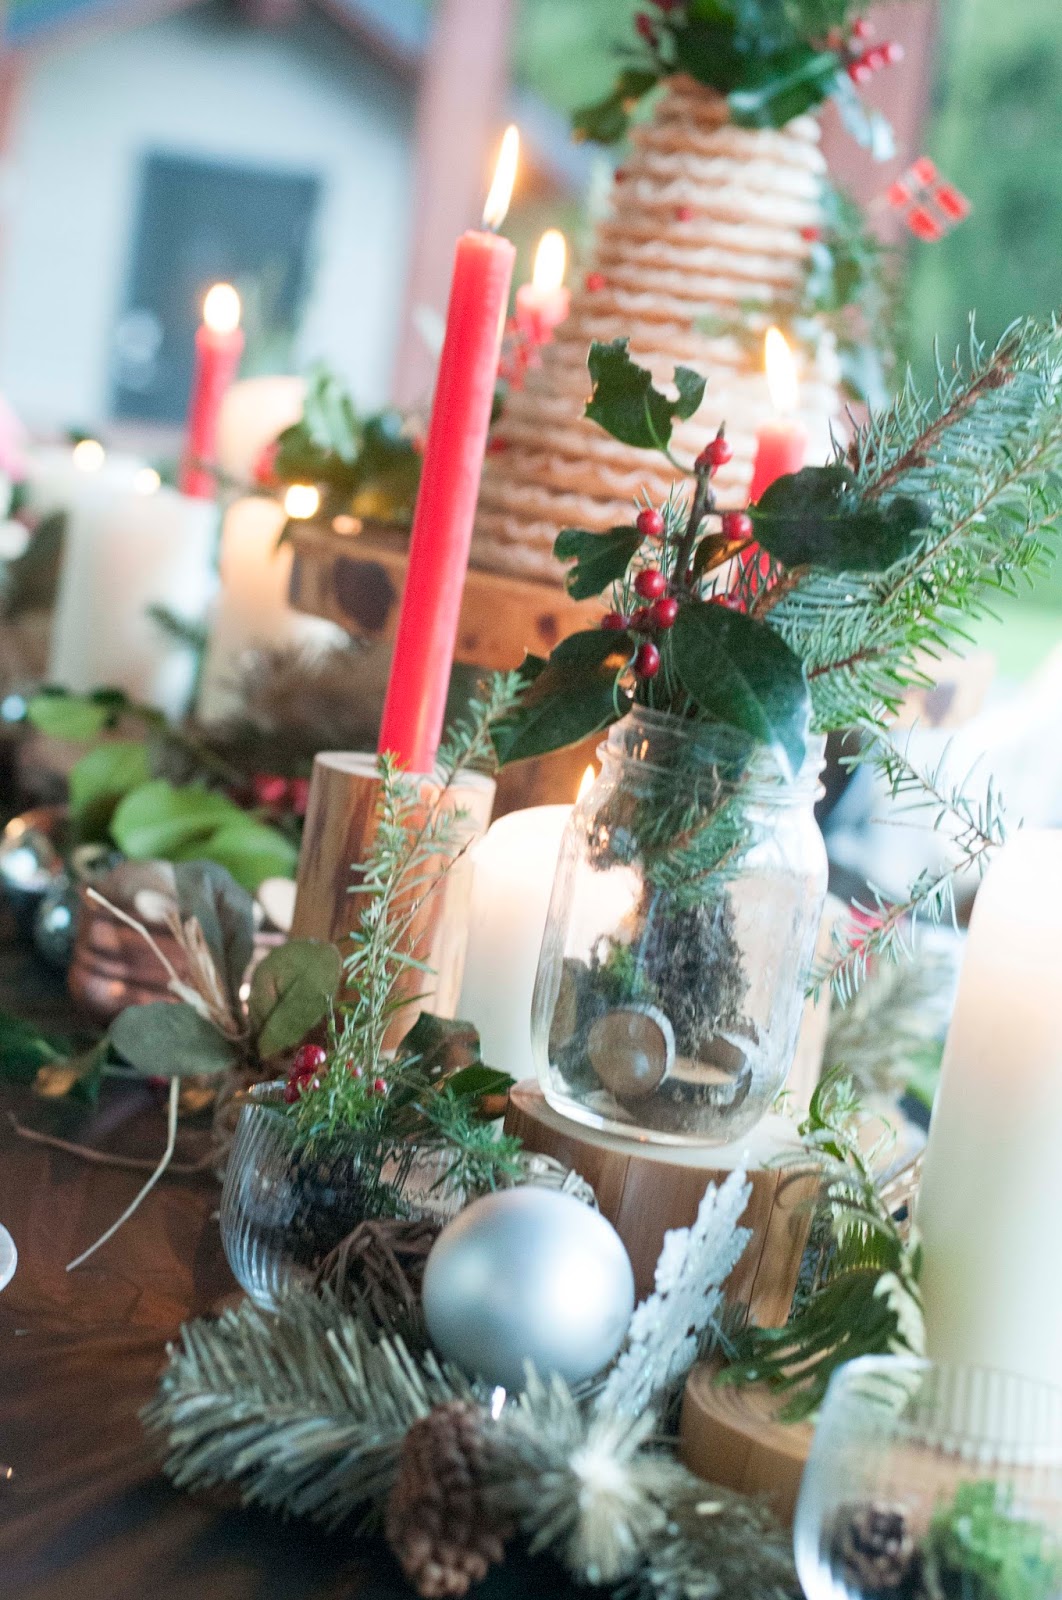
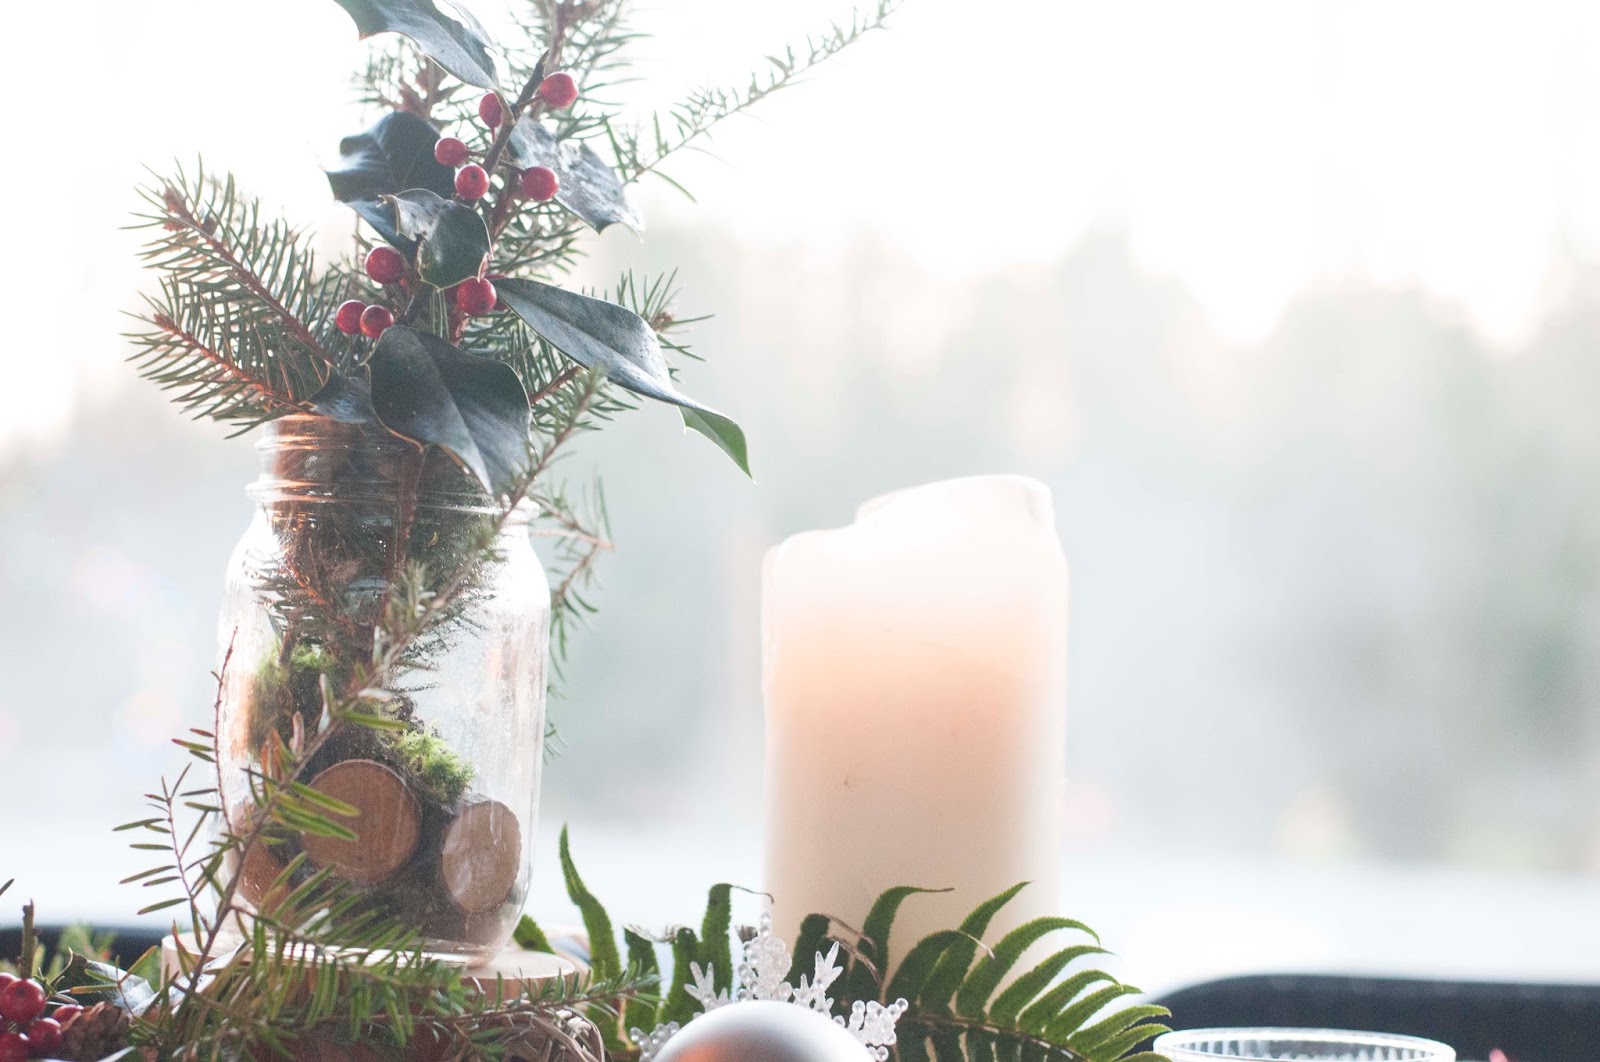
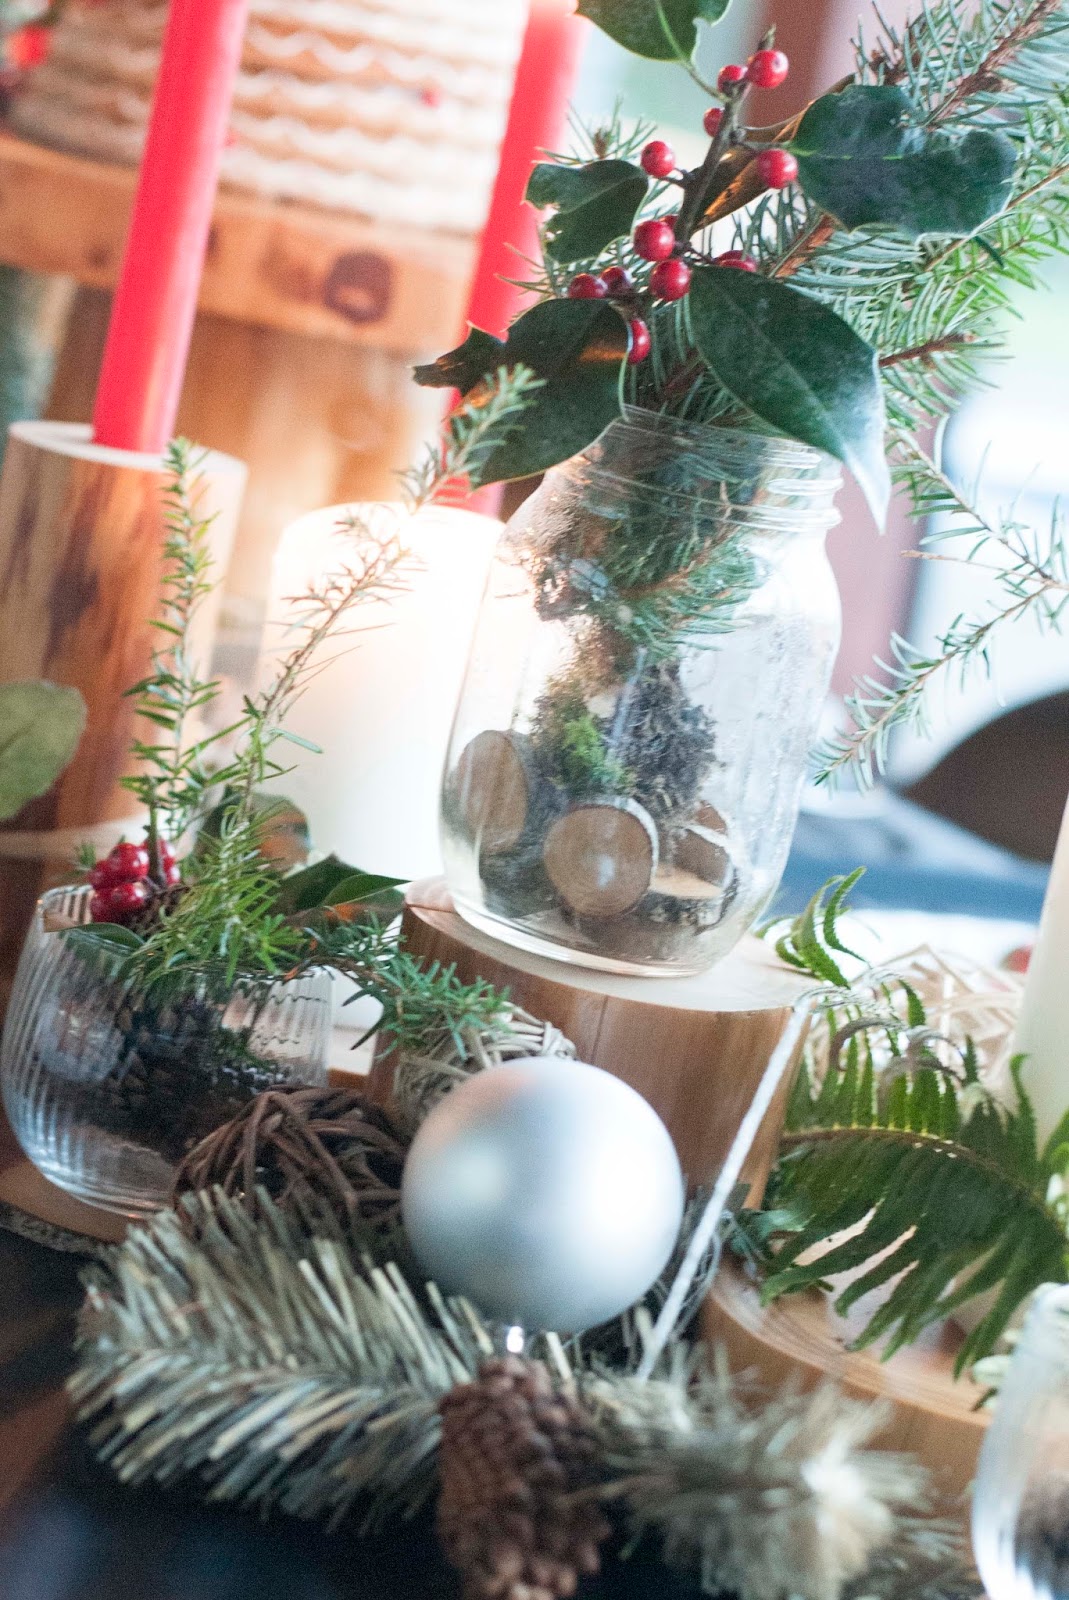
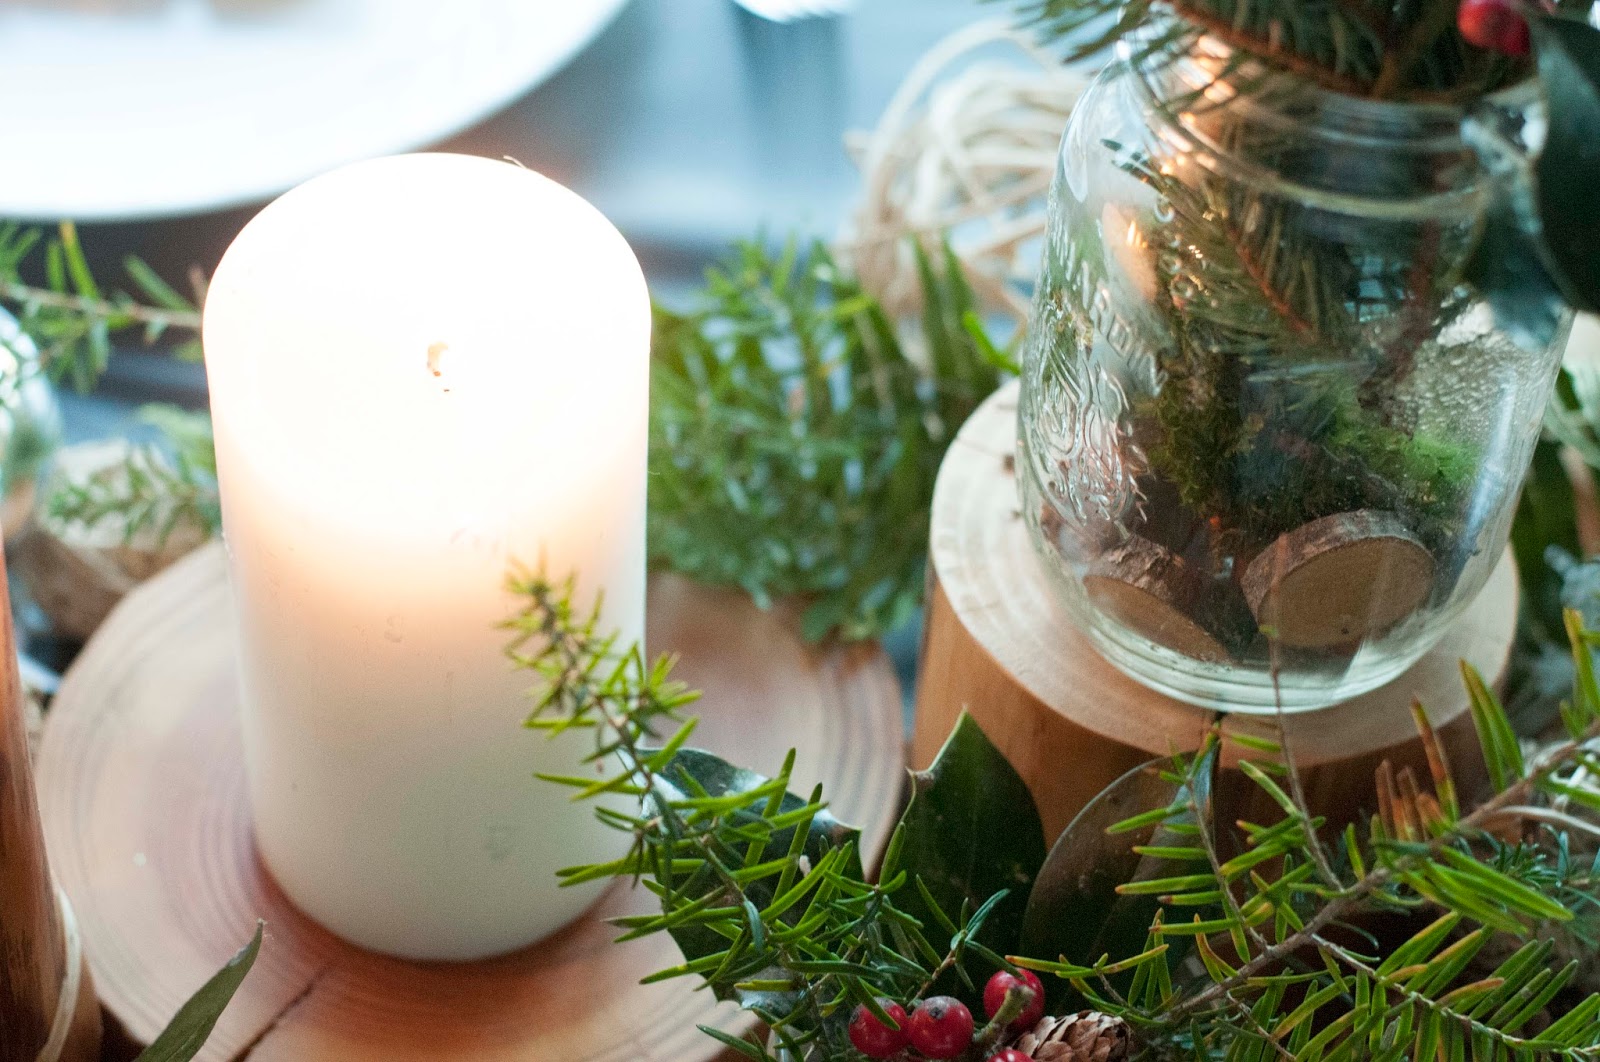
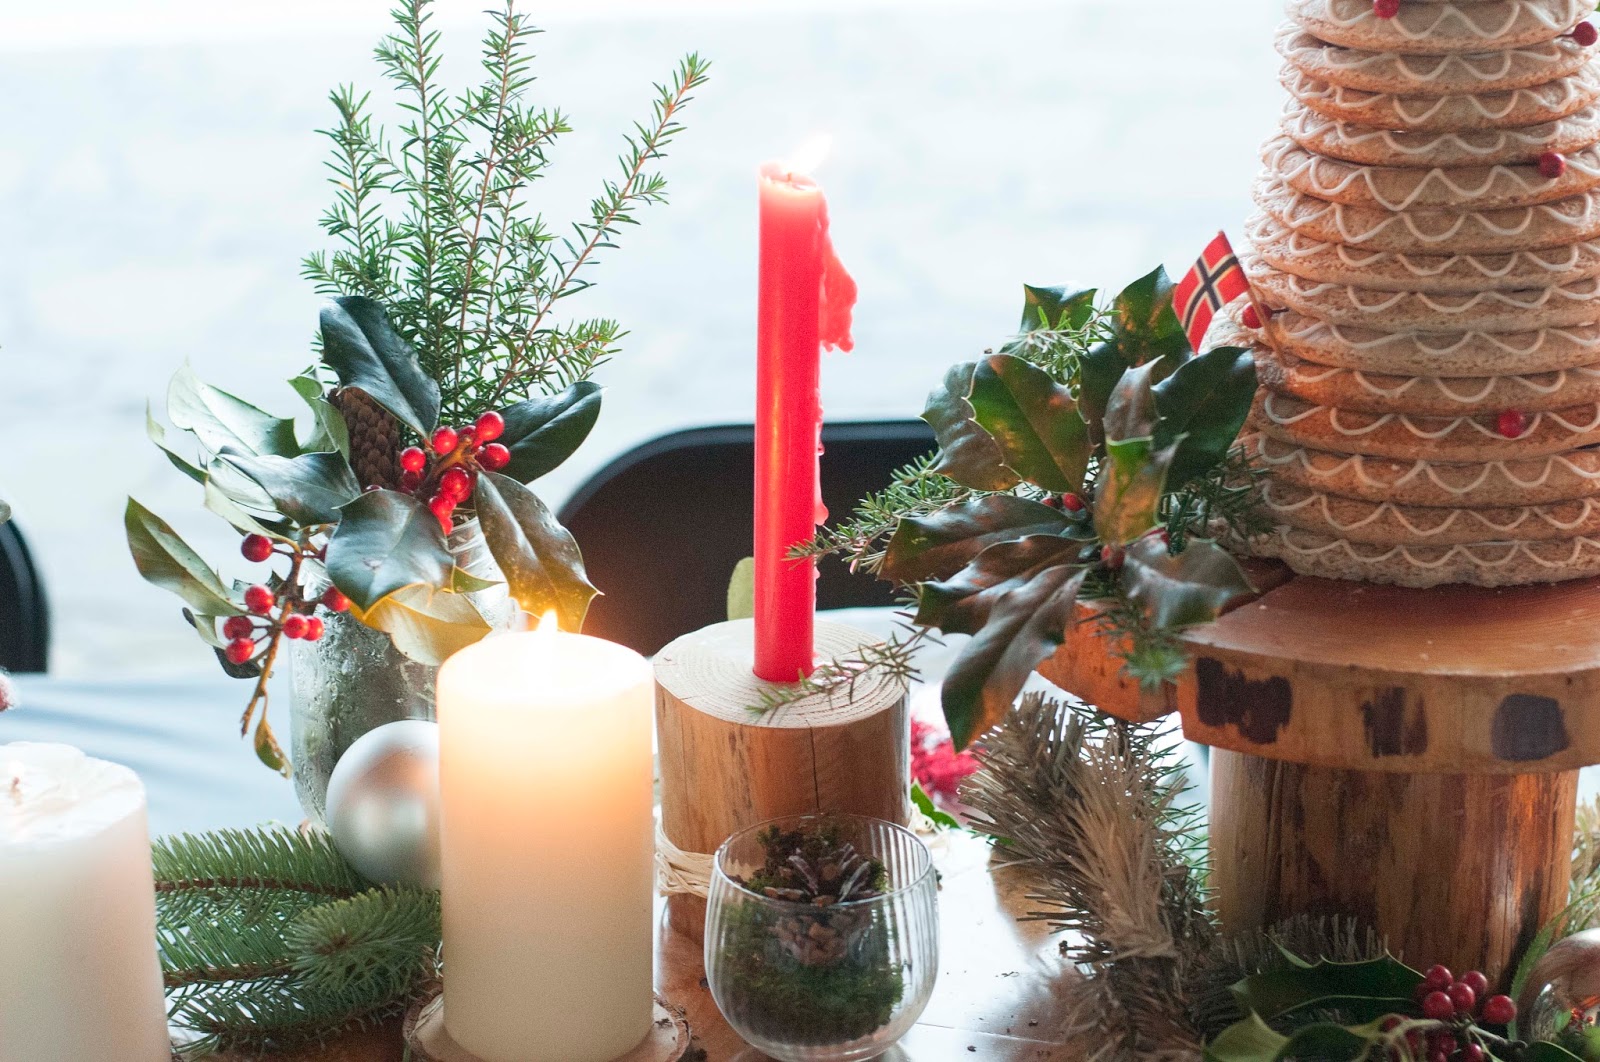
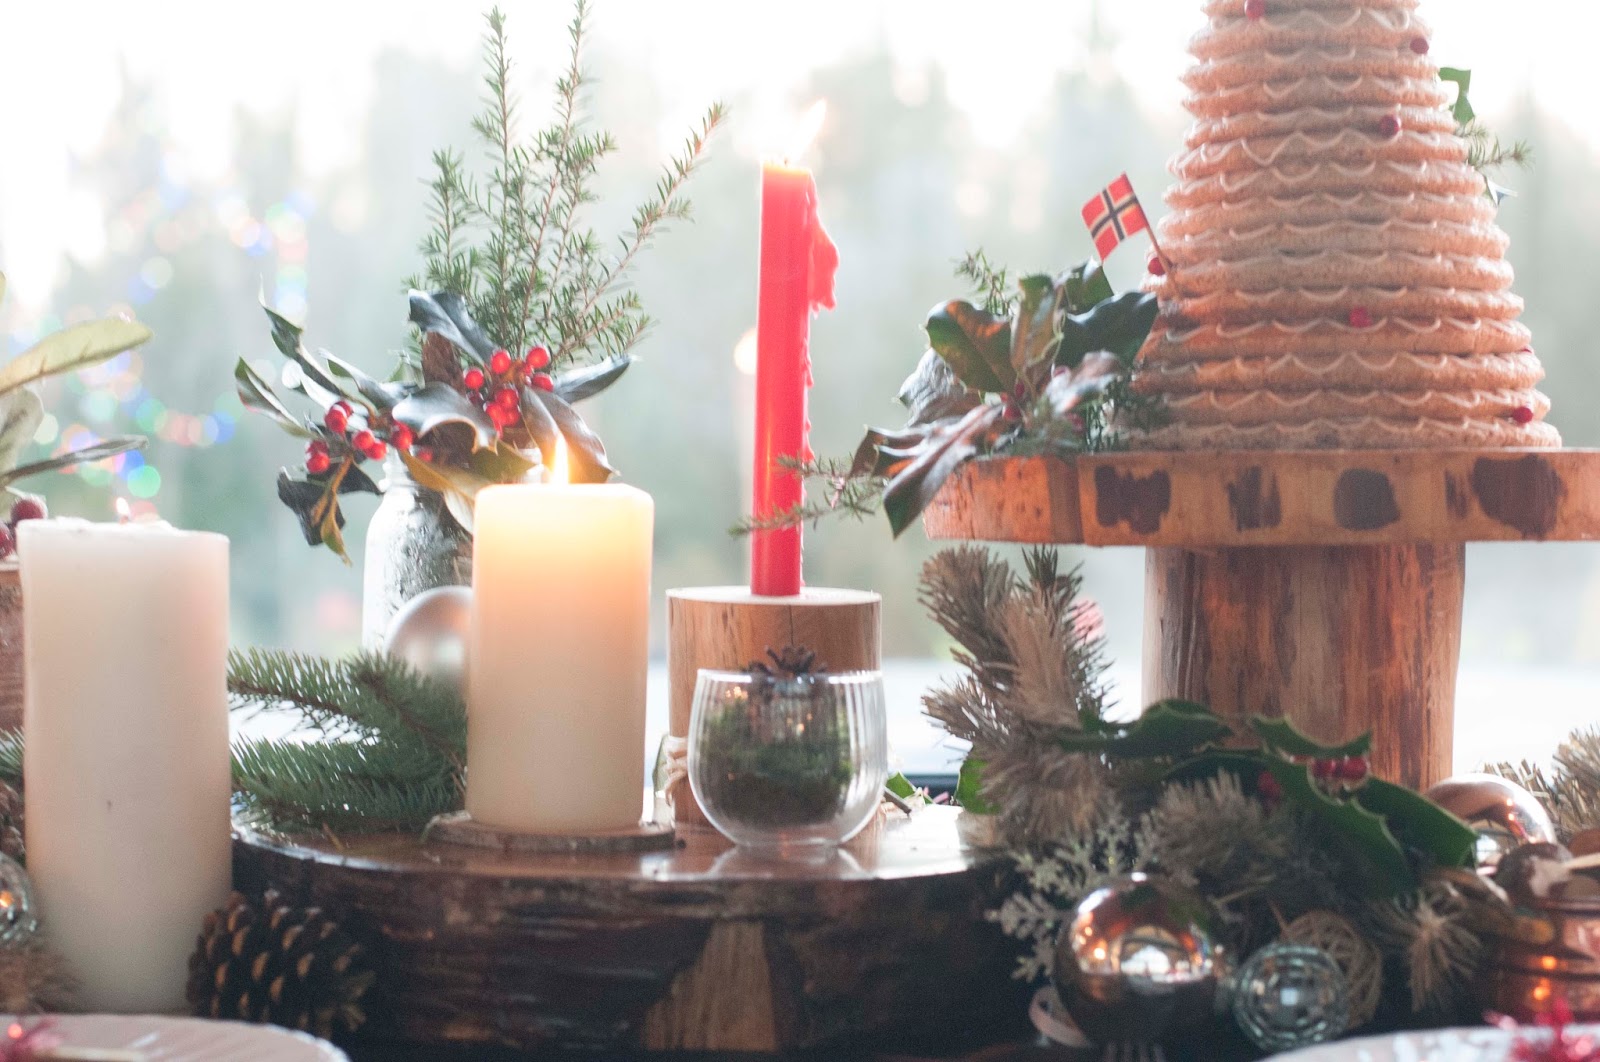
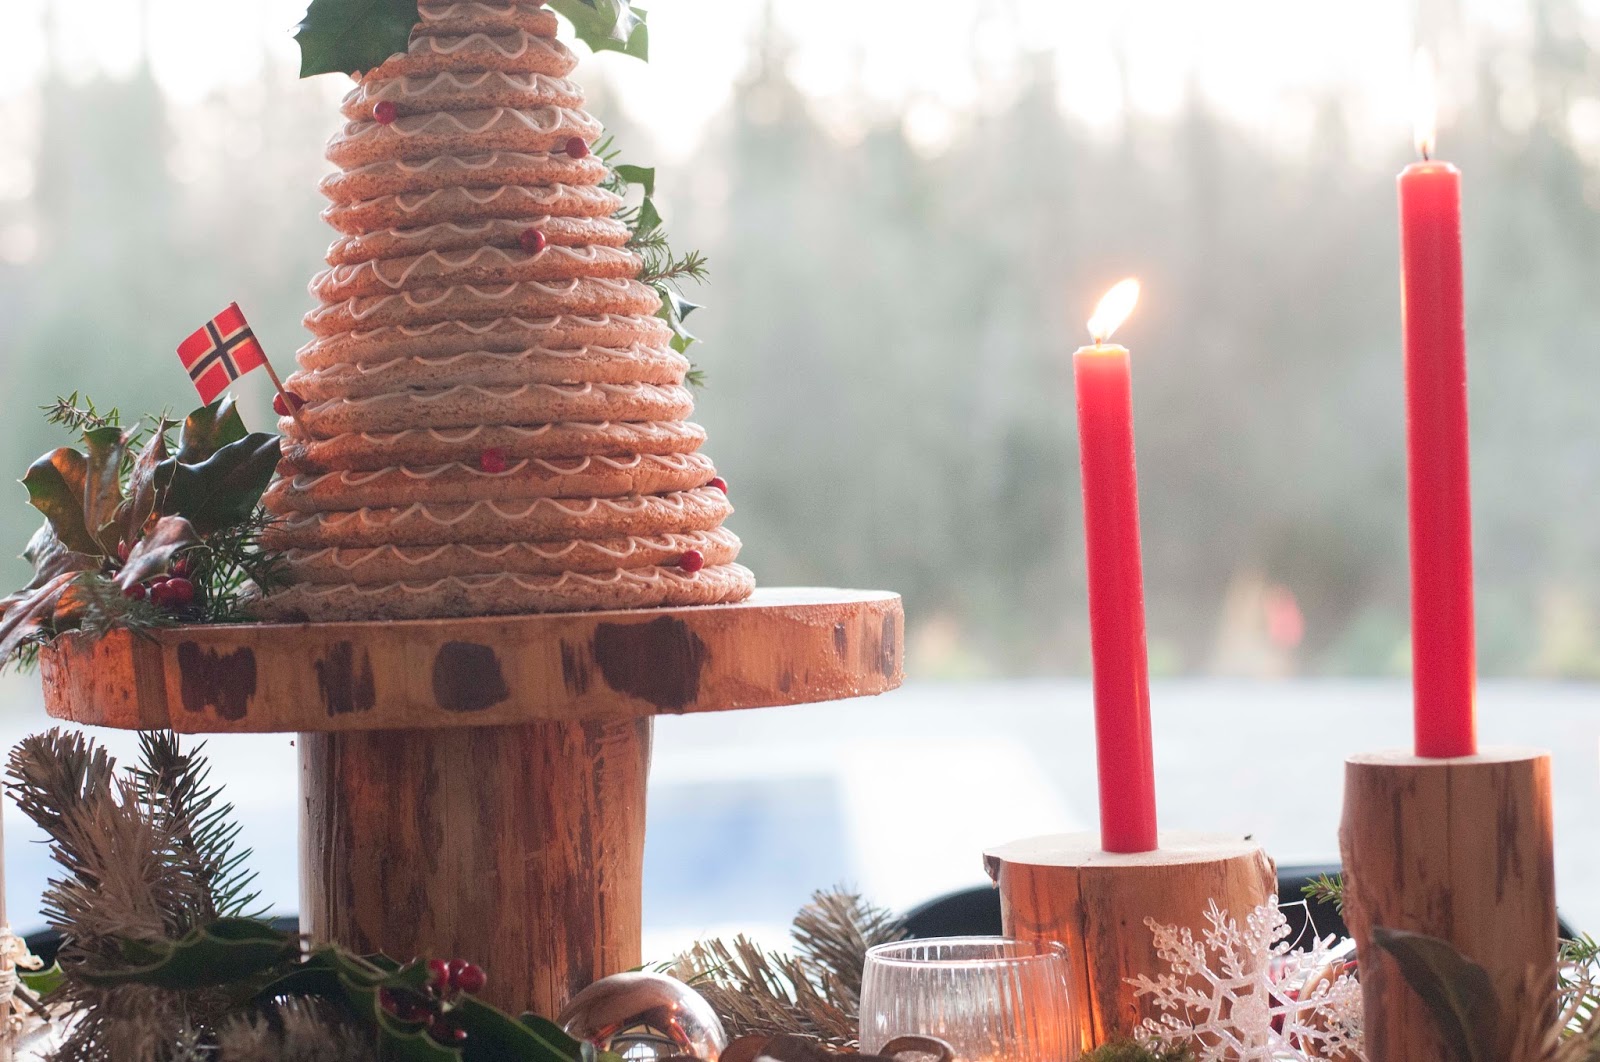
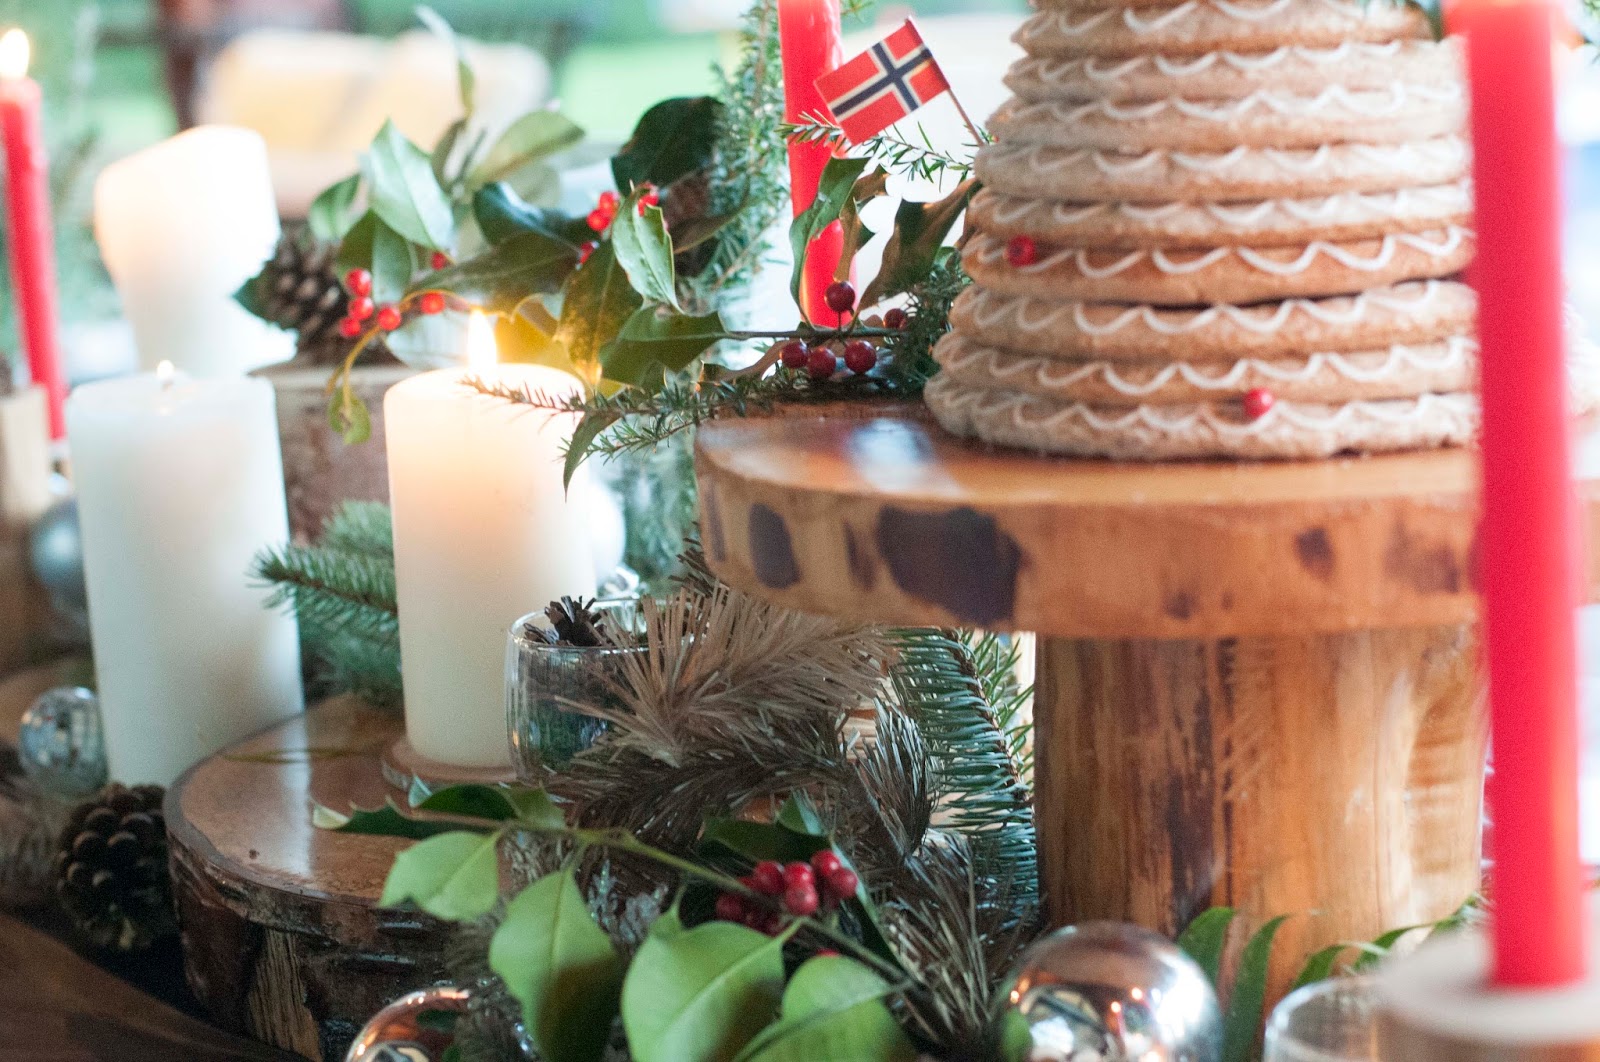
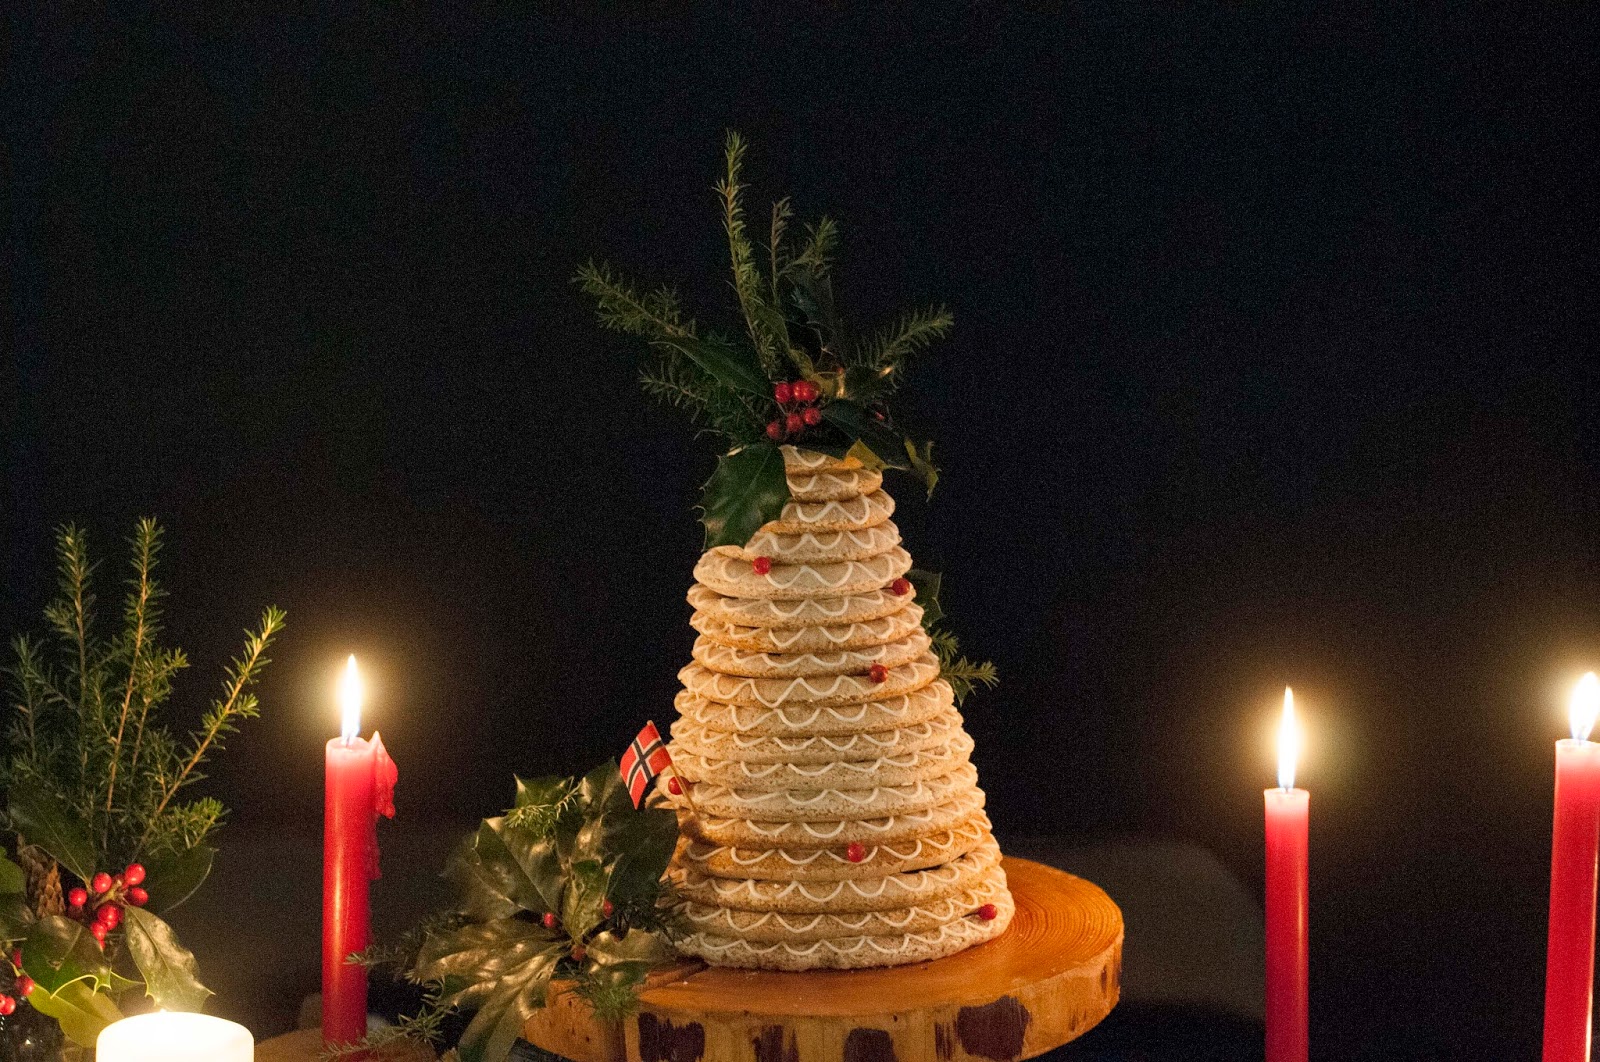
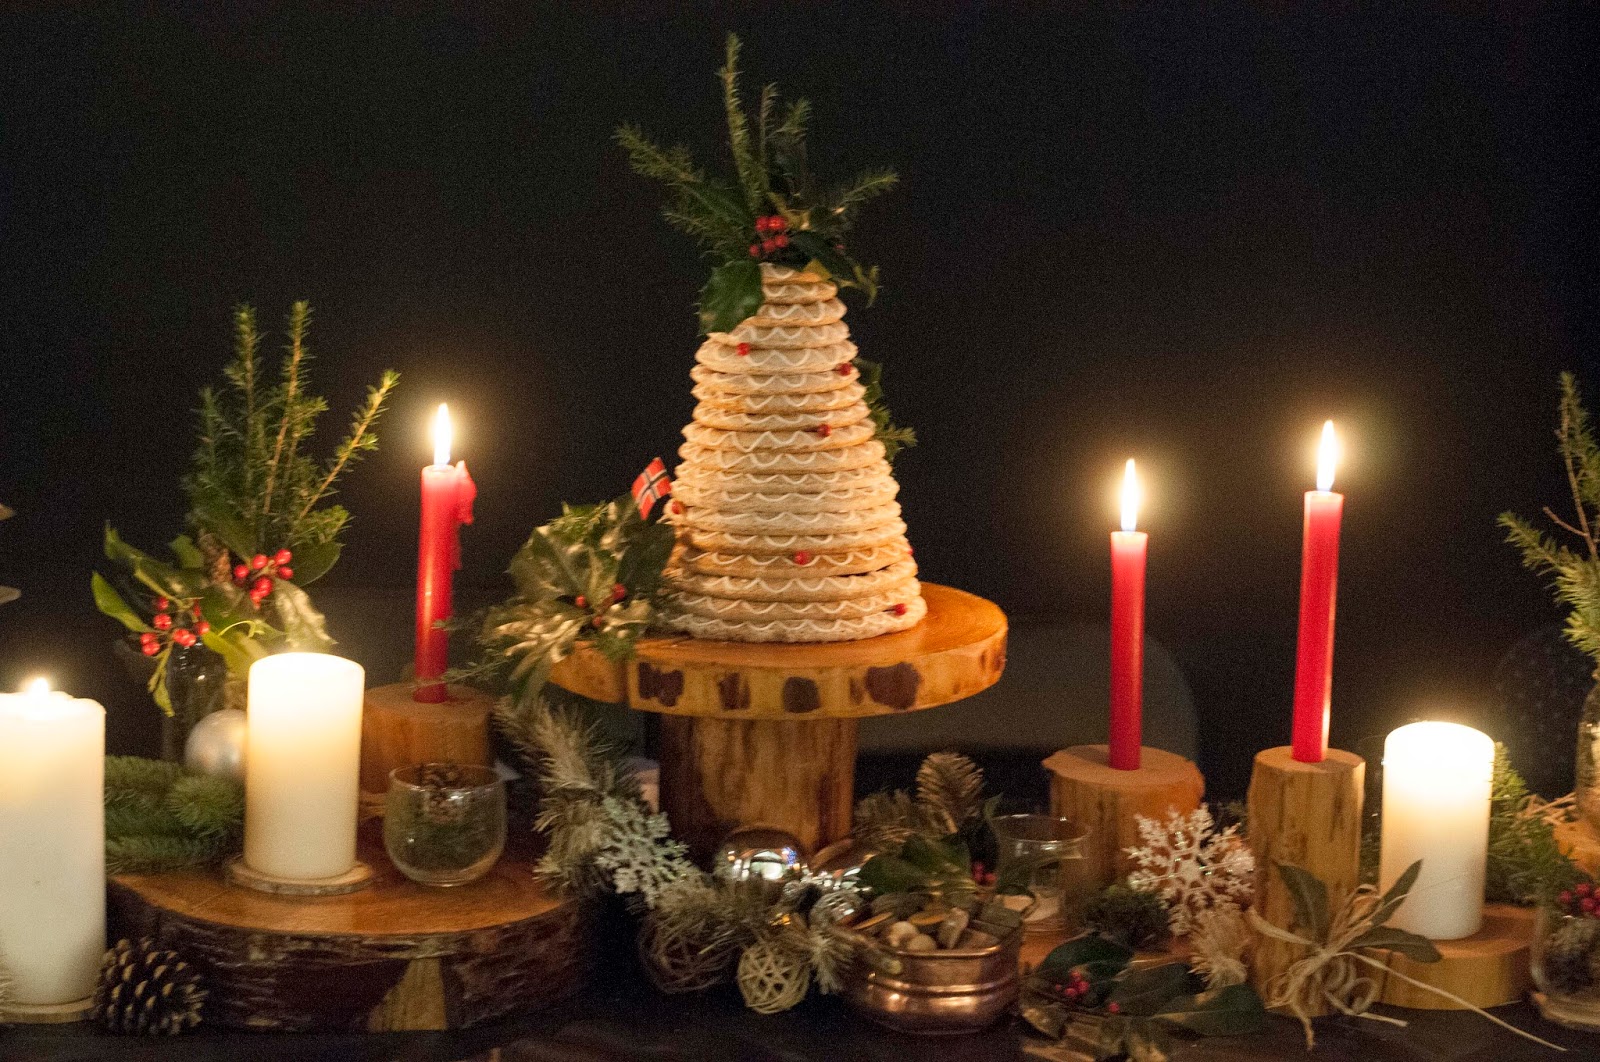
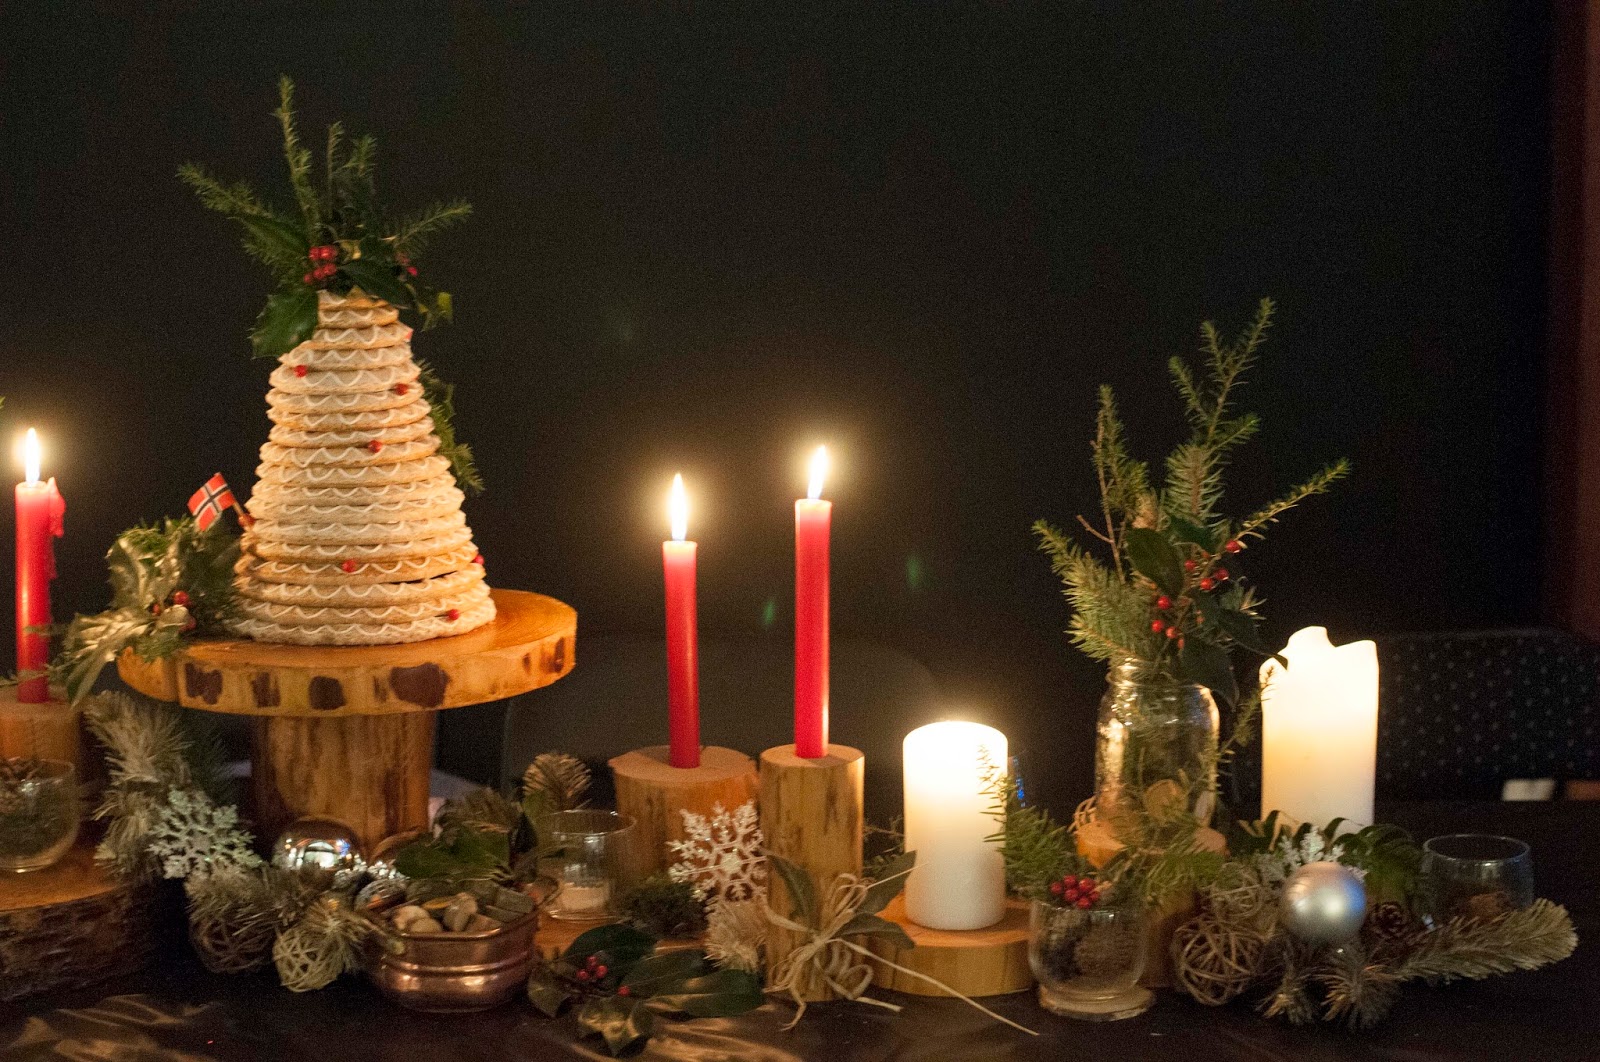
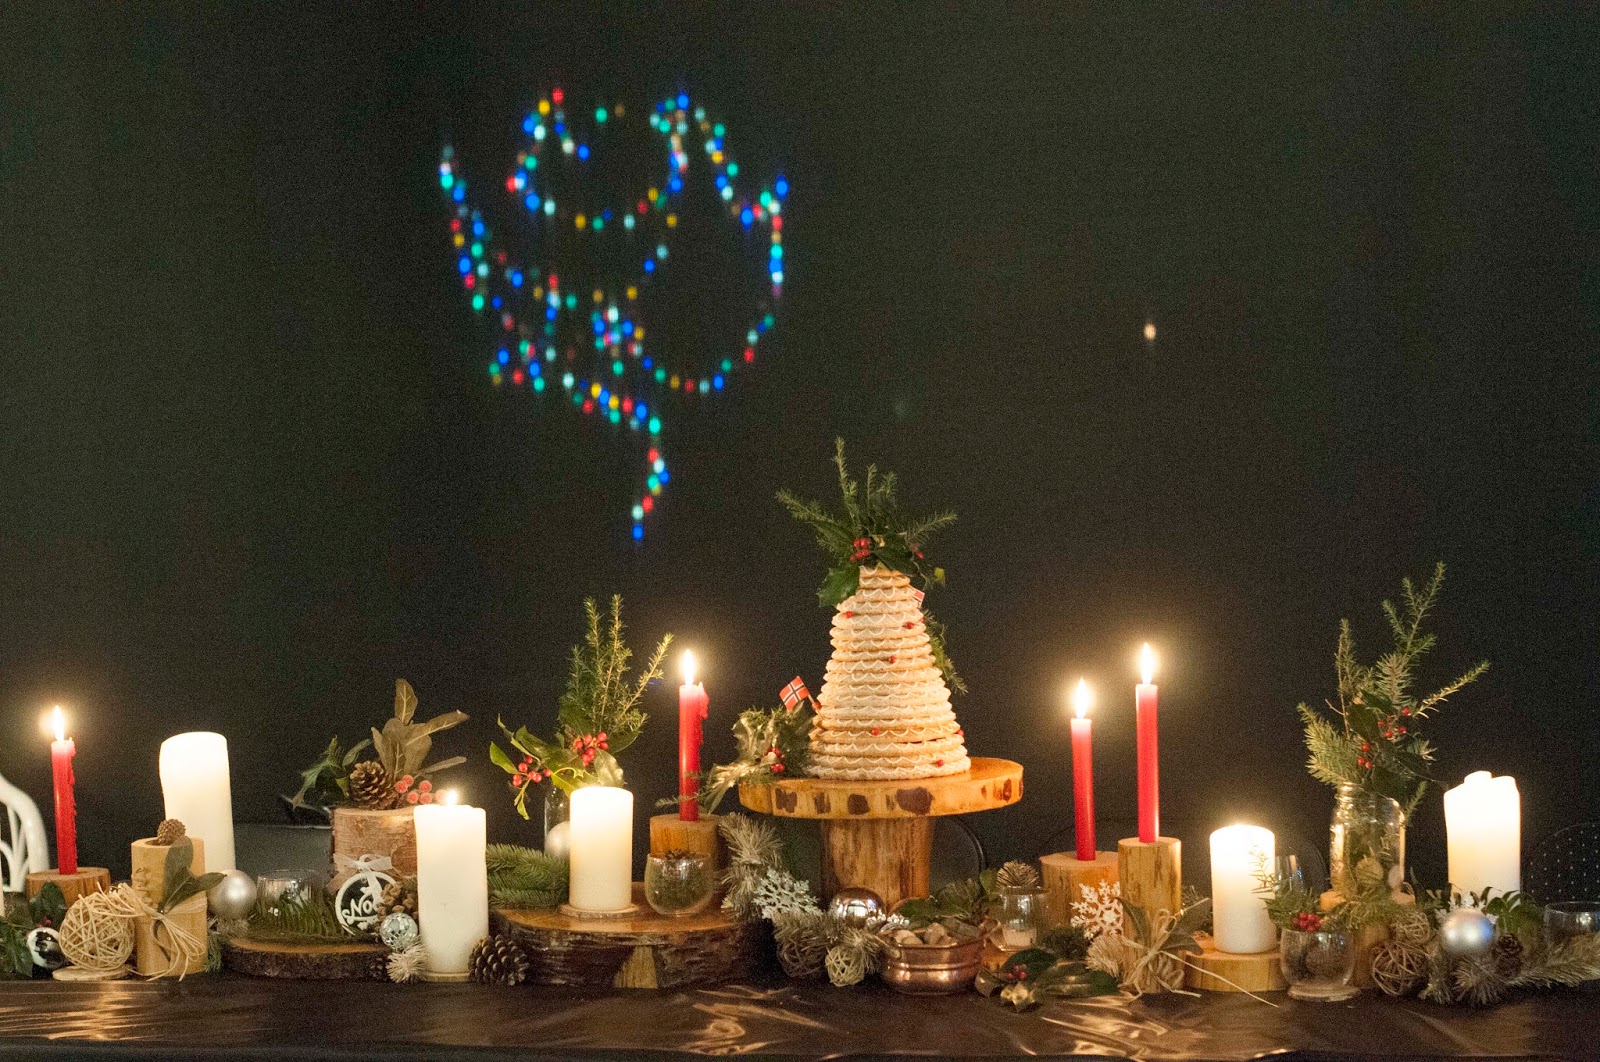
My sister in law and I created a little impromptu tablescape with holly, moss, ferns, and greens she collected from the property. The wooden cake stand, chargers, rounds, and candle holders were found just hanging out in the shop. Yes there is a shop on the property FULL of gorgeous tables and accents of different kinds made of wood by TJ’s dad, Peter.
Incredible, right?!


guests just grabbed a ring or a half of one right off the cake stand! It
was pretty damn delicious for my first try, if I say so myself.
xox
Mercedes